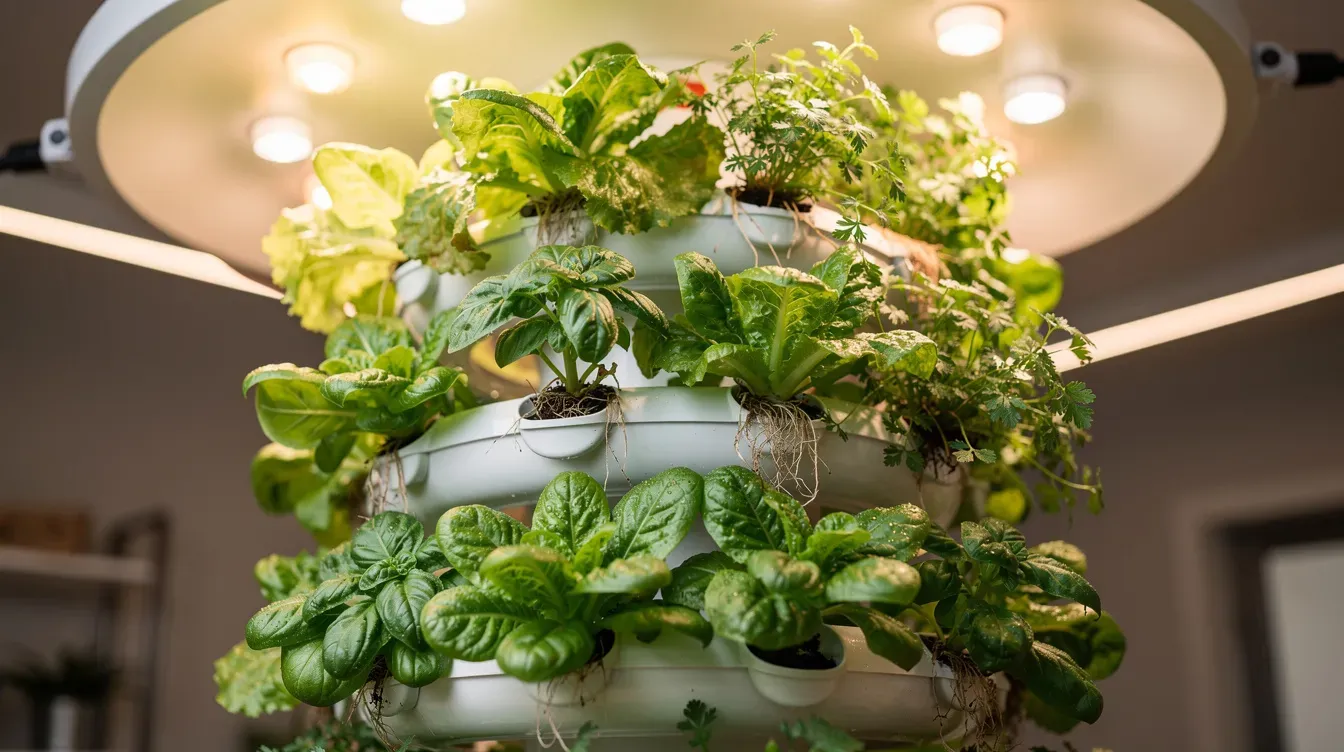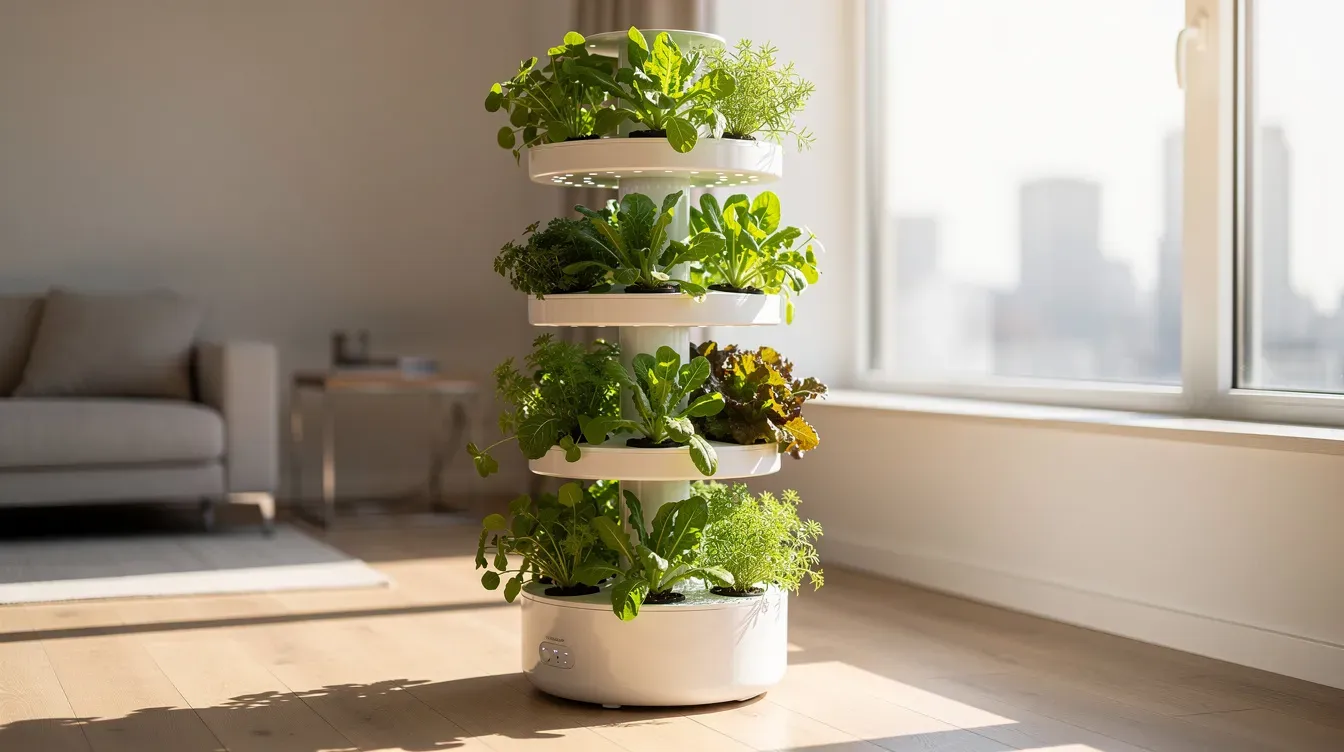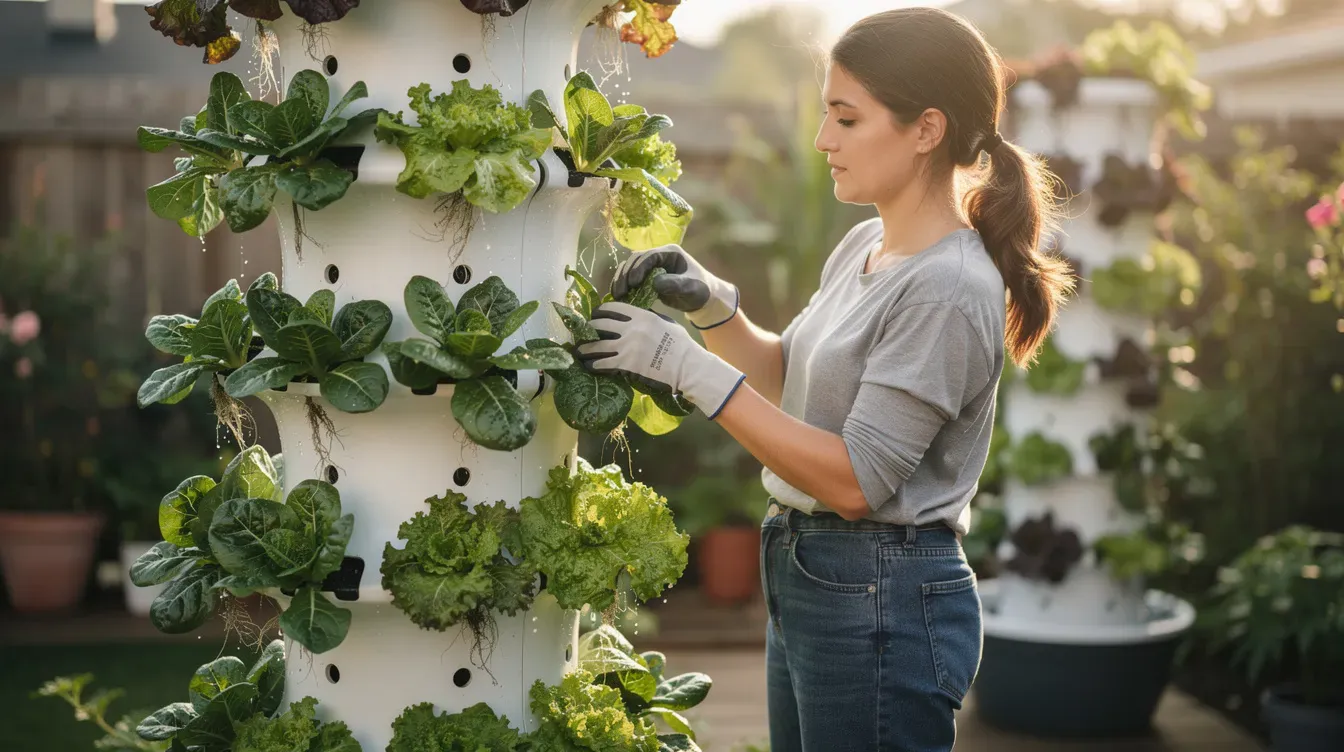
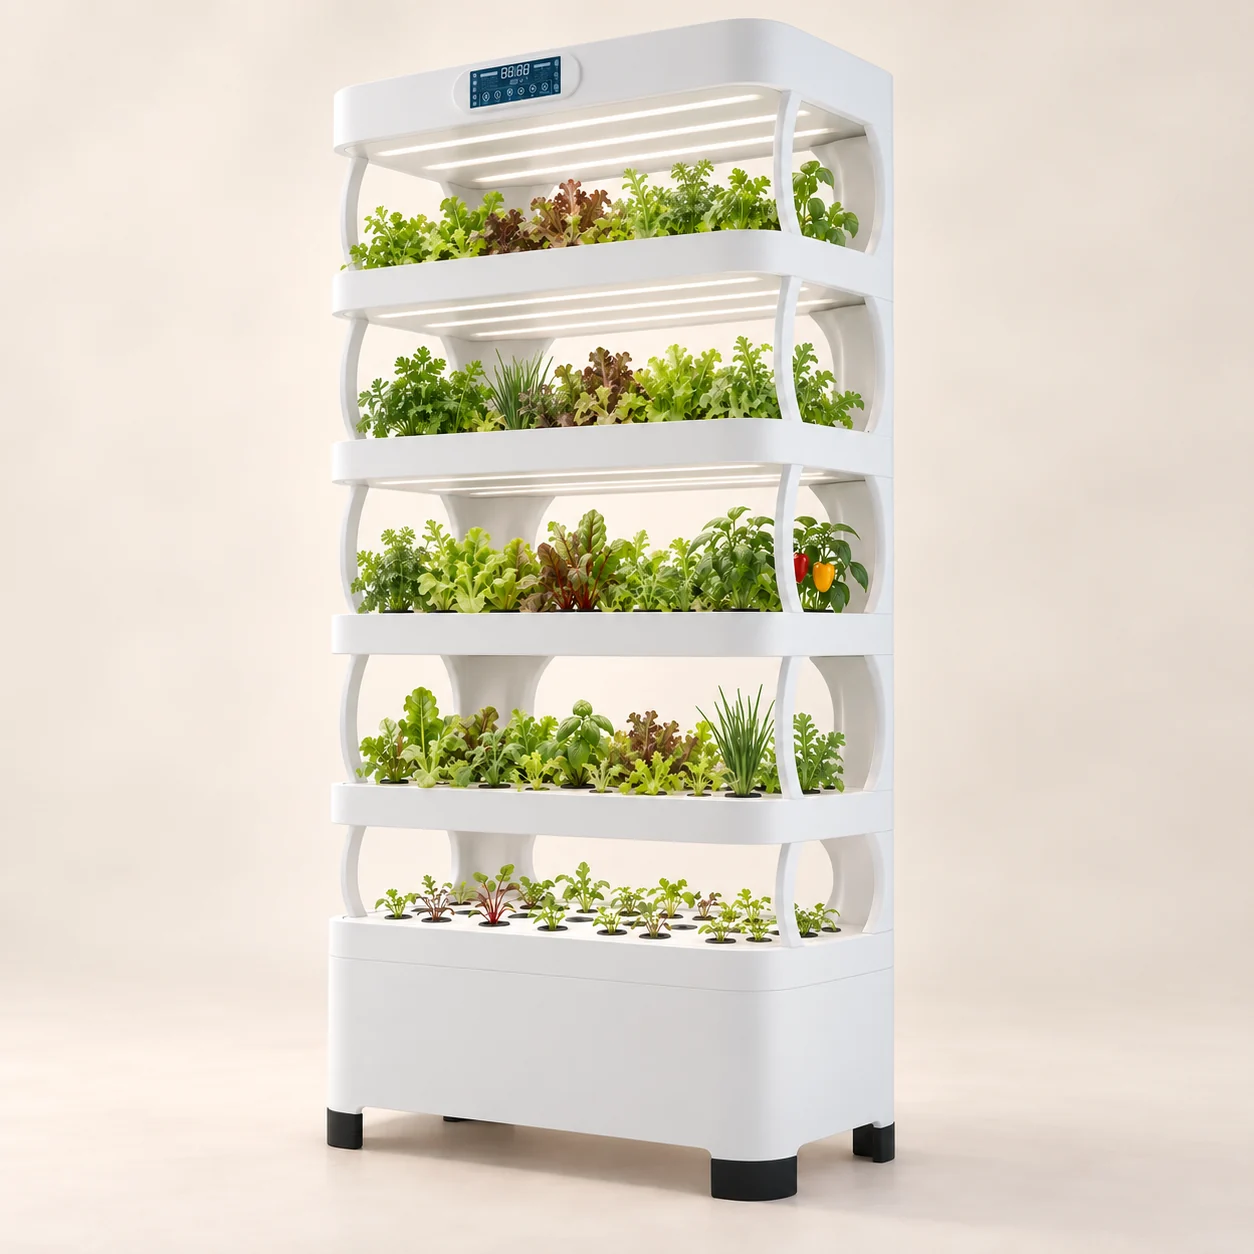
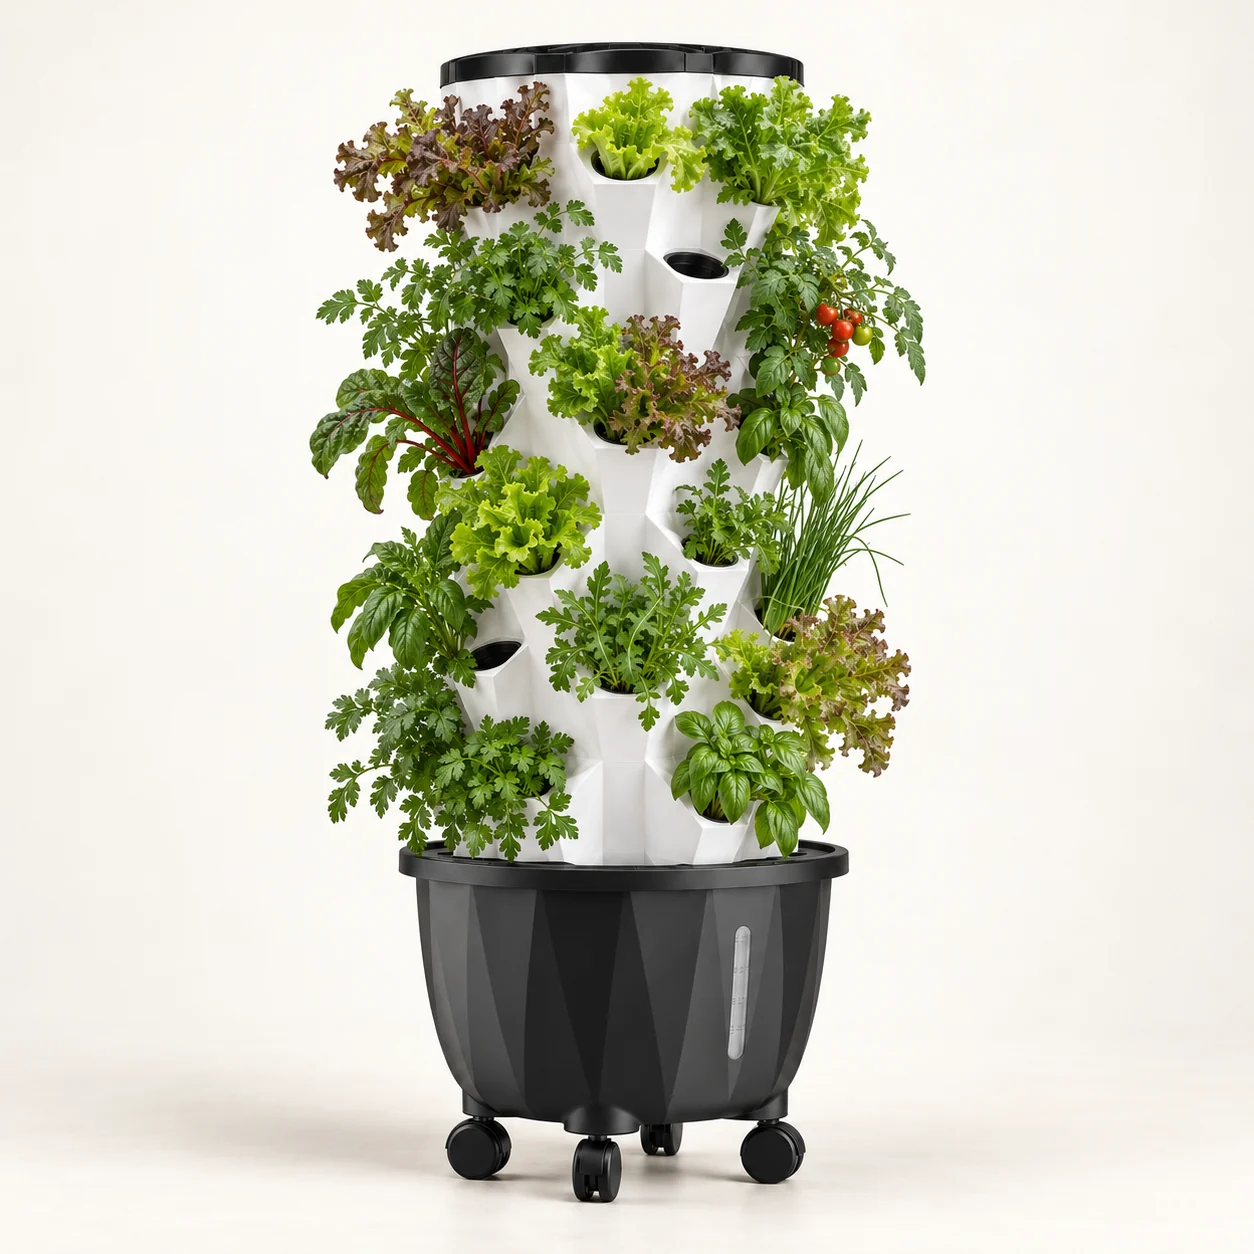
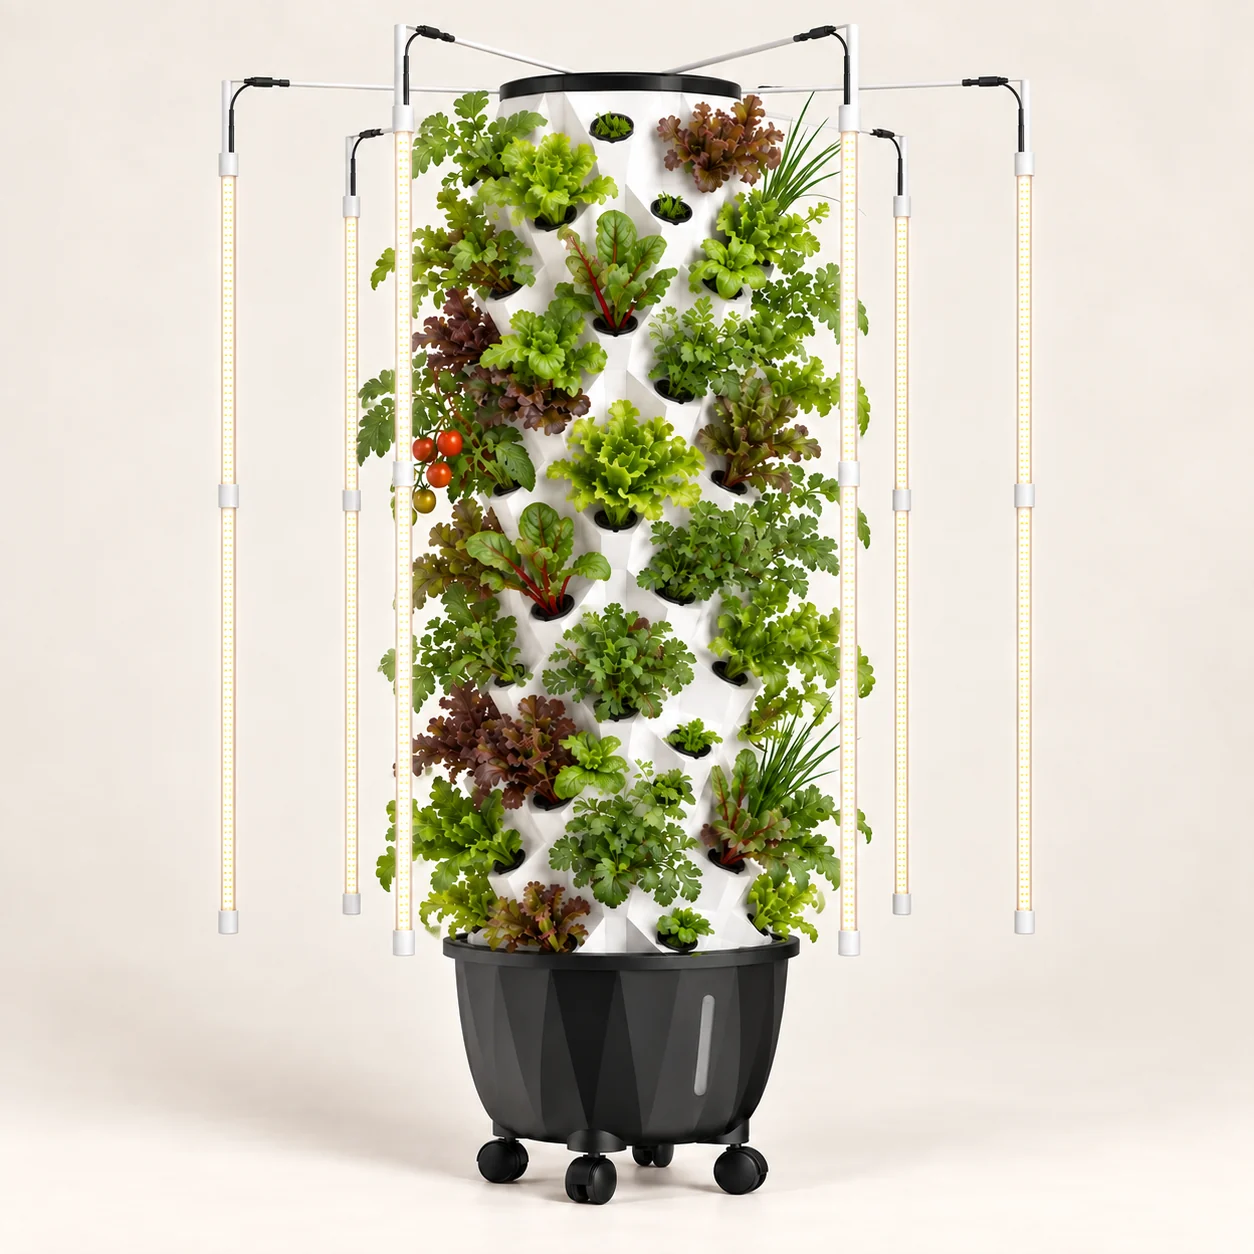
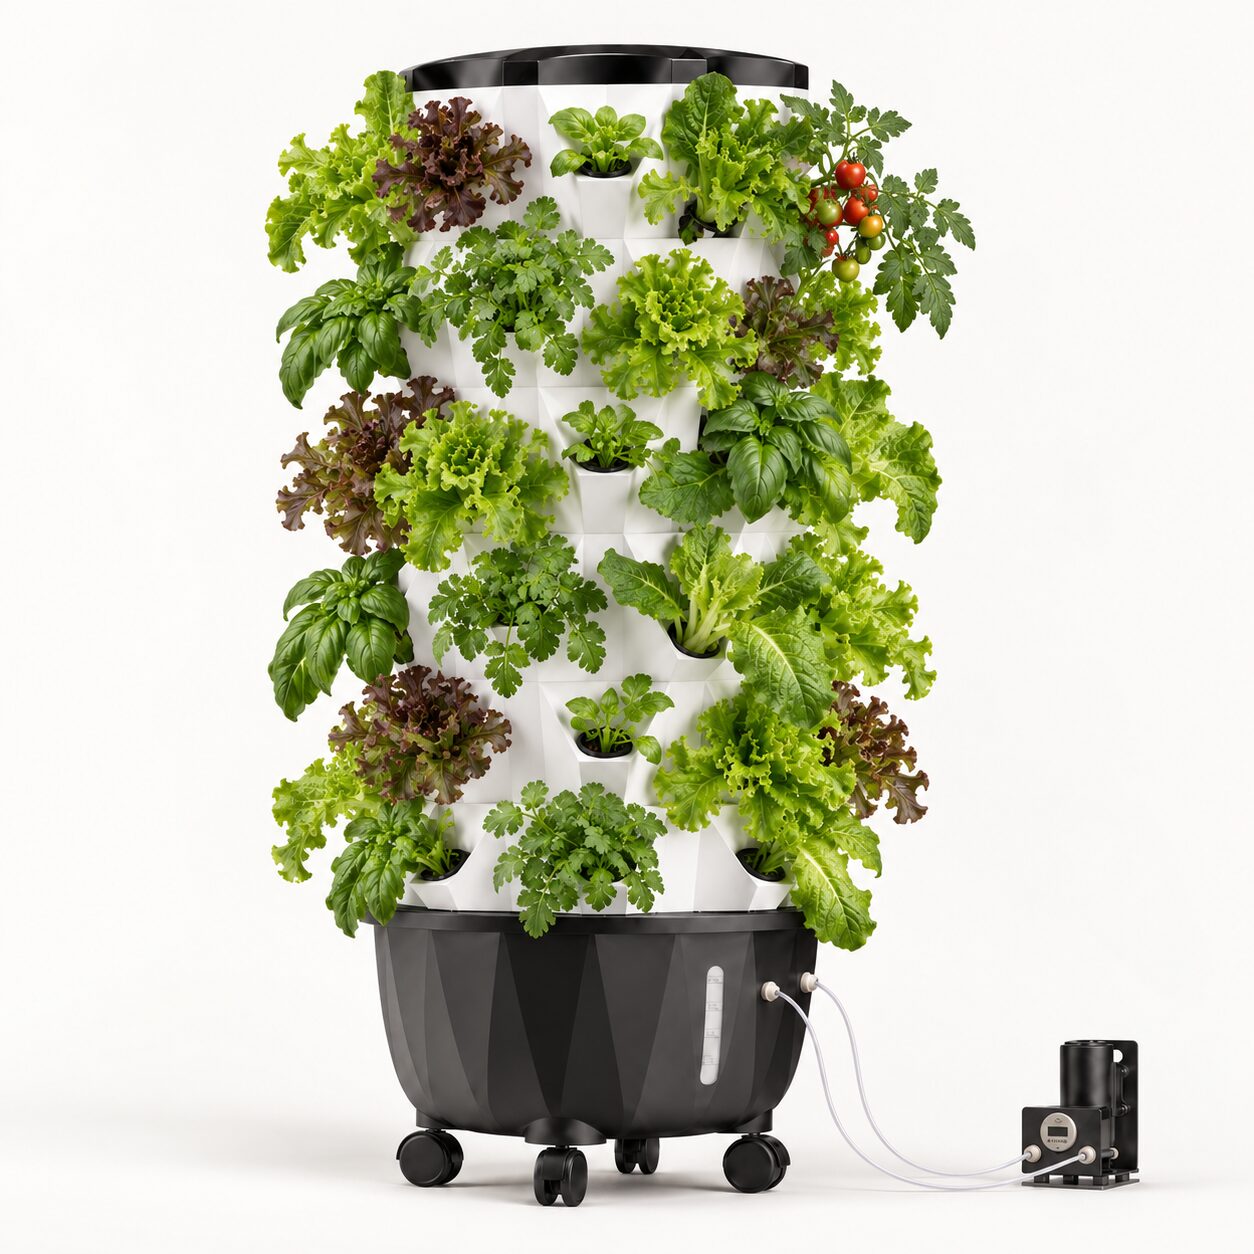


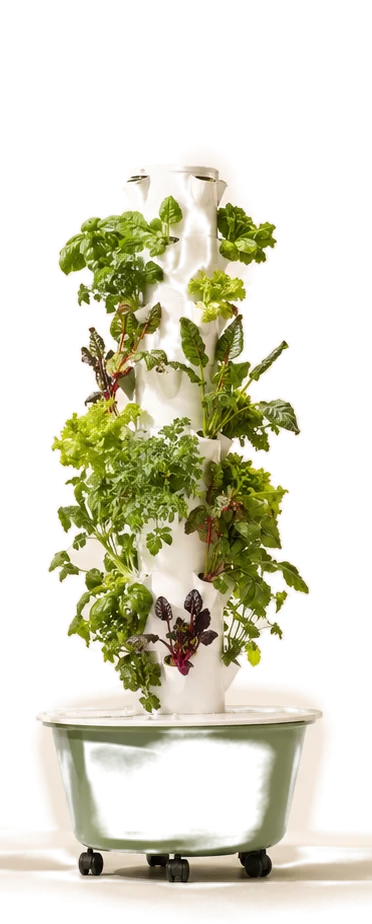


Growing your own food in a vertical aeroponic system starts with one critical skill: raising healthy tower garden seedlings. Whether you’re working with limited patio space or setting up an indoor growing station, mastering the seedling stage sets the foundation for abundant harvests of lettuce, herbs, Swiss chard, and more.
Quick Start: How to Get Tower Garden Seedlings Going Fast
Getting from seed to thriving tower garden seedlings takes about 2–3 weeks when you follow the right process. This section gives you the essential steps to start seeds for lettuce, herbs, and Swiss chard—crops that perform exceptionally well in aeroponic systems.
Here’s the basic workflow:
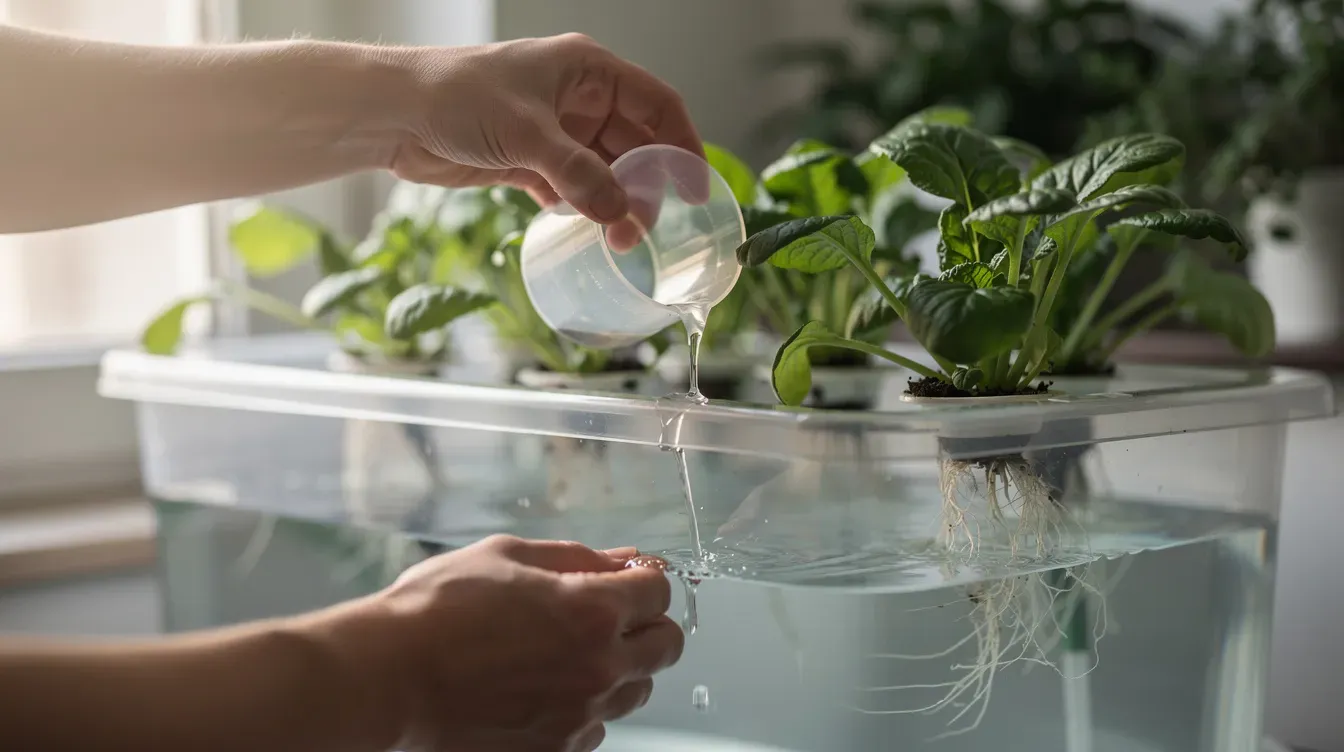
Soak rockwool cubes in pH-adjusted water (5.5–6.0) for 15–30 minutes
Plant seeds 2–3 per cube, pressing just below the surface
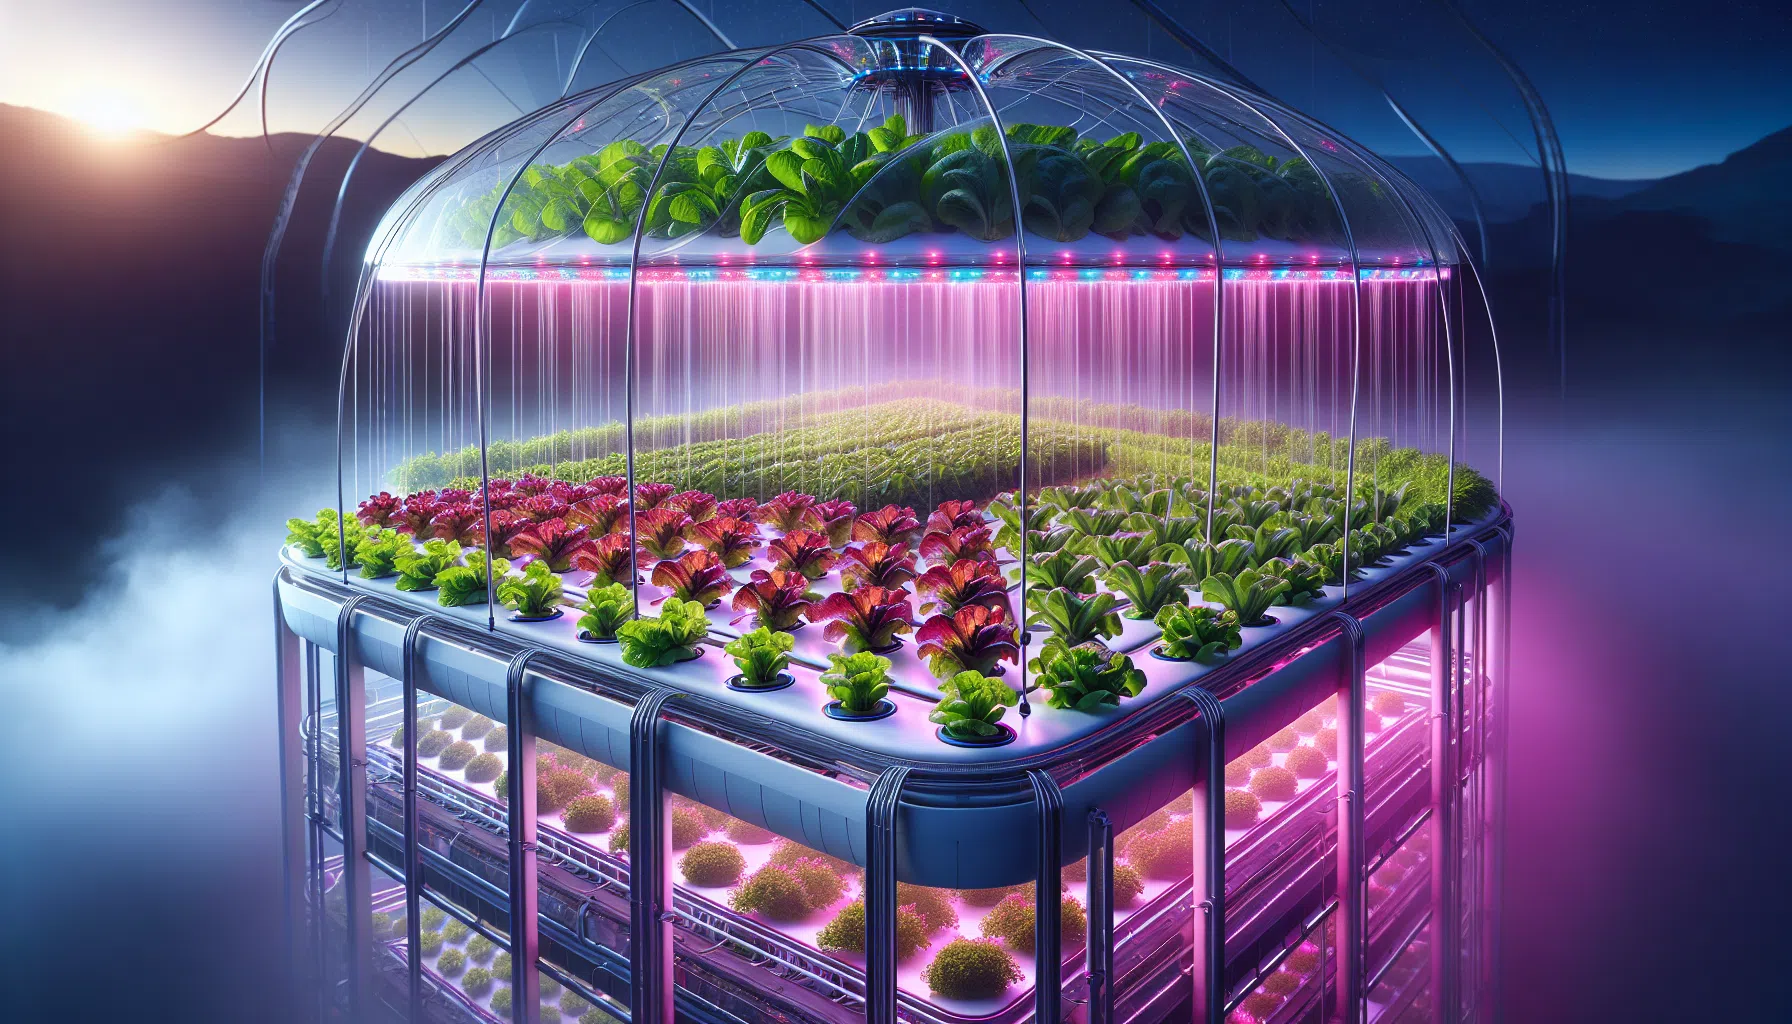
Place cubes in a germination tray with humidity dome
Monitor moisture and provide 14–16 hours of light once sprouts appear
Move seedlings and net pots into the tower when roots protrude and true leaves develop
Most leafy greens like romaine, butterhead, and rainbow Swiss chard are ready to transplant to tower gardens in 10–21 days depending on variety. This same method works for both classic Tower Garden units and other vertical systems, though we’ll keep Tower Garden as our primary focus throughout.
The sections below cover specific seed choices, equipment details, timelines, and troubleshooting to help you successfully start your crops.

What Are Tower Garden Seedlings?
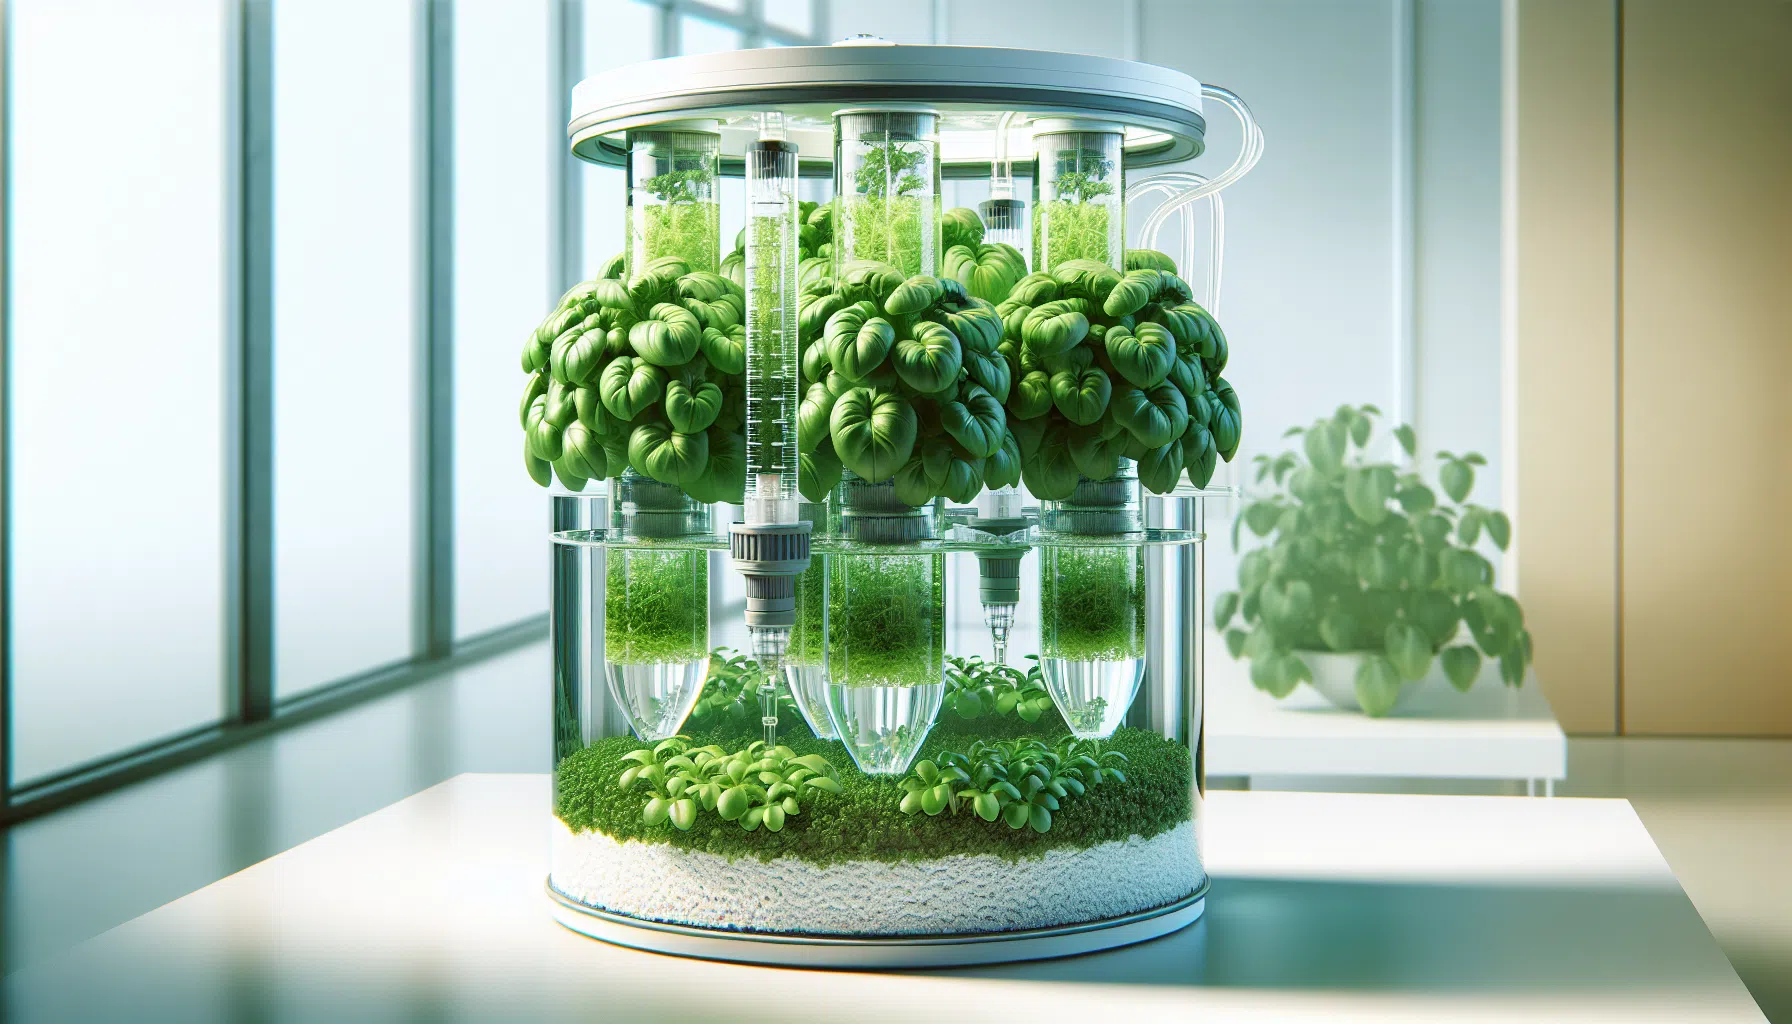
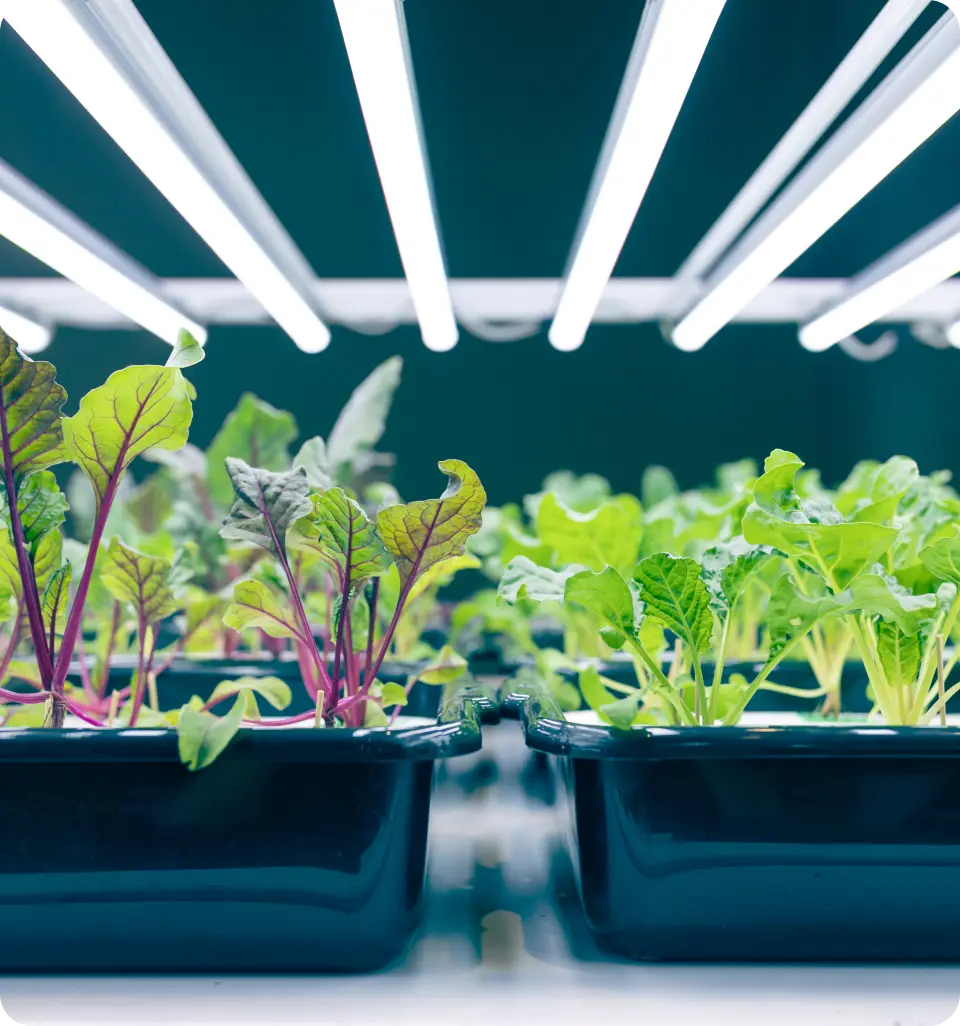
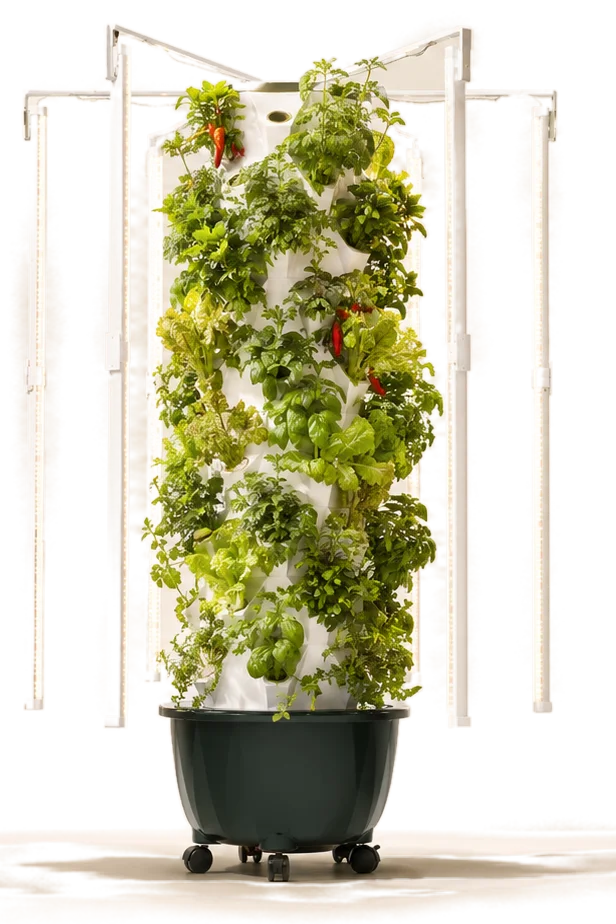
Tower garden seedlings are young plants started in a separate seedling kit or tray, then moved into a vertical aeroponic tower once they’ve developed adequate roots and leaves. This approach differs significantly from traditional soil-based gardening.
Key differences from soil starts:
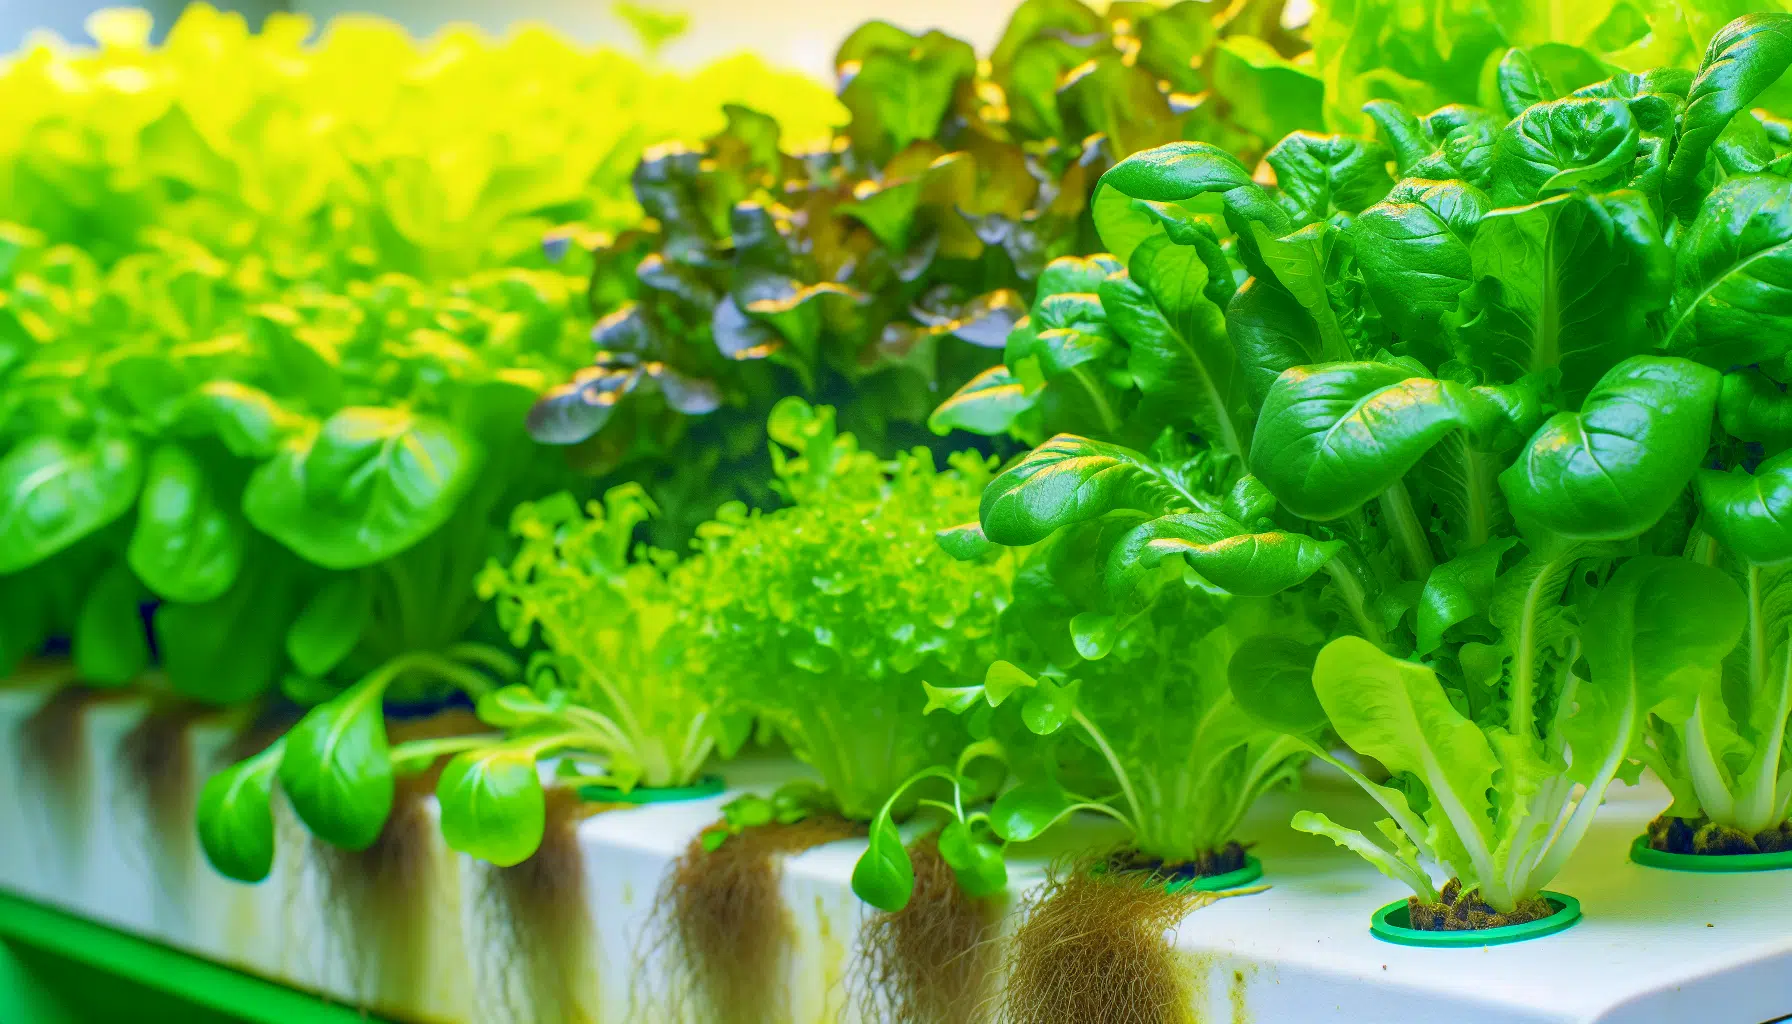
Seedlings grow in rockwool cubes or similar inert media instead of potting mix
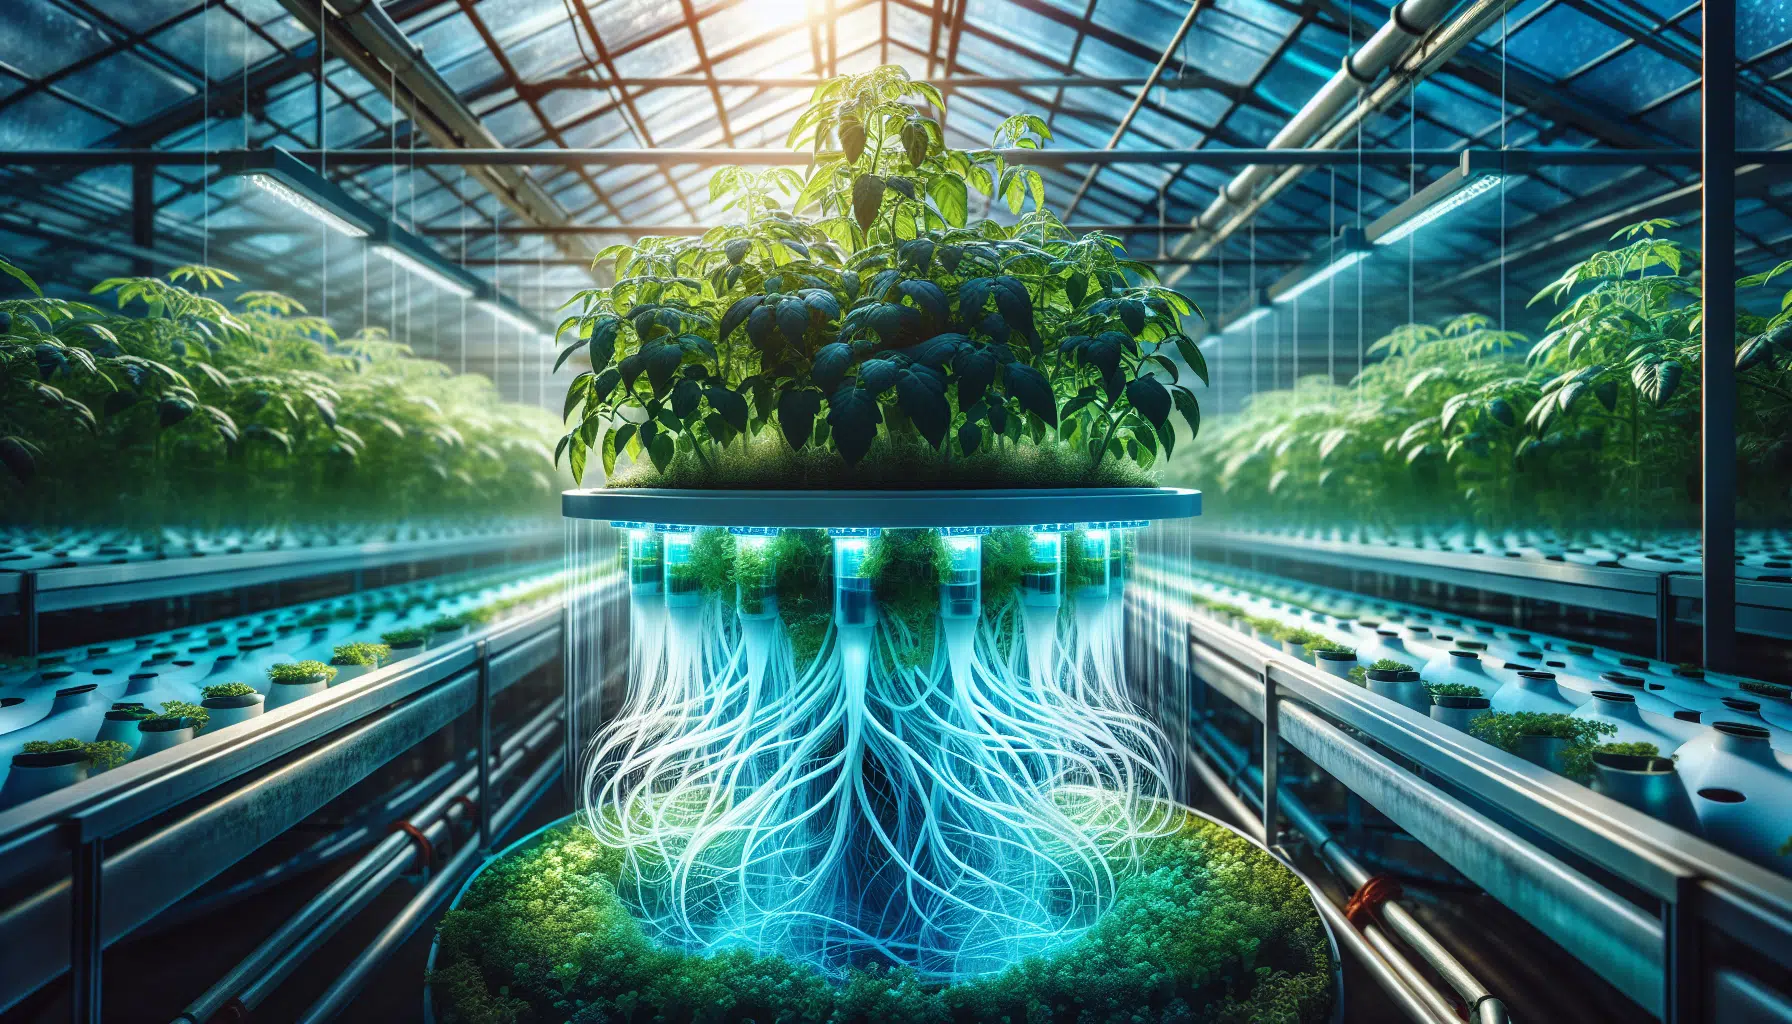
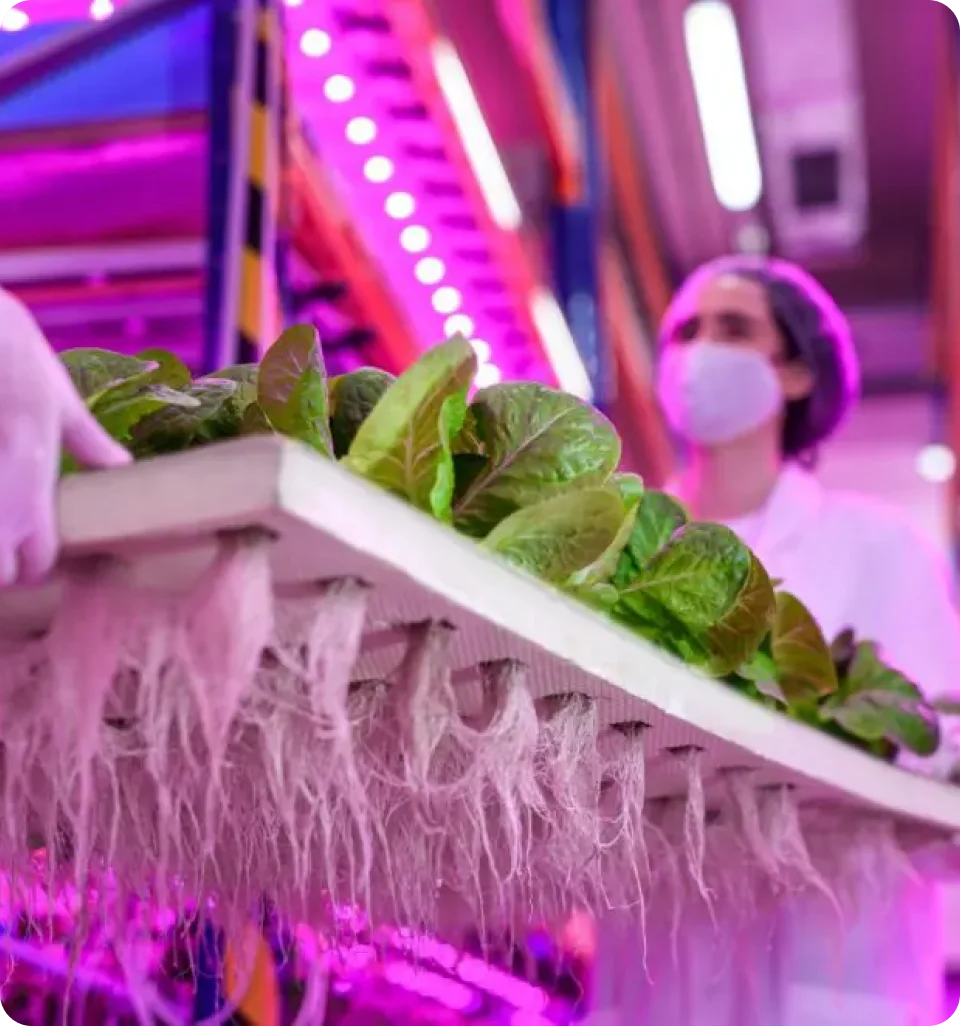
Net pots cradle the cubes and allow roots to dangle freely in the misted environment
Nutrient solution replaces soil’s organic matter as the food source
Tower seedlings are often germinated to have clean roots that dangle, preventing root rot
Ideal seedlings ready for transplant have 2–4 true leaves, visible white roots protruding through the rockwool, and stems reaching 2–4 inches tall. The vertical design of aeroponic gardens allows them to fit in small spaces, making them suitable for both indoor hydroponic tower gardens and outdoor environments.
Starting with healthy seedlings significantly shortens the time to first harvest. Aeroponic gardening can lead to larger plant yields, with growth rates that can be three times faster than traditional soil gardening—making proper seedling preparation even more valuable.
Essential Supplies for Starting Tower Garden Seedlings
A Tower Garden Seedling Starter Kit normally includes most of what you need, but here’s the complete list of supplies for raising strong seedlings:
Growing media:
Rockwool cubes (1x1x1.5 inches typical) pre-soaked in pH 5.5–6.0 water
Vermiculite for covering small seeds like lettuce and basil
Rockwool allows airflow around roots while retaining moisture, making it a preferred medium for tower gardening
Containers and trays:
Net pots sized for your tower model (2-inch diameter standard for most aeroponic systems)
Germination tray with humidity dome (10×20-inch standard fits 50–72 cubes)
Bottom tray to catch drainage and enable bottom-watering
Lighting:
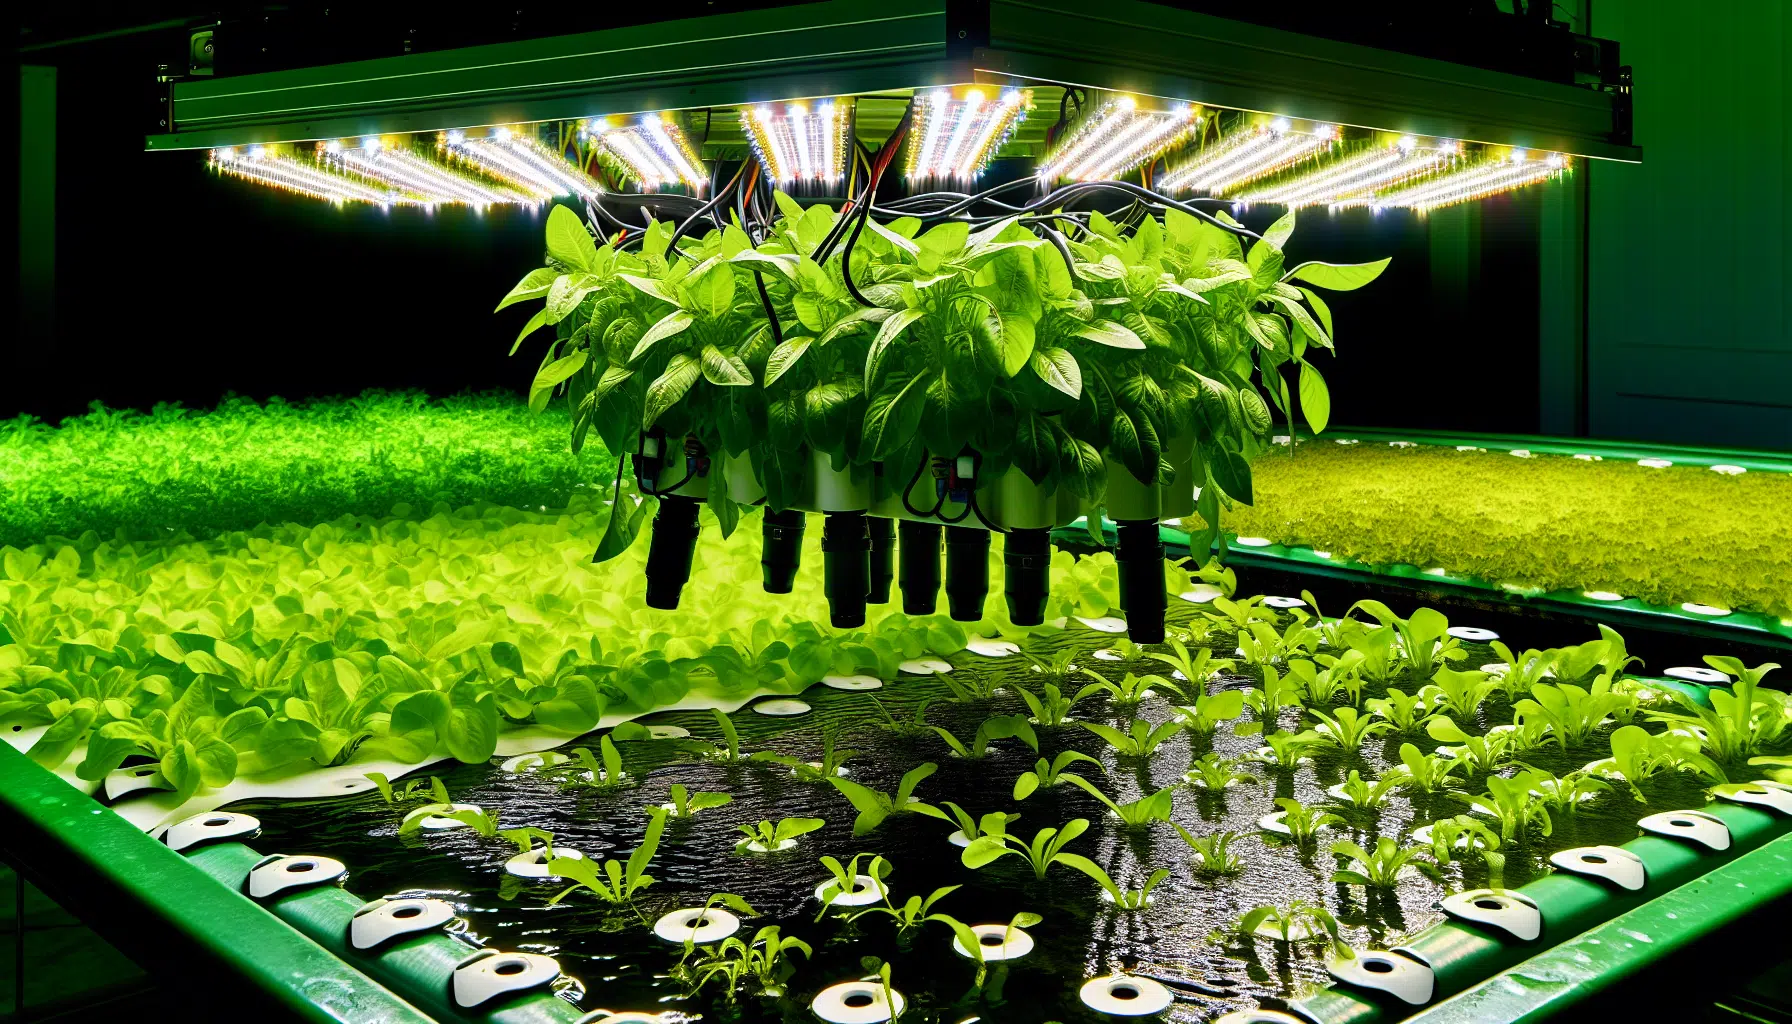
Full-spectrum LED grow lights for indoor growing, positioned 4–6 inches above the canopy
Timer set for 14–16 hour light cycle
Nutrients and testing:
pH-adjusted water for first 5–7 days
Mild nutrient solution for light feeding once first true leaves appear
pH test kit and adjustment solution (target 5.5–6.5)
Starter kits for Tower Gardens typically include a variety of accessories to help users successfully start, plant, and grow crops from seed. You can shop for individual components or purchase complete kits depending on your needs.
Best Crops to Start as Tower Garden Seedlings
Not all plants perform equally in a tower garden growing system. Leafy greens, herbs, and certain fruiting crops thrive in the oxygen-rich aeroponic environment, while others struggle.
Lettuces (germinate 3–7 days, transplant 10–14 days):
Green Romaine Fusion and Sunland romaine for crisp salads
Butterhead types with tender, mild leaves
Salanova-style mini heads for compact growth
Swiss chard:
Bright Lights Rainbow Chard produces colorful stalks in red, yellow, pink, and purple
Mild flavor with less bitterness than soil-grown
Long productive life with continuous harvest for 3–6 months
Fast greens:
Arugula for peppery flavor in just 21 days
Kale varieties including Toscano (dark green leaves with dinosaur texture), Red Russian (tender), and Dazzling Blue
Spinach and mustard greens for fresh eating or cooked dishes
Herbs:
Italian basil (pinch tops for bushier growth)
Mrs. Burns’ Lemon Basil with sweet citrus notes
Calypso cilantro (slow-bolt variety)
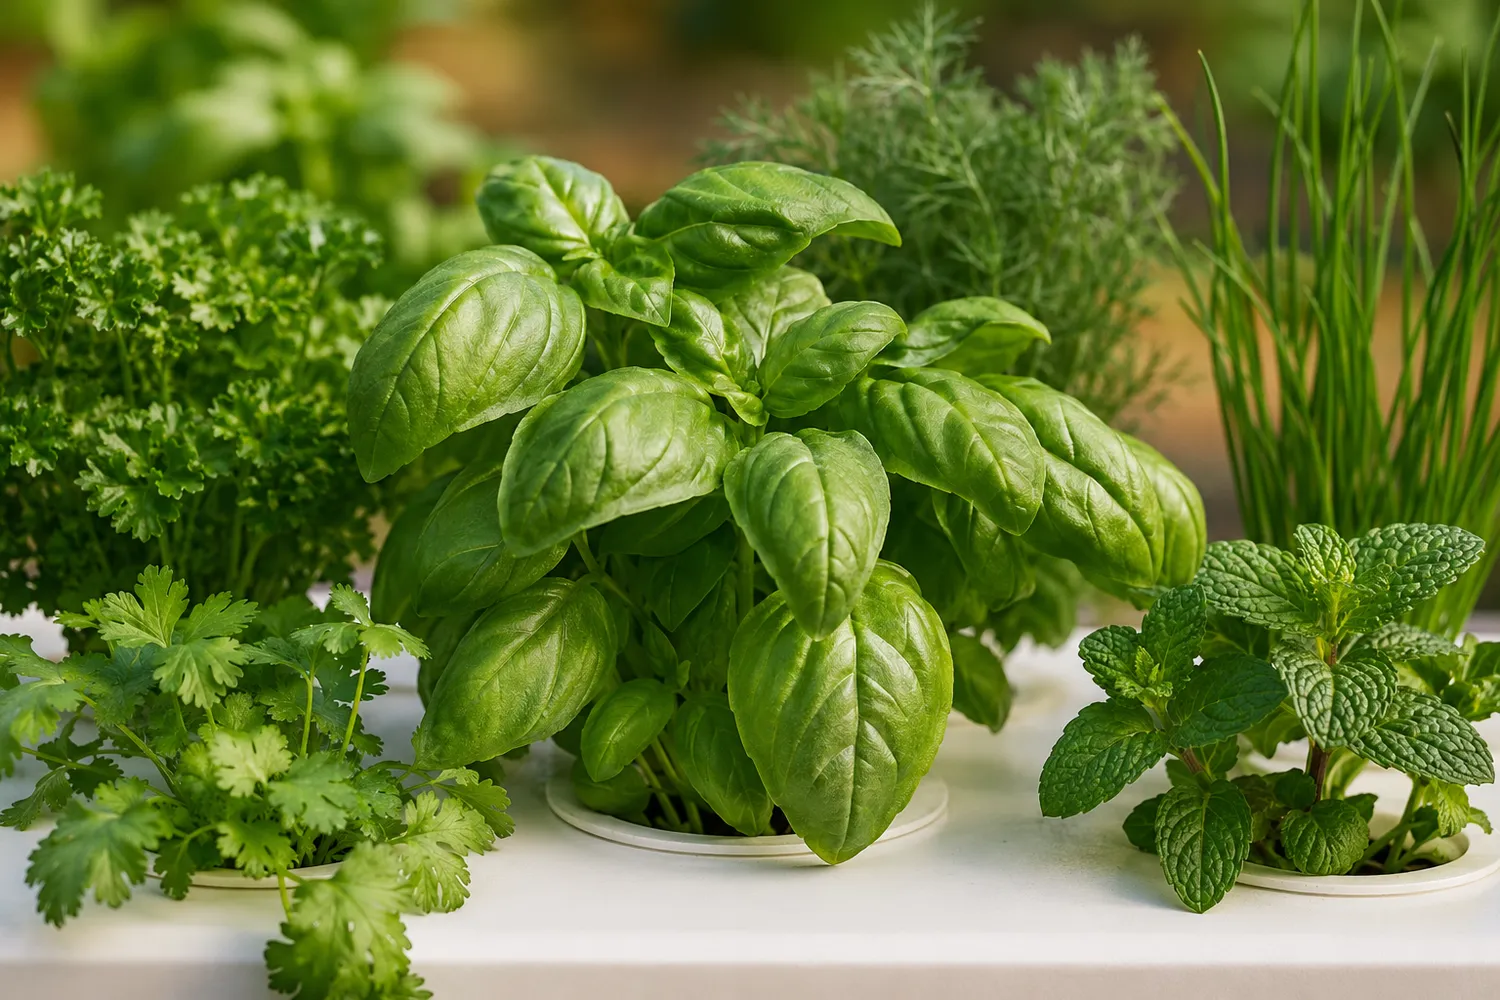
Garlic chives, oregano, thyme, and flat-leaf parsley
Seedlings such as arugula, cilantro, and various lettuce types are excellent choices for Tower Gardens due to their quick growth rates and ability to thrive in compact spaces. Popular seedling varieties also include Brandywine tomatoes, Swiss chard, and various types of kale, which are known for their adaptability in vertical systems.
Vining crops (place in lower ports with support):
Supersweet 100 or Sun Gold cherry tomatoes
Cucumbers requiring trellising to prevent shading
Tower Gardens can grow a wide variety of seedlings including vegetables, herbs, fruits, and flowers, but they do not support woody-stemmed plants like root crops, grapevines, bushes, and trees.
All-in-One Tower Garden Variety Packs often contain an assortment of popular seed varieties that are proven to grow well in Tower Garden systems, taking the guesswork out of crop selection.

Step‑by‑Step: How to Start Seeds for Your Tower Garden
Best practices for growing tower garden seedlings involve starting seeds in rockwool cubes, soaking them in water, and using vermiculite to keep them moist. Here’s the complete sowing process:
Prepare rockwool cubes:
Soak for 15–30 minutes in water adjusted to pH 5.5–6.0
Gently shake off excess water so cubes are moist but not dripping
Cubes should feel like a wrung-out sponge
Sow seeds:
Place 2–3 seeds per cube for small-seeded crops (lettuce, basil, Swiss chard)
Use 1–2 seeds for larger seeds like cucumbers or squash
Press seeds just below the cube’s surface
Cover with vermiculite half-full for small seeds to retain humidity
Arrange and label:
Place cubes in germination tray (e.g., row 1: Green Romaine; row 2: Swiss Chard Bright Lights; row 3: Italian Basil)
Include date of sowing on waterproof labels
Seed packs for Tower Gardens are usually individually packaged and designed for long-term storage and maximum seed protection
Create germination environment:
Cover with humidity dome
Place in warm area between 68–75°F (20–24°C)
Keep cubes consistently moist but never waterlogged
Maintaining ideal temperature and humidity encourages optimal germination for seedlings
Add light when sprouts emerge:
Remove dome as soon as seeds sprout (day 3–7 for lettuce and basil, 5–10 for Swiss chard)
Position LED lights 4–6 inches above canopy
Run lights 14–16 hours daily
Begin early feeding:
After first true leaves form (typically day 7–10), water from below
Use very light nutrient solution formulated for tower gardens
Continue monitoring moisture—bottom-watering prevents crown rot
When and How to Transplant Seedlings into Tower Gardens
The transplant stage is critical for avoiding shock and achieving quick growth in your tower. Rushing this step leads to weak plants, while waiting too long creates root-bound seedlings.
Readiness signs:
Seedlings 2–4 inches tall with firm stems that don’t flop
2–4 true leaves visible (beyond initial cotyledons)
Roots visible at bottom and sides of rockwool cube
Tower seedlings are typically prepared to be 2–3 inches tall with strong, visible root systems before being moved into the main system to avoid shock.
Timing by crop type:
Crop Category | Days to Transplant |
|---|---|
Lettuces and greens | 10–14 days |
Swiss chard, kale, herbs | 14–21 days |
Tomatoes and peppers | 21–28 days |
Transplant process: |
Fill tower garden reservoir with water and nutrients at proper concentration
Check pH (target 5.8)
Insert net pots into tower ports
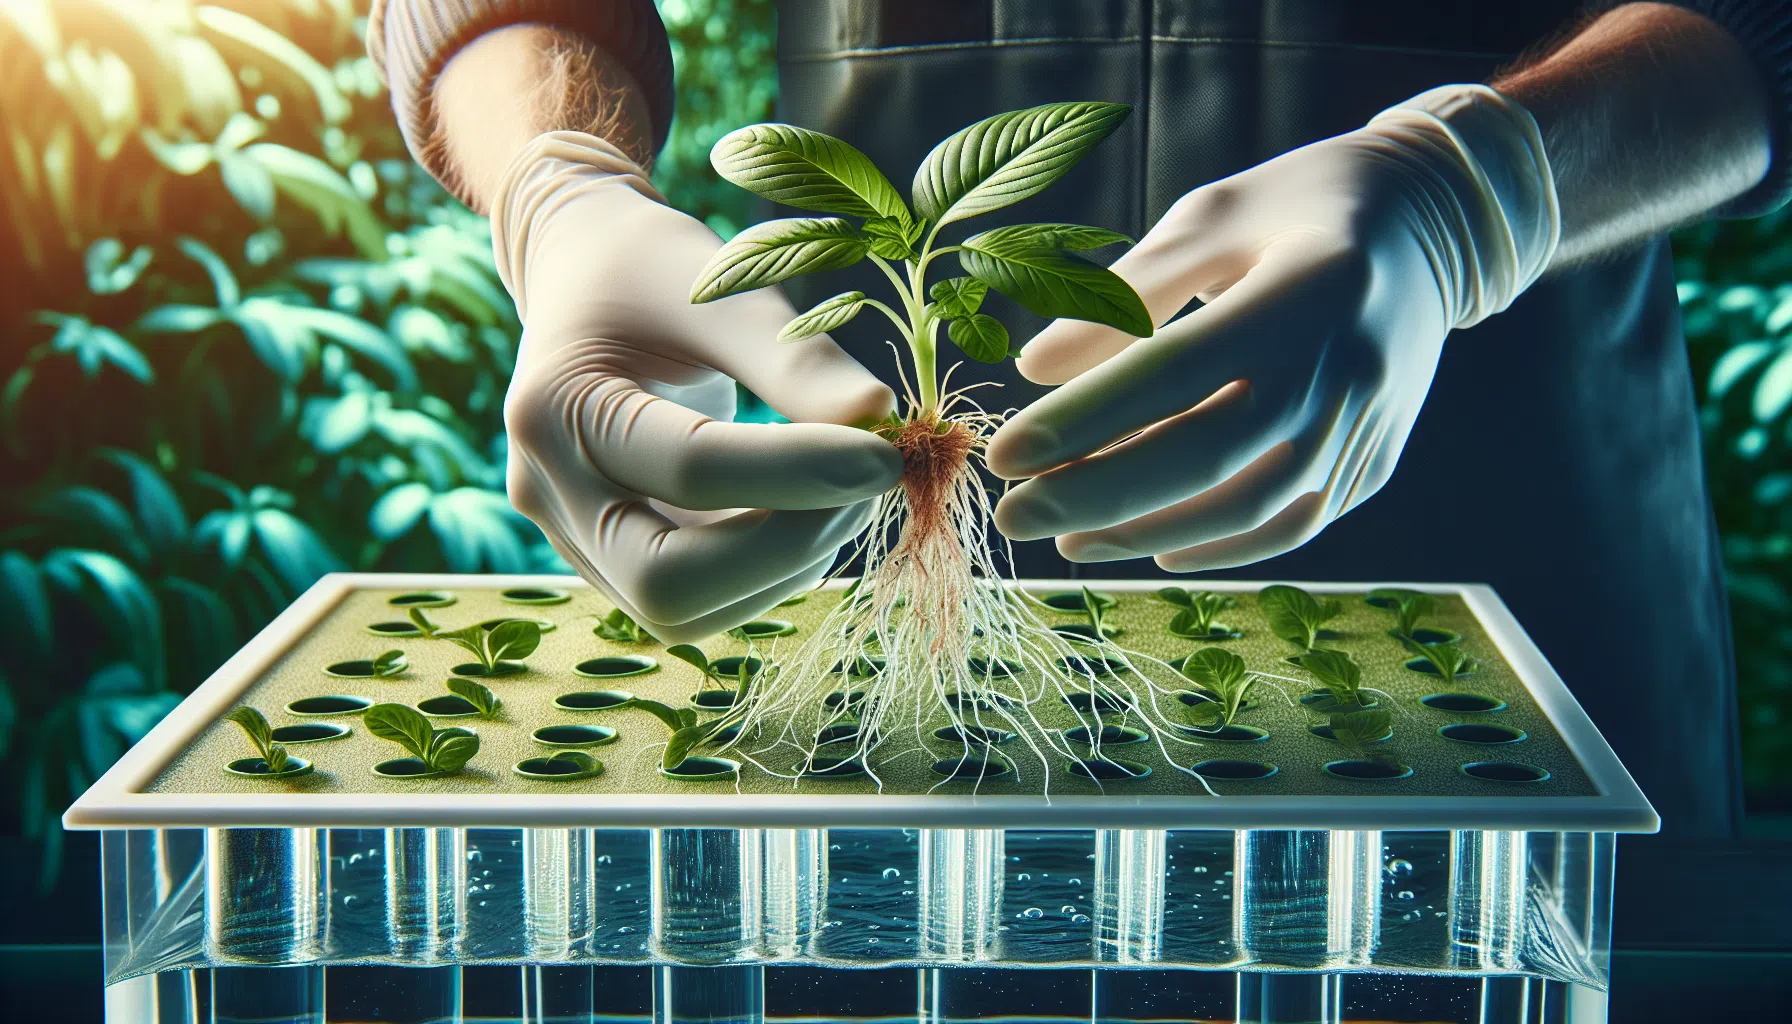
Gently place each rockwool cube into a net pot
Ensure cube top is level with or slightly above net pot rim
Press firmly so cube contacts pot base for capillary wicking
Positioning strategy:
Plant tall or vine crops like tomatoes and cucumbers near tower bottom
Place smaller leafy greens and herbs higher for easier harvest
Leave space between similar crops for adequate airflow
Run the pump on the manufacturer’s recommended cycle immediately after transplanting to keep rockwool evenly moist without drowning roots.

Care Guide: Growing Healthy Seedlings in a Tower Garden System
Once transplanted, your seedlings need consistent care to produce abundant crops. Aeroponic systems use 98% less water compared to conventional gardening methods, making them highly resource-efficient—but vertical aeroponics farming systems still require attention to several key factors.
Light requirements:
Outdoors: 6–8 hours direct sun (south-facing ideal)
Indoors: full-spectrum LED aeroponic towers covering the full tower, 14–16 hours daily
Adjust height as plants grow to maintain proper intensity
Nutrient management:
Check reservoir concentration weekly using EC meter (target 1.0–2.0 mS/cm)
Top off with water every 2–3 days as evapotranspiration occurs
Full nutrient change every 2–3 weeks to prevent salt buildup in hydroponic tower systems
The nutrient solution providing food to the seedlings is pumped through the tower, ensuring direct access to nutrients
pH monitoring:
Maintain solution between pH 5.5 and 6.5
Test daily—aeroponics tends to drift upward
Adjust with pH up/down products to avoid nutrient lockout
Yellow leaves often signal pH problems before nutrient deficiency
Environment:
Maintain temperature between 65–80°F (18–27°C) for lettuce, basil, and Swiss chard
Gentle airflow is recommended to strengthen stems and reduce fungal disease
Use fans (200–400 CFM) for indoor hydroponic garden towers with LED lights
Rotate outdoor towers weekly for even growth
Pruning and thinning:
Thin extra seedlings within each cube by snipping weaker sprouts at base
Start light pruning on herbs like basil once they have 4–6 sets of leaves
Pinching tops encourages lateral branching and bushier plants
During summer heat, monitor water temperature and top off more frequently. In cold weather, indoor growing becomes essential for most crops. Beneficial insects aren’t typically needed in closed aeroponic systems, but monitor for any hitchhikers on transplants.
Troubleshooting Common Tower Garden Seedling Problems
Even experienced growers encounter issues. Here’s how to identify and fix the most common seedling problems:
Leggy, stretched seedlings:
Cause: Weak light or lights positioned too far away
Solution: Move lights to 4–6 inches from canopy
Seedlings require high light intensity (12-16 hours) to prevent leggy growth
Most stretched starts can recover with proper light adjustment
Yellowing leaves:
Cause: Nutrient deficiency or pH imbalance
Solution: Check reservoir pH (reset to 5.8 if needed)
Add mild, balanced nutrient solution
Expect 90% recovery within 48 hours after correction
Damping-off (seedlings collapsing at stem):
Cause: Overly wet rockwool, poor airflow, or fungal pathogens
Solution: Reduce moisture, increase air circulation
Avoid standing water in trays
Sterilize equipment with 3% hydrogen peroxide if persistent
Transplant shock:
Symptoms: Temporary wilting after moving to tower
Solution: Shade new seedlings for first 24–48 hours outdoors
Reduce light intensity indoors during adjustment period
Mist leaves lightly if severe wilting occurs
Brown, slimy roots in net pots:
Cause: Low oxygen, warm stagnant water, or pump failure
Solution: Check pump function immediately
Clean reservoir thoroughly
Maintain water temperature below 75°F
This is why proper root health at transplant stage matters
Planning a Productive Tower: Sample Seedling Layouts
Strategic placement of seedlings improves airflow, harvest convenience, and overall yield. Here are three proven layouts for a 20–32 port tower:
Salad Tower Layout:
Top third: Arugula and premium greens mix (easy reach for frequent harvest)
Middle third: Romaine varieties (Sunland, Green Romaine Fusion) and butterhead lettuces
Throughout: Italian basil and cilantro interspersed for easy clipping
Great for those who eat daily salads with fresh herbs
Family Greens and Chard Setup:
Lower/mid ports: Swiss Chard Bright Lights (colorful, long-term producer with glossy leaves)
Center: Toscano kale and Red Russian kale with adequate spacing
Top third: Spinach and mizuna for tender greens
Produces stock for soups, sautés, and sauces over months
Mixed Tower:
Bottom ports (1–4): Cherry tomatoes (Supersweet 100) with stakes or cage support
Middle (5–20): Lettuces and herbs (oregano, thyme, garlic chives)
Top: Compact herbs and edible flowers
Requires more attention but offers diverse harvest
These layouts treat the tower in thirds rather than technical pod numbering. The shape of your harvest goals should determine your plant arrangement, and investing in a Nutraponics aeroponics garden tower system can make it easier to customize layouts.

Harvesting & Re‑Starting Seedlings for Continuous Tower Gardens
The goal of year-round production comes from overlapping seedling batches with current crops. With proper planning and an understanding of indoor hydroponic gardening basics, you’ll never have an empty tower or gap in fresh produce.
Cut-and-come-again technique:
Trim outer leaves of lettuce, kale, and Swiss chard at 1–2 inches
Leave center growth point intact
Plants continue producing for weeks to months
Works especially well for young tender greens
Typical harvest timelines:
Crop | Time to First Harvest |
|---|---|
Baby leaf lettuce, arugula | 3–4 weeks from sowing |
Full-size romaine hearts | 6–8 weeks |
Swiss chard and kale | 4–6 weeks (ongoing after) |
Herbs | 4–6 weeks |
Continuous production system: |
Sow a new tray of seedlings every 2–4 weeks
As older plants slow down or bolt, new transplants fill open net pots
Keep extra seeds in stock for consistent rotation
This approach is super easy once you establish the rhythm
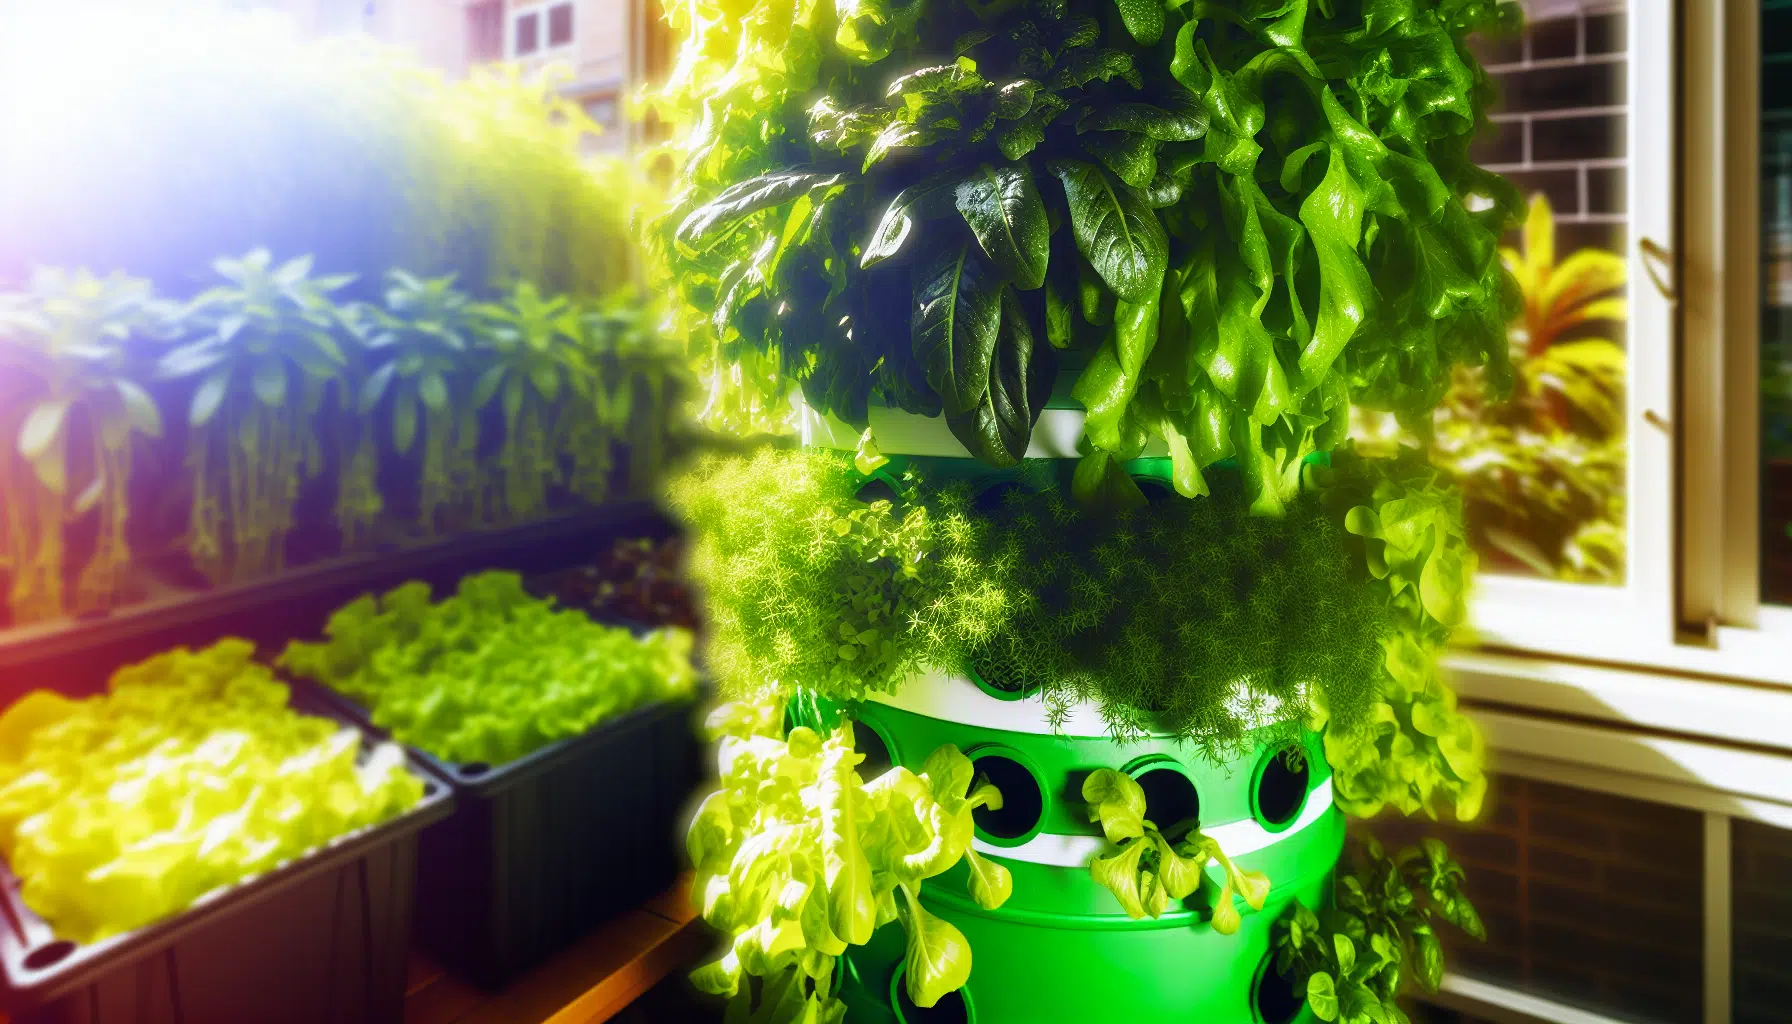
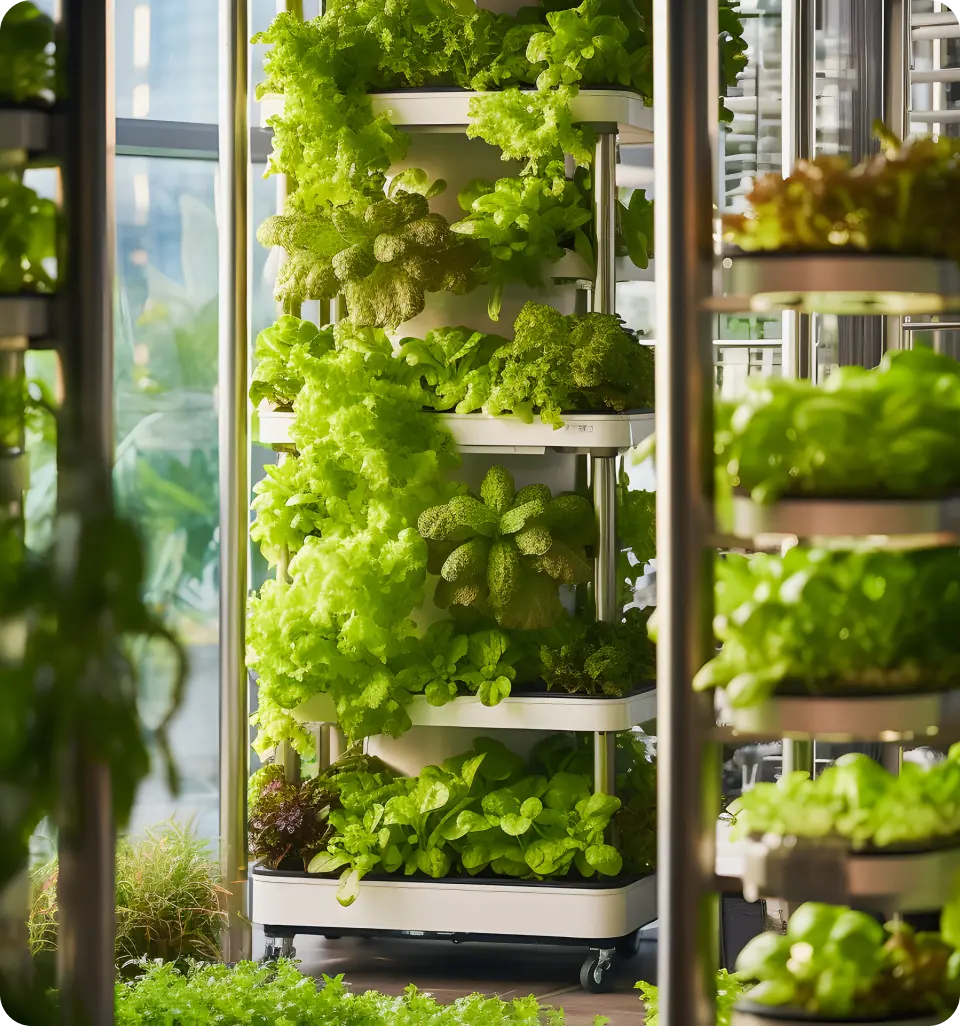
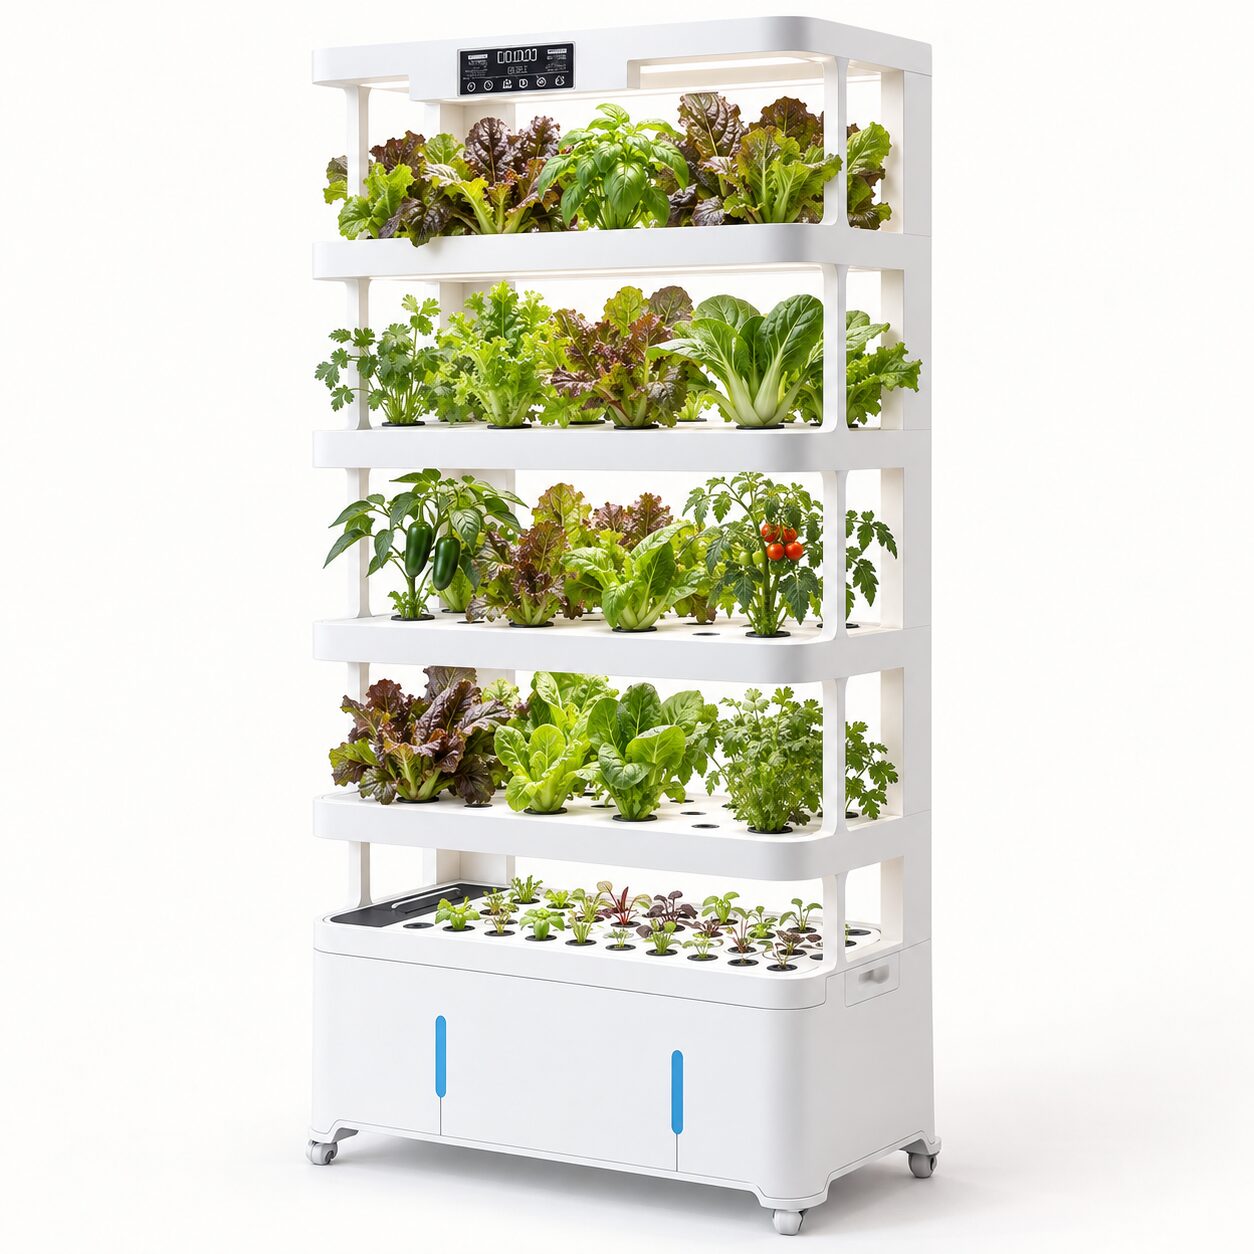
Life with a home aeroponic tower garden means fresh greens packed with flavor whenever you want them. The compact aeroponic tower system for home use works indoors or outdoors on any patio with adequate light.
A bit of planning keeps your tower garden full of fresh greens, herbs, and colorful Swiss chard all year. Start your first seedling tray this week—in just a few weeks, you’ll be harvesting food that’s fresher than anything you can ship from a store, with health benefits that make every effort worthwhile.