






The quick answer
A good DIY tower begins with constraints, not a pipe diameter. Decide what you want to grow, how much room you have, where the water will go if something leaks, and how you will safely power the pump and lights. Then choose components whose materials and ratings fit that use, test the water path with plain water, and only then add seedlings and nutrients.134
Build the system you can maintain
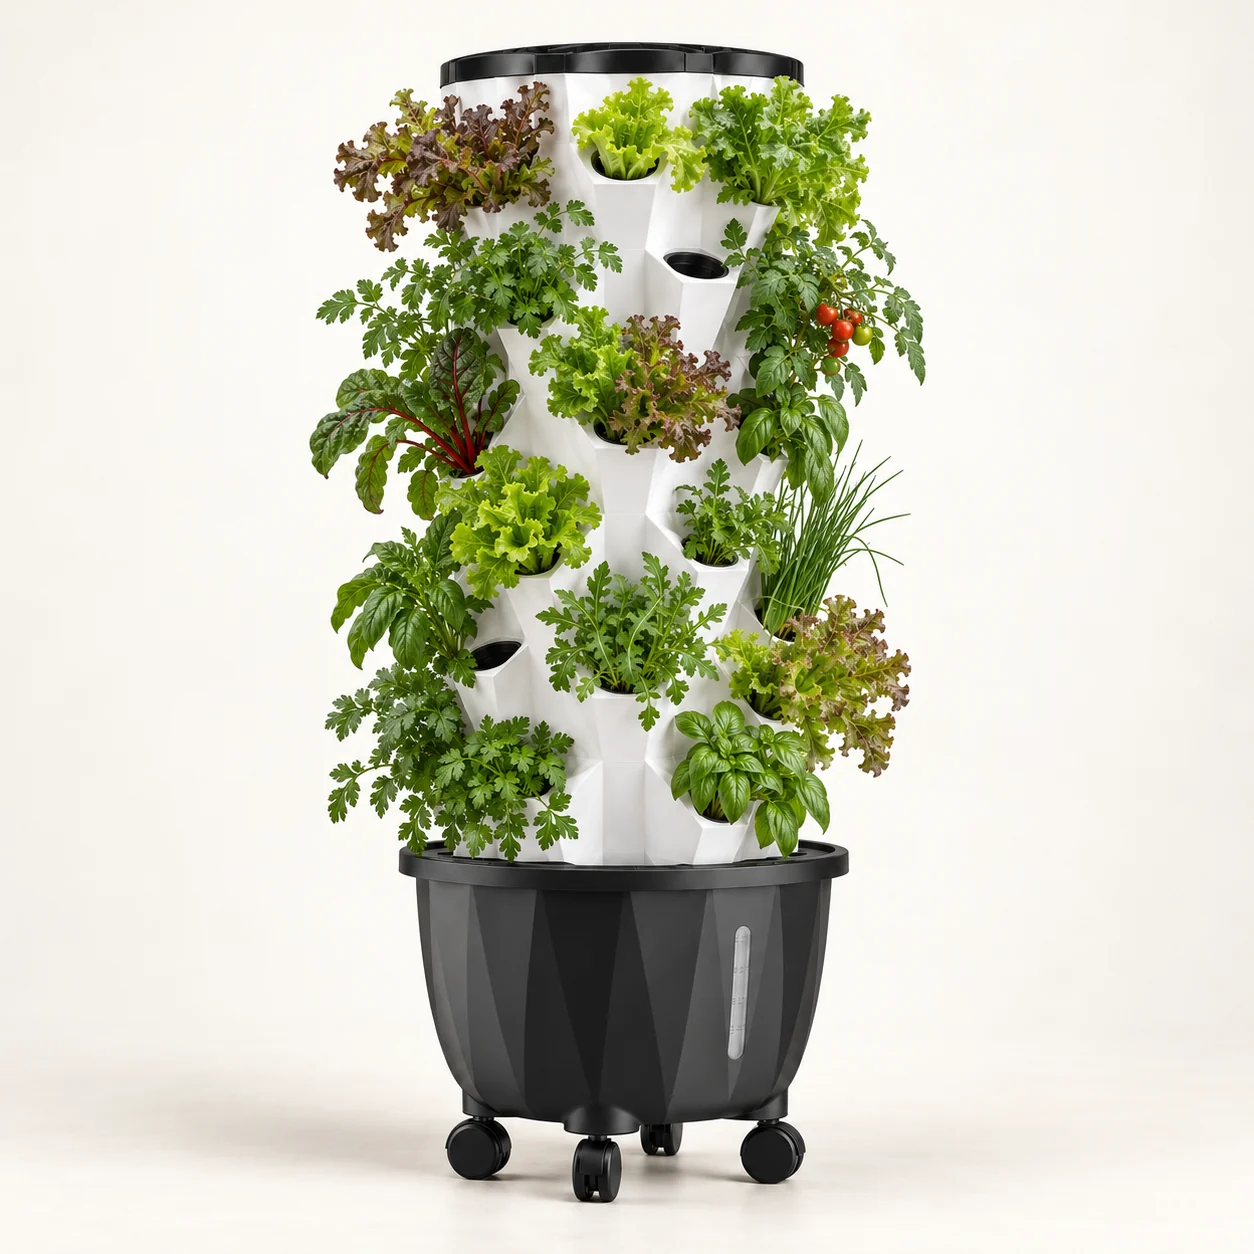
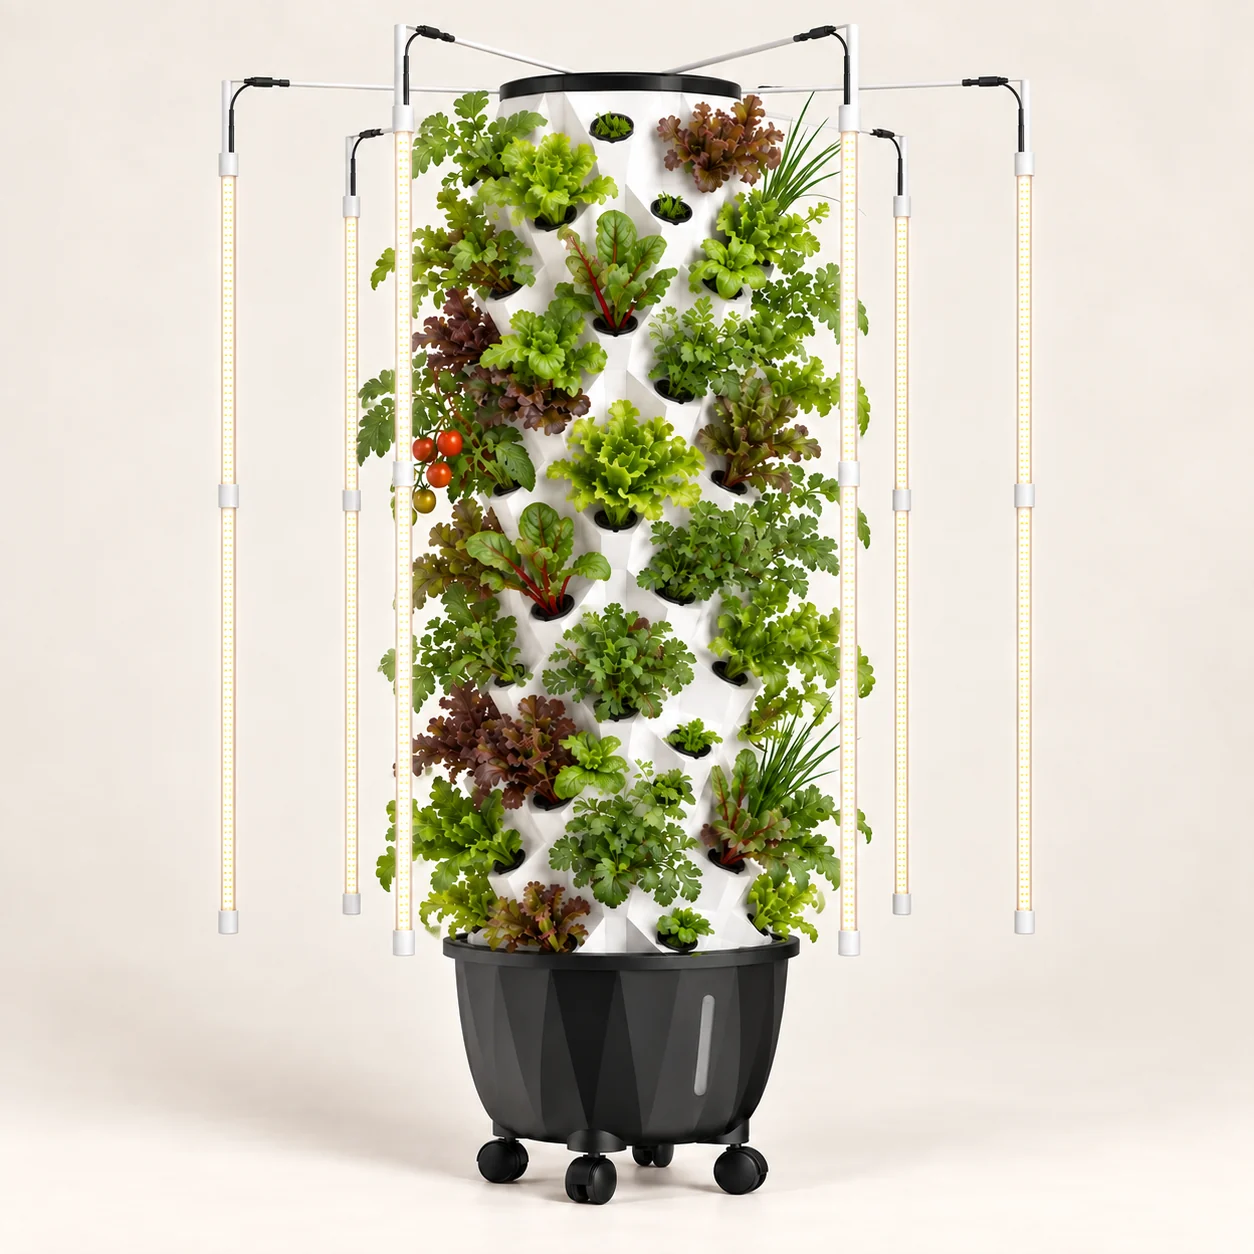
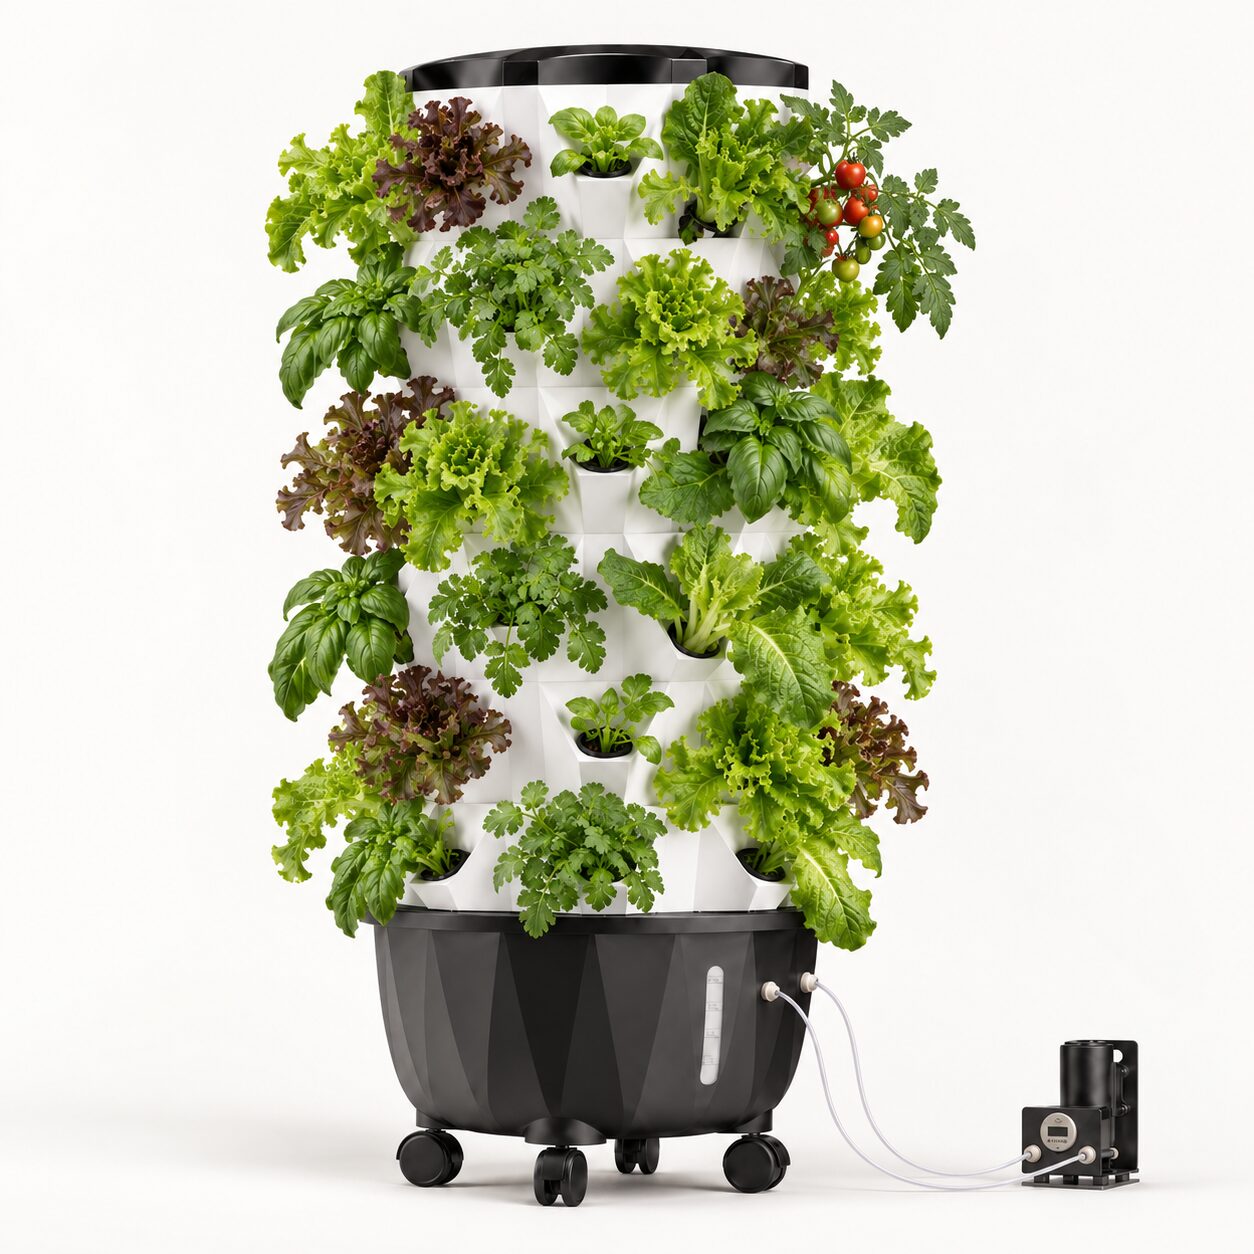
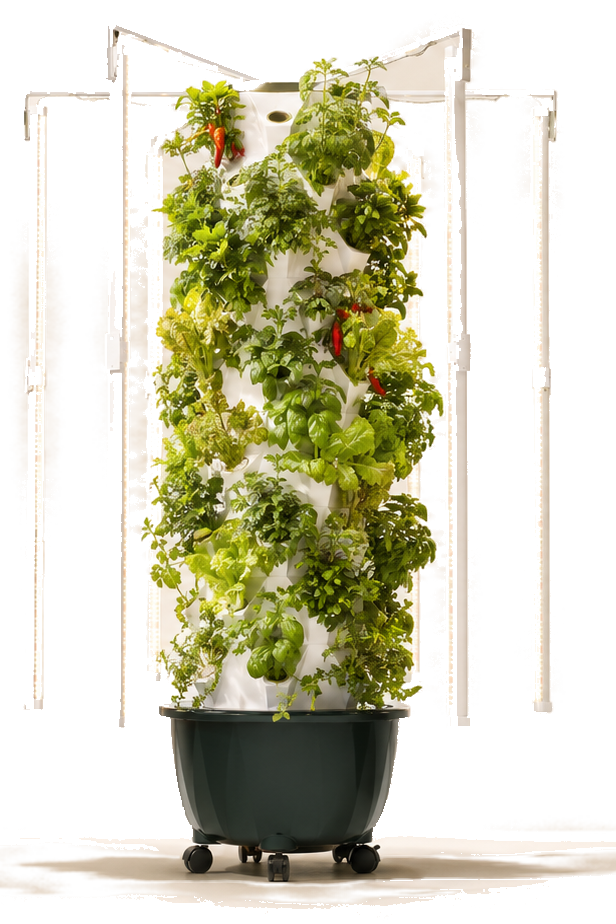
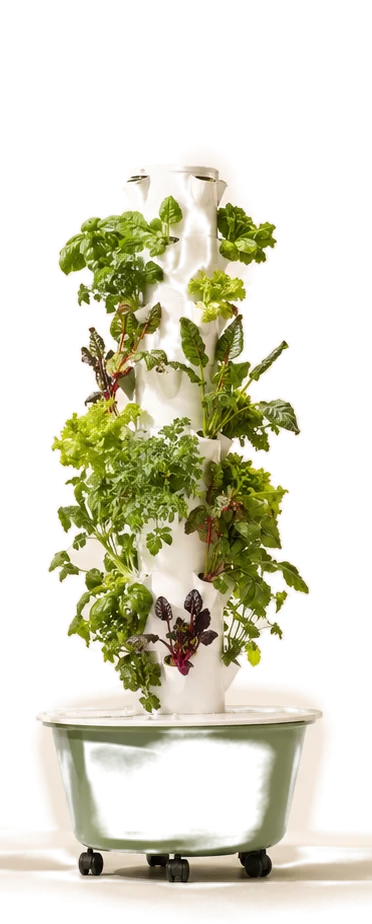
The most successful first build is usually a simple recirculating tower for leafy greens and herbs. A reservoir supplies a submersible pump; tubing lifts water to a distribution point; gravity returns it past the root zone. The important questions are whether every plant receives reliable moisture, whether the reservoir stays covered and accessible, and whether the whole structure remains stable as plants gain mass.
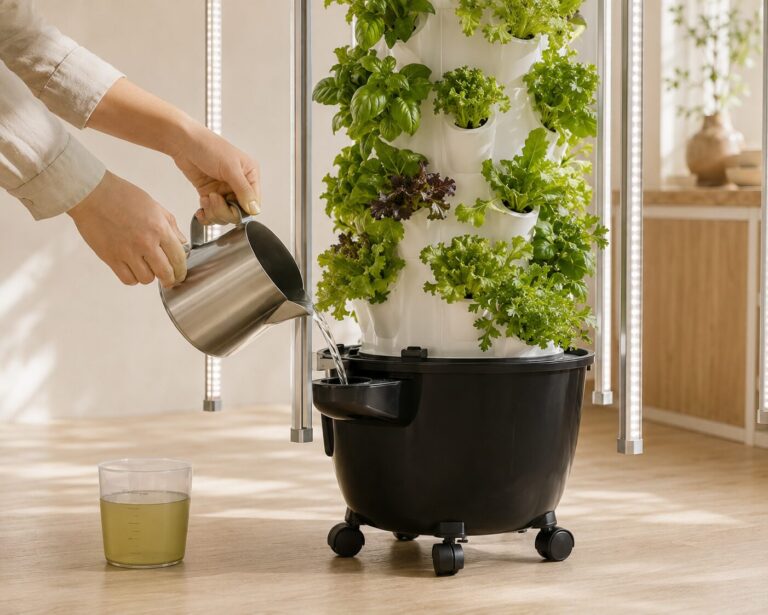
Do not treat a generic gallon-per-hour number as a pump-size formula. Pump output falls with vertical lift and plumbing resistance. Use the manufacturer’s pump curve at your actual head height, then test the assembled loop and adjust the distribution hardware rather than guessing.
Plan before you cut
A few minutes spent defining the build prevents the most common redesigns later.
Plan before cutting
Choose the crop and site
Leafy greens and many herbs are more forgiving than heavy fruiting plants. Measure mature canopy width, access for harvesting, reservoir service space, and the reach of your lights—not just the bare tower footprint.
Draw the water path
Sketch the reservoir, pump, tubing, top distribution and return. Keep the return unobstructed and provide a way to inspect and clean each part without dismantling the whole tower.
Test before planting
Run plain water long enough to expose leaks, tipping, uneven delivery and pump problems. Confirm the tower can be drained and cleaned. Fix those issues before seedlings or nutrients make the system harder to troubleshoot.

Five parts that have to work together
The tower is a loop. Changing one part can change flow, stability and maintenance elsewhere.

Structure
Use a rigid, stable column or modular stack with smooth plant openings and a base that resists tipping. Select water-contact materials based on the manufacturer’s intended use or relevant certification—not on color or a generic “food safe” label.1

Reservoir
Choose an opaque, cleanable container large enough for the plant load and easy to access for top-offs and complete solution changes. Keep light out and provide a lid that does not weaken the tower support.

Pump
Choose from the pump curve at the required lift. Include tubing and fittings in the real test. A spare pump can be useful if the garden matters to your weekly harvest.

Distribution
The outlet or manifold should wet the intended root zone without sending water outside the tower or leaving dry sides. Build it so roots and debris can be removed during cleaning.

Plant support
Use cups, collars and starter media that fit securely and do not expose large light gaps. Match spacing to the mature crop rather than maximizing the number of empty holes you can drill.
Choose crops that match a first tower
Start with crops that tolerate compact root zones and frequent harvesting. Move into larger fruiting crops only after you have enough light, support and root clearance.
Leafy greens
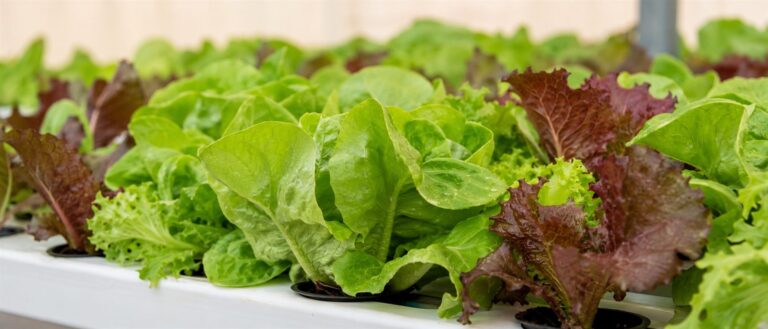
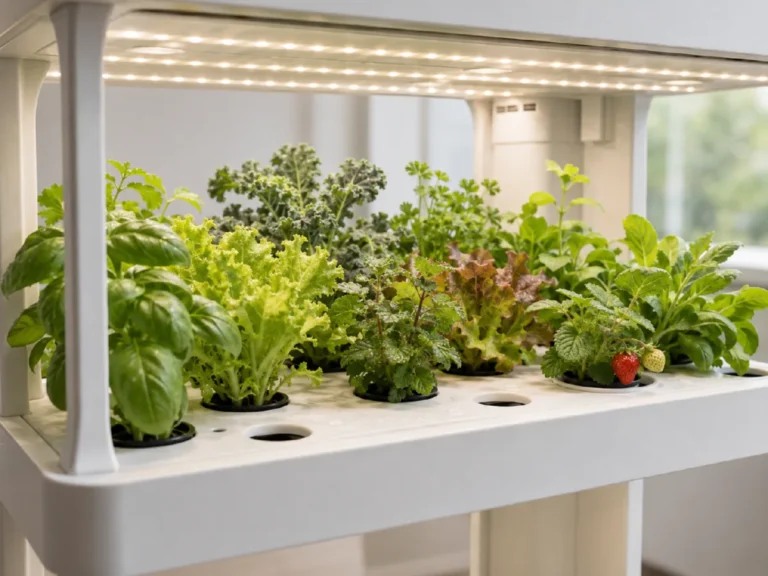
Lettuce and similar greens are a practical first crop because plant size and support needs are modest. Use crop-specific pH and EC guidance rather than one tower-wide universal target.
Herbs
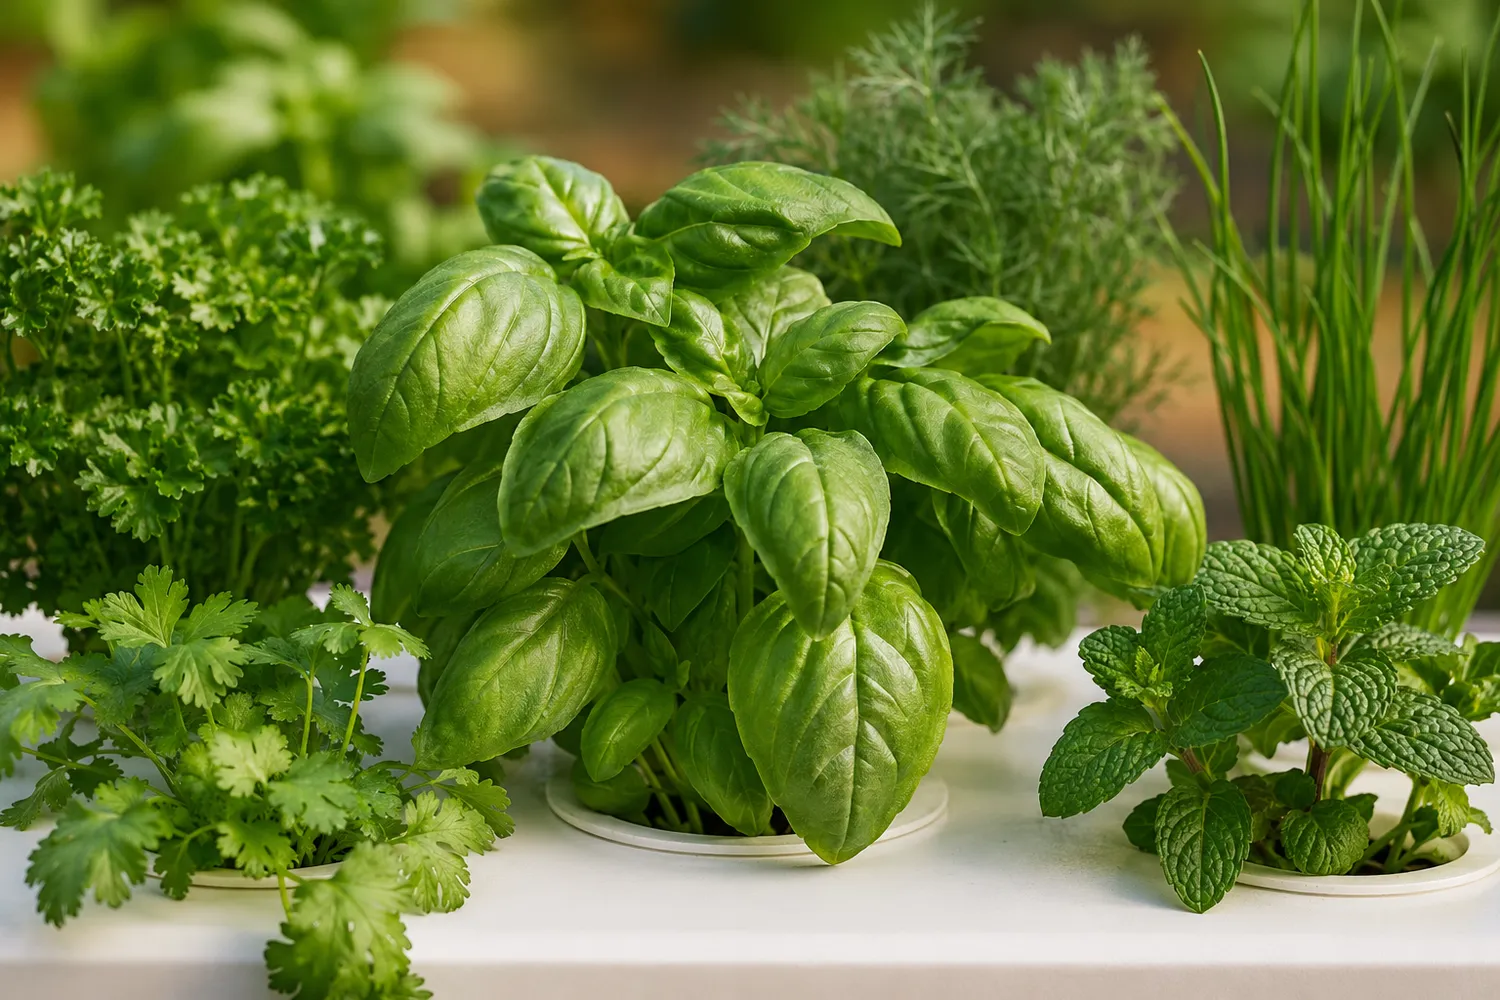
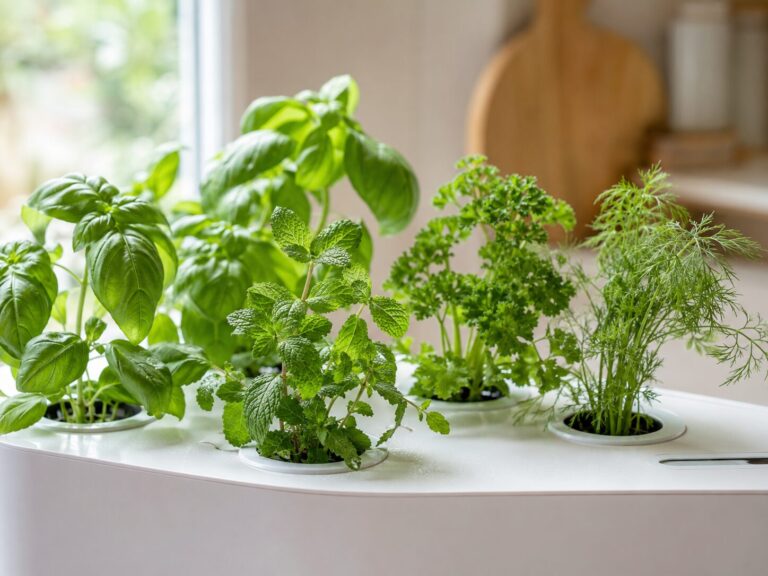
Basil, parsley and many culinary herbs fit compact towers well, but growth habits differ. Give vigorous herbs enough spacing and keep roots from obstructing the water path.
Fruiting crops
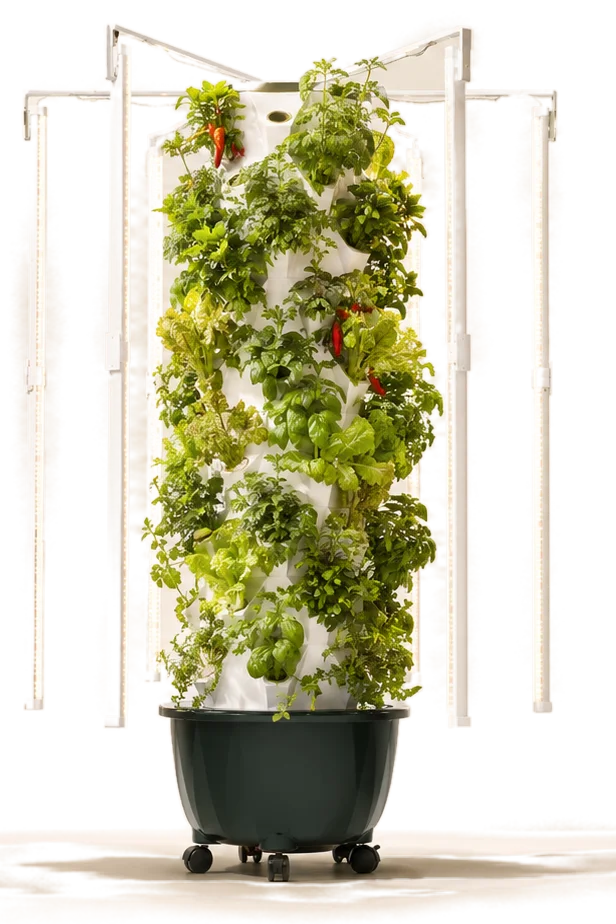
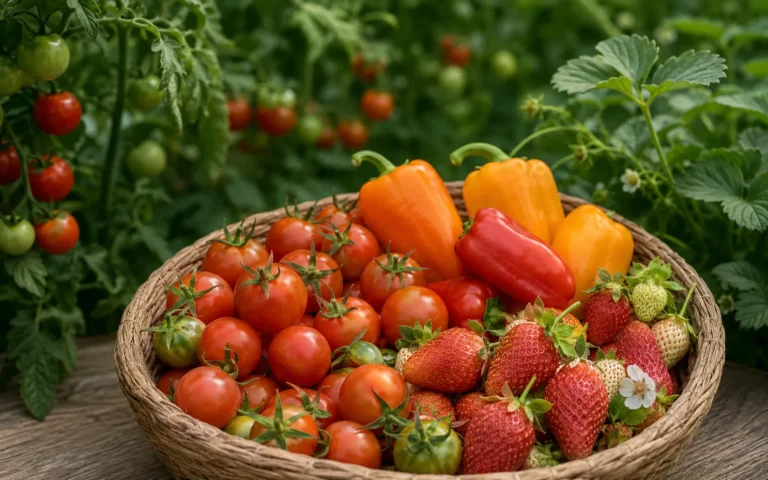
Tomatoes, peppers, cucumbers and strawberries can demand stronger light, structural support and more root room. Fewer sites may produce a healthier layout than filling every opening.
Leave room to learn
Keep some sites empty during the first cycle if that improves access, airflow and observation. A tower is successful when crops remain manageable—not when every possible hole is occupied.
Commission it like equipment, not furniture
Before the first crop, verify stability, leak containment, pump access, electrical protection, drainage, flow to every zone and a simple shutdown procedure. Label the power source and keep the floor dry. In classrooms, adults should handle cutting, mains power, nutrient concentrates and chemical adjustments.345
After planting, inspect the system more often during the first week. Record water level, pH, EC, plant response and any change in flow. Small reservoirs can change faster than large ones, so set the monitoring routine from what the system actually does.2
What DIY gives you—and what it asks from you
Benefits
You control the layout, component choices and repairability. Building the system can also make the water path and plant needs easier to understand.
Trade-offs
There is no manufacturer taking responsibility for the complete assembly. You must validate stability, electrical separation, material suitability, pump performance, leaks, crop spacing and replacement parts yourself.
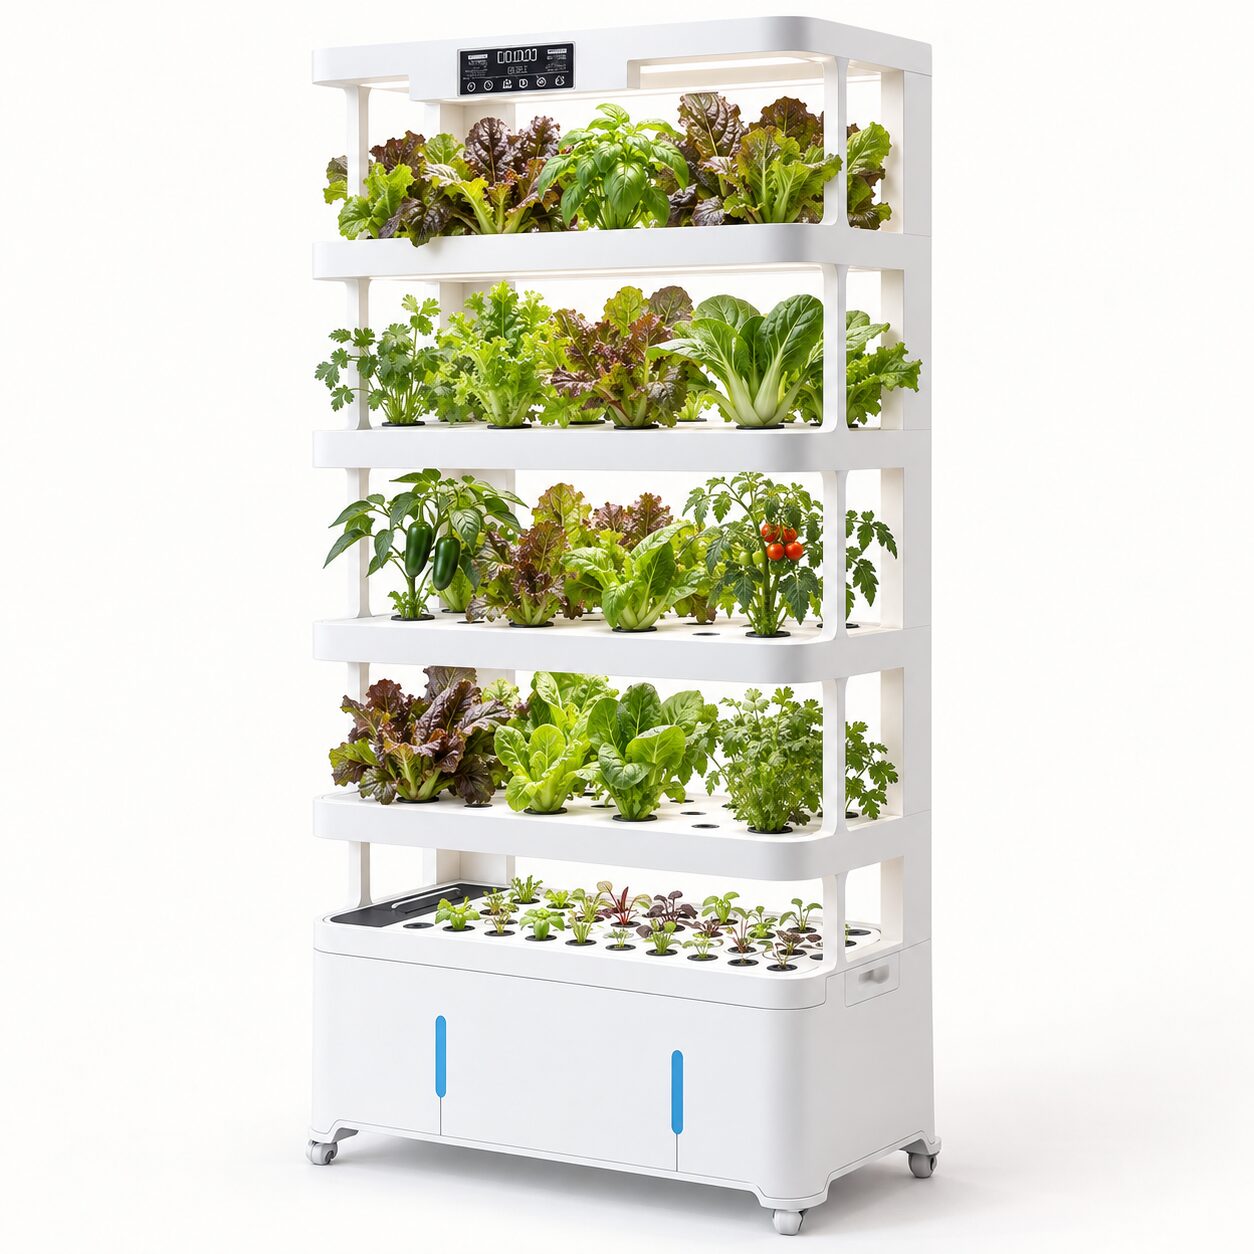
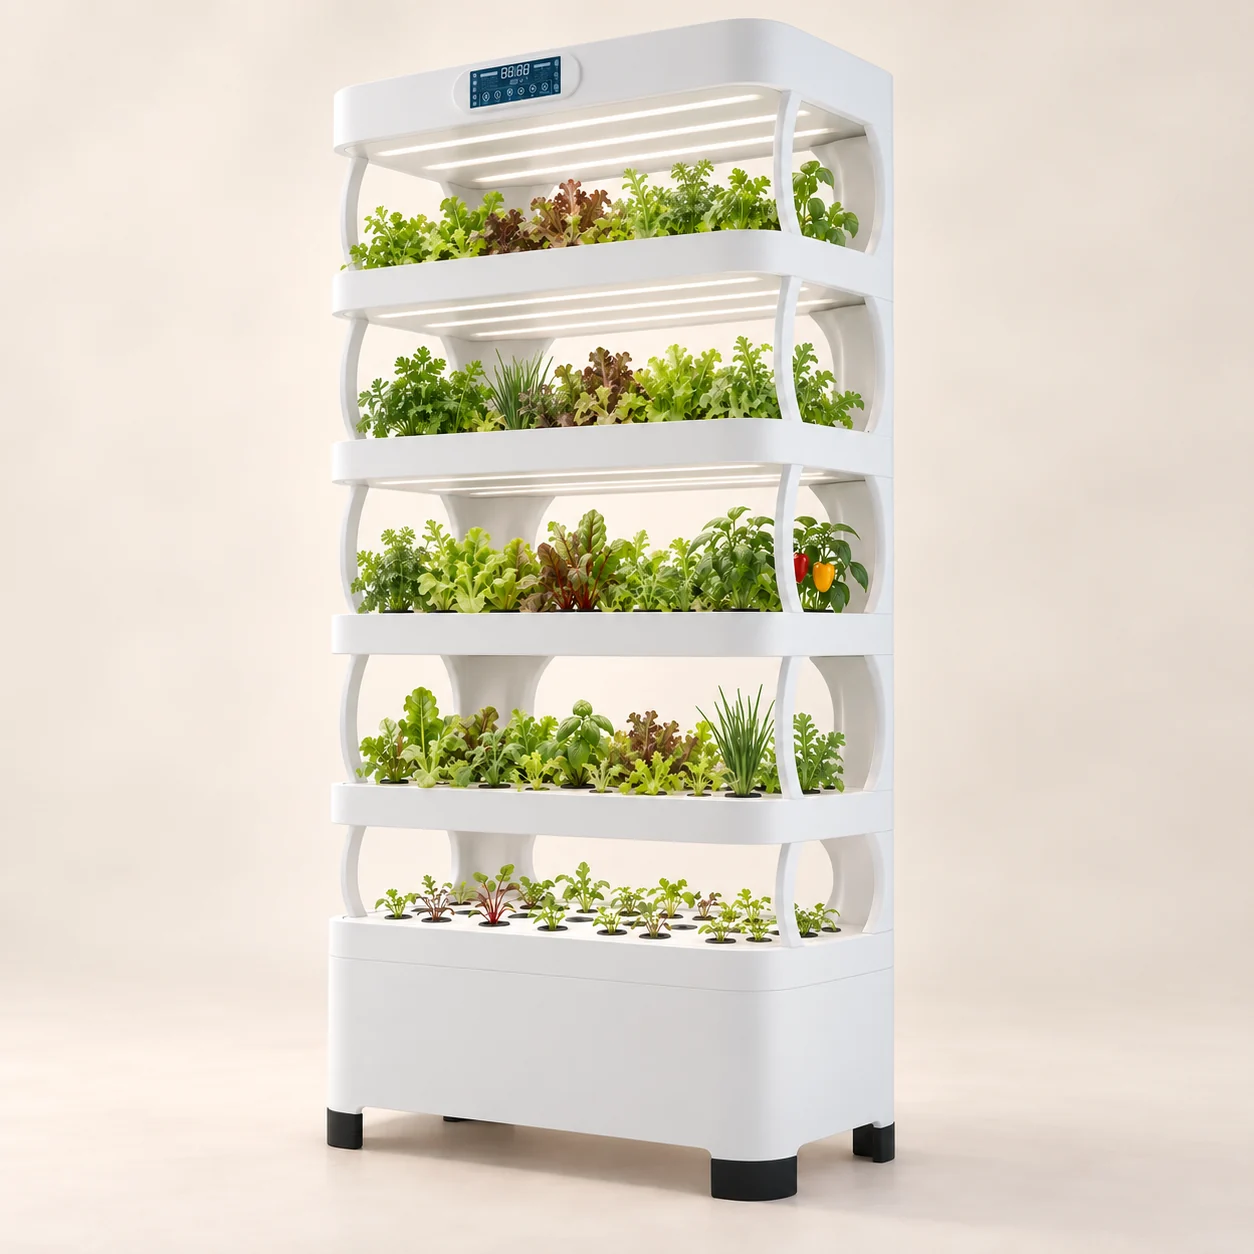
A ready-made system becomes attractive when you value tested geometry, integrated lighting, documented operation and support more than fabrication freedom.
Common Questions
How much should a DIY hydroponic tower cost?
There is no reliable universal build price. Local pipe, reservoir, pump, lighting, tools and fittings can move the total substantially. Make a bill of materials before buying, separate tools you already own from consumables, and include replacement parts and lighting if the system will be indoors.
What size pump should I buy?
Do not choose from GPH alone. Determine the vertical lift from reservoir water level to the outlet, read the manufacturer’s flow curve at that head height, allow for tubing and fittings, and verify the real assembled flow with plain water. If a seller provides only zero-head flow, ask for more information.
Can I use PVC for a hydroponic tower?
PVC is a broad material category. Choose pipe, fittings, coatings and adhesives that the manufacturer identifies for the relevant water-contact application, and check applicable certifications or standards. Avoid assuming that every plastic labeled PVC is equivalent.1
How do I keep electricity safe around the reservoir?
Use GFCI protection, properly grounded and listed equipment, intact cords, drip loops and dry, elevated connections. Keep electrical connections away from splash and leak paths, and unplug the system before reaching into the reservoir or servicing the pump. Local electrical requirements may add further rules.34
What should I grow first?
Leafy greens and compact herbs are usually easier first crops than large vines or heavy fruiting plants. Match spacing, light, root room and support to the specific crop instead of filling every available site.
When should I buy a ready-made system instead?
A ready-made system may be a better fit when you need a predictable footprint, integrated lighting, documented operation, replacement parts and support—or when the time and tools needed to fabricate safely outweigh the savings from sourcing components yourself.
Related Guides
View all guides →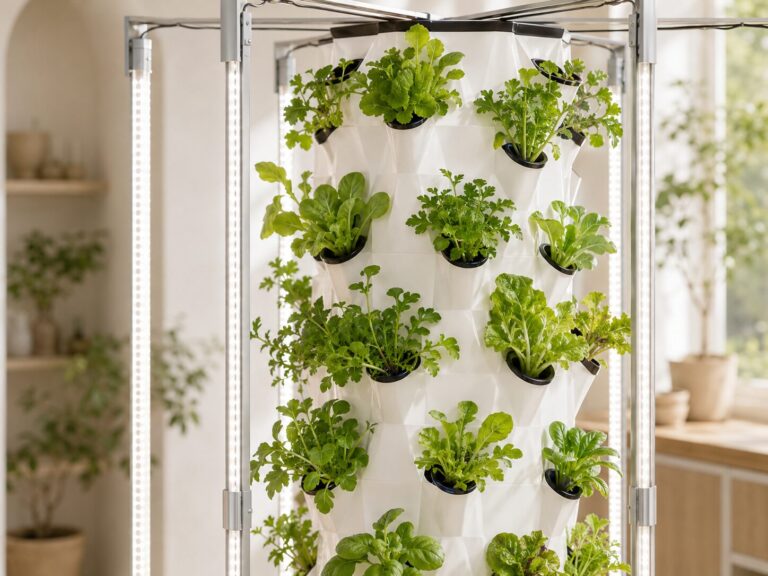
Growing guide
How Hydroponic Towers Work
Understand the water-delivery loop before you build one.
Read guide →
Beginner guide
Tower Garden Seedlings
Start and transplant plants without turning the build into the hardest part.
Read guide →
Growing guide
Best Water Quality for Hydroponics
Separate source-water questions from the finished nutrient solution.
Read guide →Sources & further reading
- NSF - Plastic Materials CertificationUse product-specific certifications and manufacturer suitability for water-contact components; PVC as a material family is not itself proof that every pipe, coating or fitting is appropriate.
- Oklahoma State University Extension - Electrical Conductivity and pH Guide for HydroponicspH and EC are separate measurements and crop ranges differ. Avoid one universal target or improvised chemical-adjustment recipes.
- U.S. Consumer Product Safety Commission - GFCI Fact SheetGFCI protection is an important safeguard where electricity may be used around moisture, including DIY electric garden equipment.
- OSHA - Electrical SafetyGeneral electrical-safety context: grounding, damaged cords, wet hands and electrical equipment near water require controls. Workplace guidance, not a home-installation code substitute.
- University of Minnesota Extension - 4-H Hydroponics: Youth Growing Food and PurposeSupports hydroponics as a hands-on educational activity for grades 6-12; it does not authorize students to perform cutting, mains wiring or hazardous fabrication.
Sources support general safety and hydroponic-management guidance. They do not certify this proposed DIY design, any specific pipe/pump, or a particular harvest outcome.