A DIY hydroponics tower is a vertical hydroponic system that lets you grow lettuce, herbs, spinach, strawberries, and other compact crops in a small footprint without soil. For a practical first tower, expect an all-in build cost of about $150-$300 when you include pvc pipe, net pots, a water pump, tubing, reservoir, growing media, nutrients, and basic testing supplies.
This guide covers PVC tower construction, pump systems, plant selection, lighting, maintenance, realistic yields, and common beginner mistakes. It does not cover advanced automation, sensor-controlled dosing, or commercial-scale multi-tower farm design. We are writing from the perspective of a hydroponics system manufacturer with real-world growing experience, so the focus is not just how to create your own hydroponic tower, but how to make one that actually grows food consistently.
A well-built DIY vertical hydroponic tower can support 25-40 small plants in roughly a 2×2 foot footprint, depending on pipe diameter, spacing, crop choice, and light. Materials-only builds can sometimes land closer to $80-$150, but most beginners spend more once they add tools, grow lights, nutrients, pH testing, and replacement parts.
You will learn how to:
Choose the right materials, including pvc pipe, net cups, pump, tubing, bucket, and reservoir
Size the water pump so nutrient rich water reaches the top of the tower
Drill and space planting holes for healthy root growth and better access to light
Select crops with realistic yields, from lettuce and herbs to strawberries and dwarf fruiting plants
Maintain water flow, nutrient solution strength, pH, and algae control over time
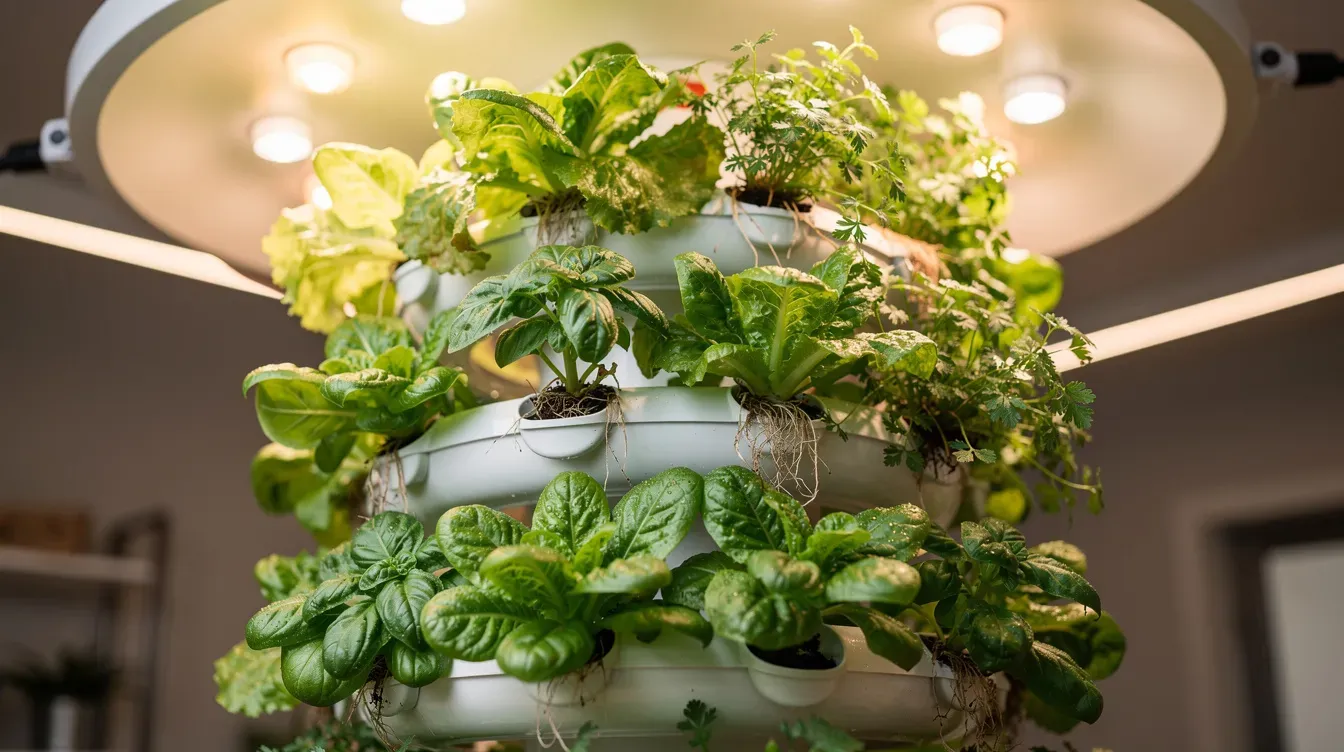
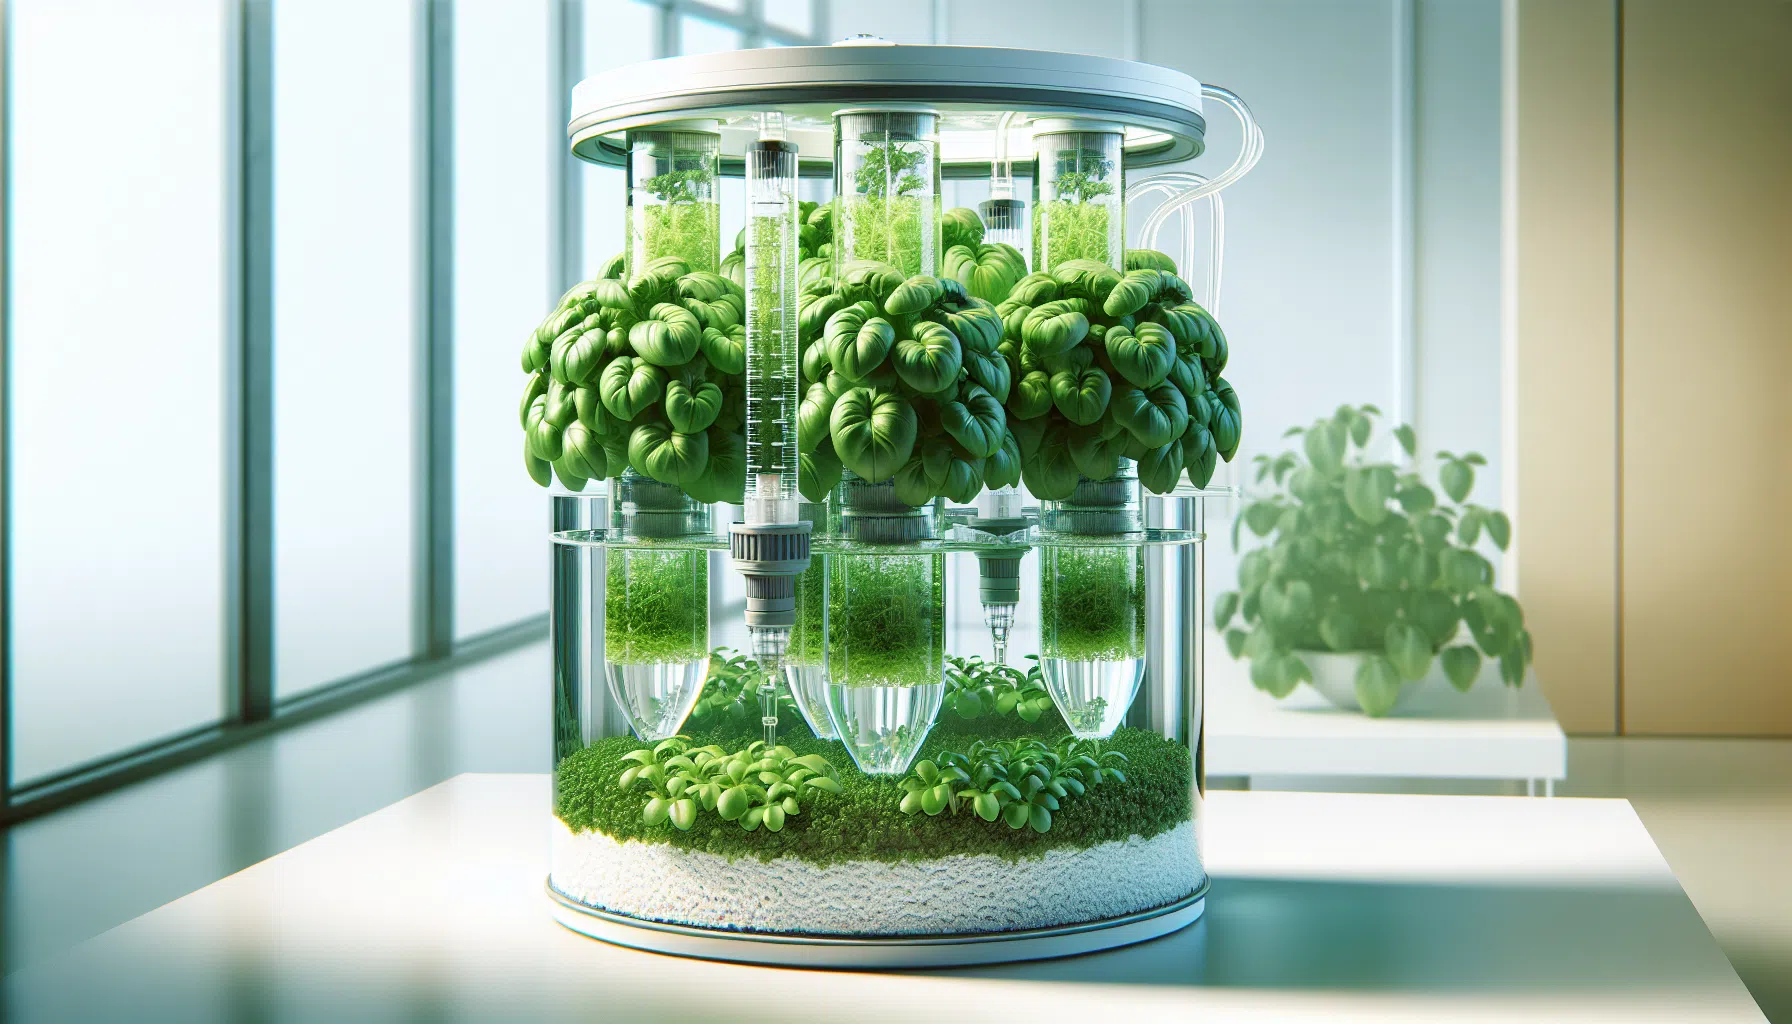
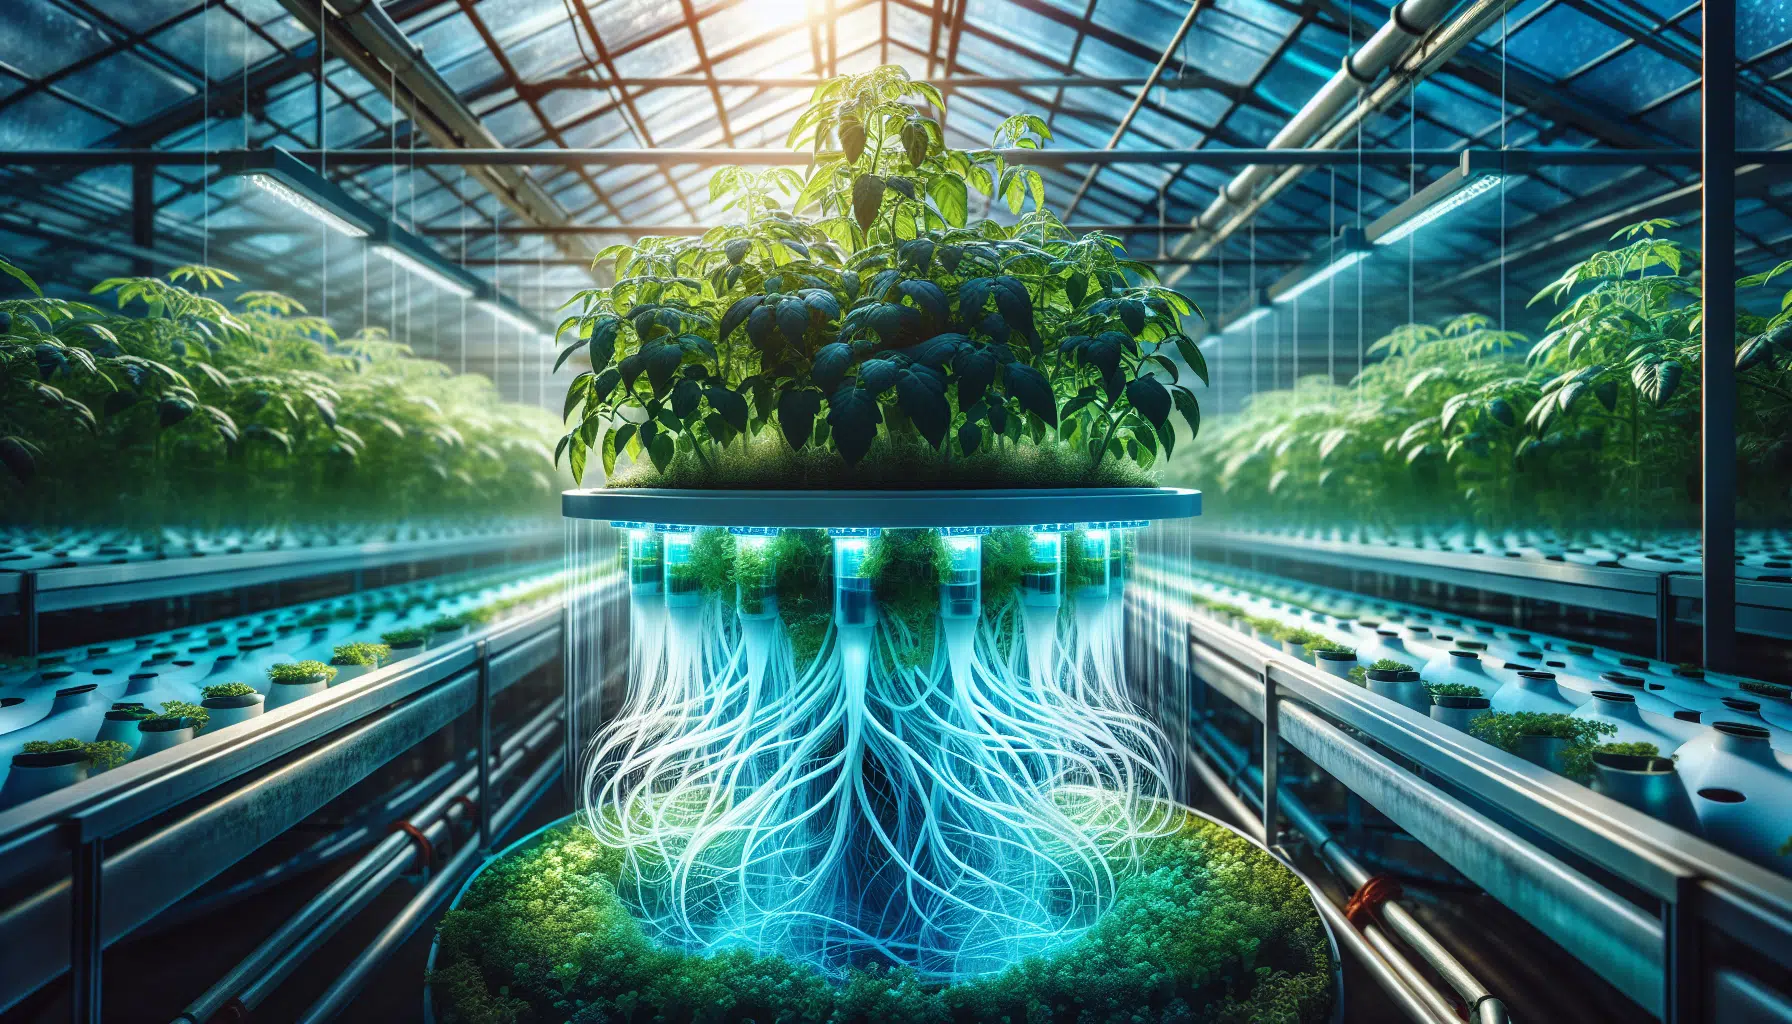
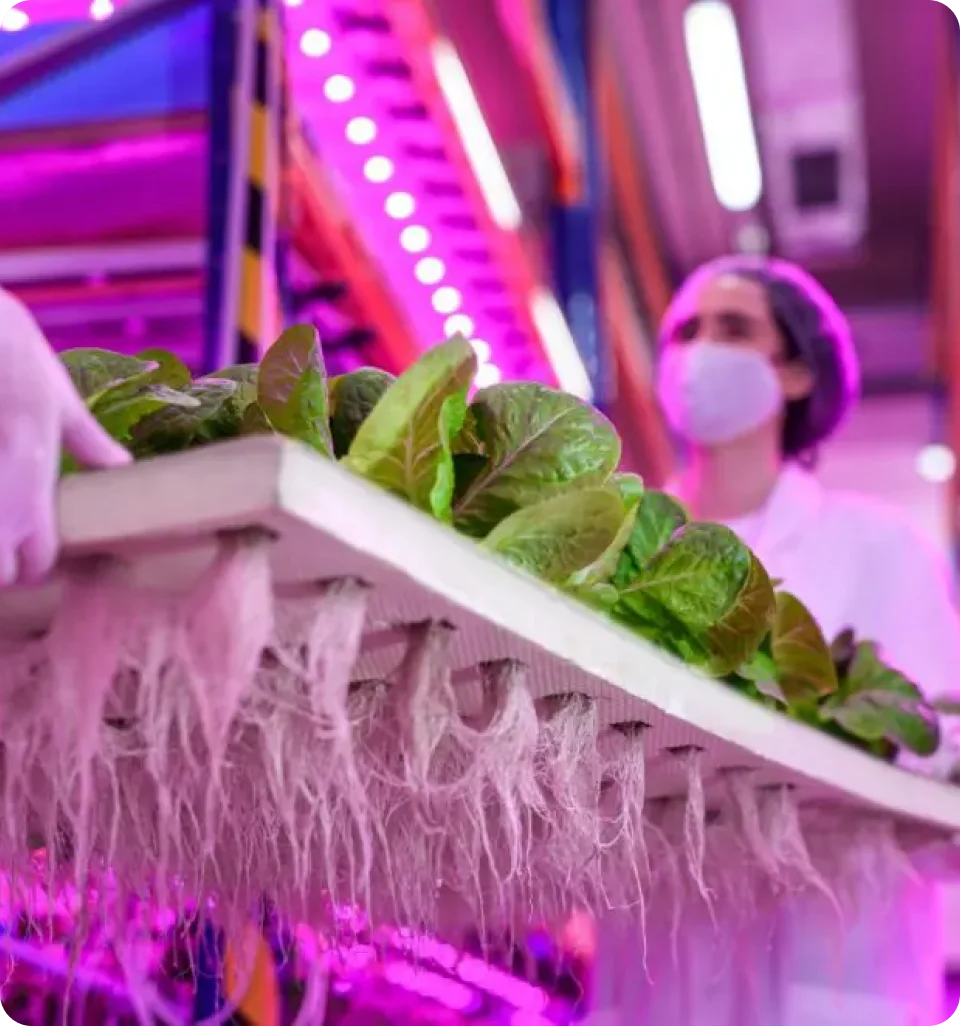
Vertical hydroponics is a method that involves growing plants upwards rather than across horizontal space, using a tower system to maximize limited growing areas. A hydroponic tower is usually a vertical column with plant sites arranged along the sides, a reservoir at the base, and a pump that moves nutrient solution upward so it can drain back down past the roots.
A DIY hydroponic tower requires a vertical column, a water reservoir, a submersible pump, tubing, and net pots. In most home projects, the vertical column is made from pvc pipe, a vinyl fence post, or another rigid plastic structure; the reservoir is often a bucket or storage tote with a lid; and the pump sits inside the reservoir to circulate water and nutrients.
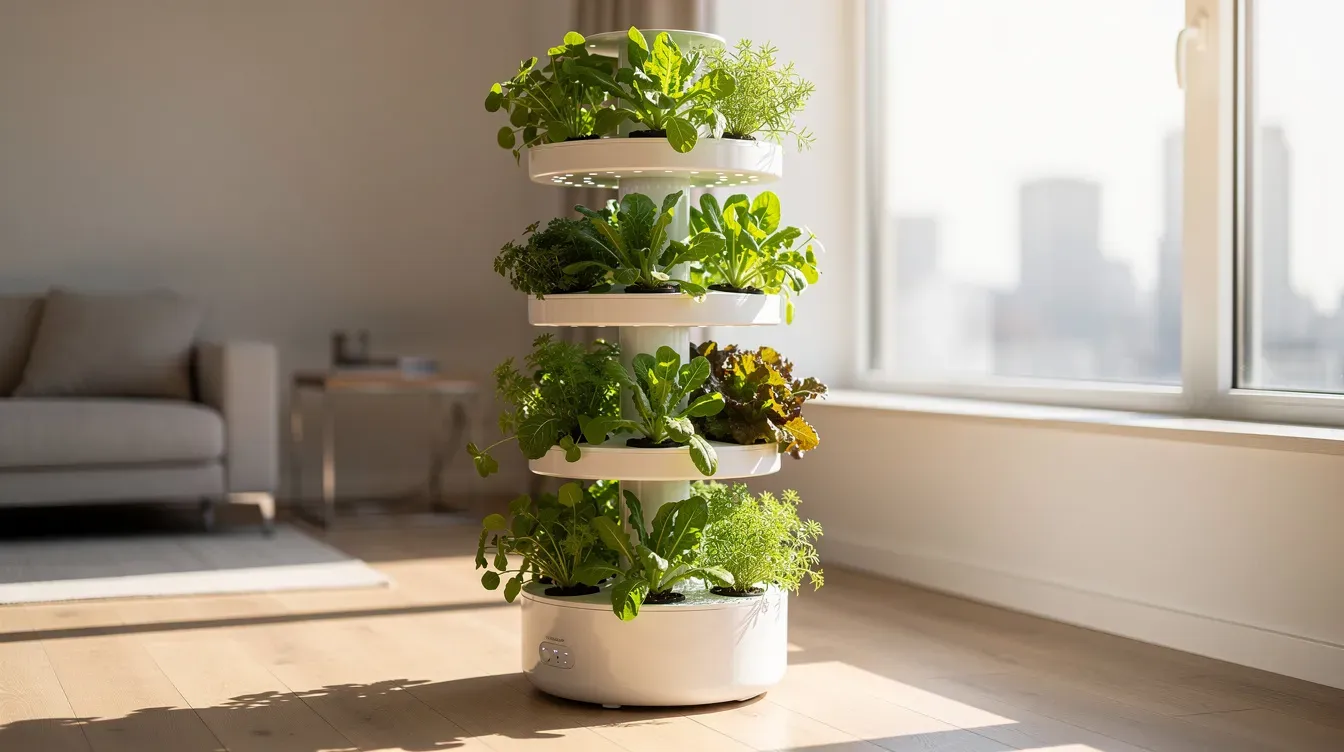
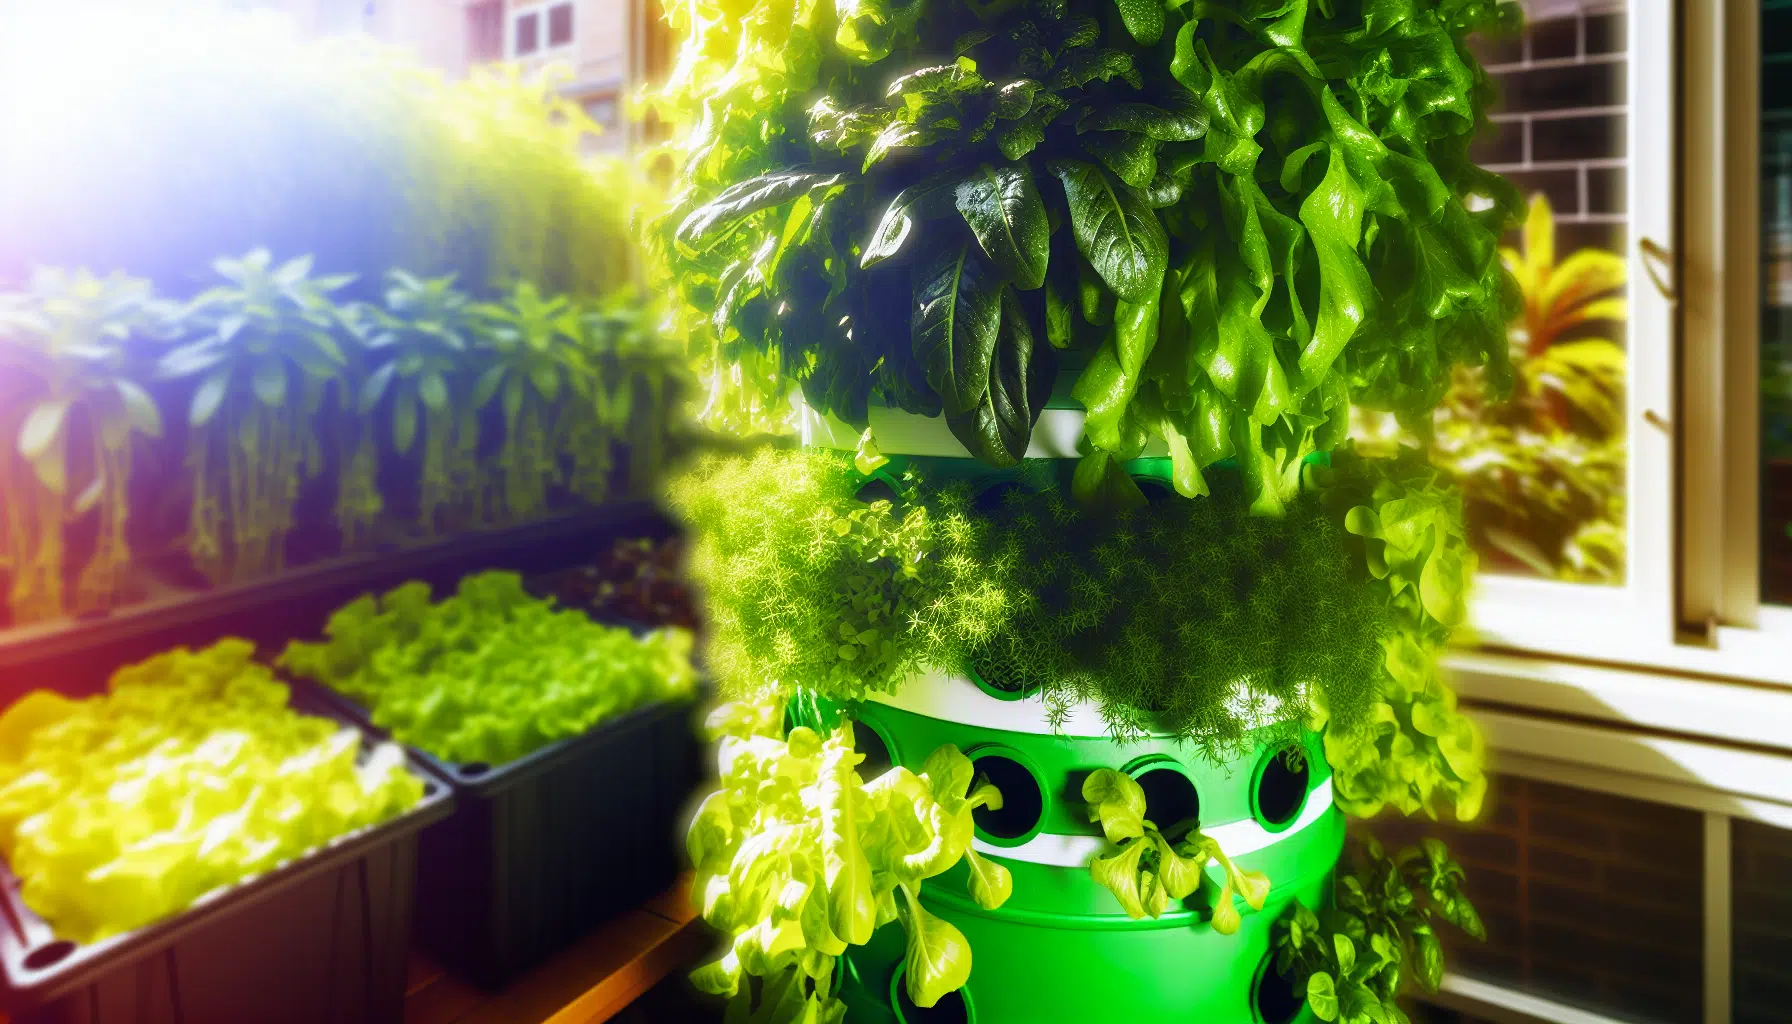
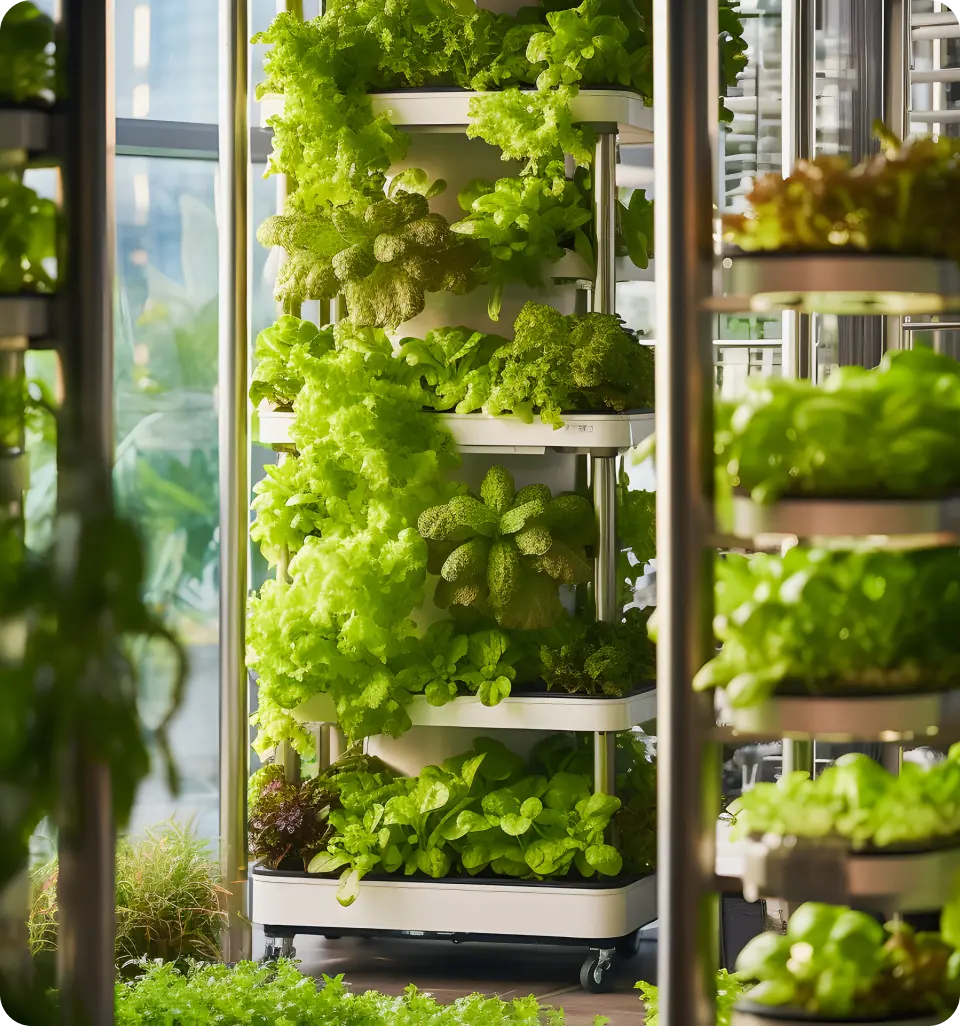
The advantage is density. In a vertical hydroponic system, plants are typically arranged in a cylindrical or stacked design, ensuring that each plant has access to light, water, and nutrients. Compared with traditional soil beds, vertical hydroponic tower systems can deliver higher yields per square foot with far less water. Instead of spreading plants across a raised bed or flat tray, vertical towers stack growth zones upward, which is why tower gardens are attractive for balconies, patios, kitchens, garages, and compact urban gardening spaces.
Most DIY tower gardens use a pump-circulated, gravity-return method. The water pump pushes nutrient solution through tubing to the top of the tower, and gravity pulls the solution down through the pipe, over the roots, and back into the reservoir. This controlled cycle is one reason vertical hydroponics can promote faster growth: plants have better access to nutrients and water than they would in many soil-based systems.
Gravity-fed and pump-circulated systems are related but not identical. A simple drip tower uses the pump to lift water and then relies on gravity for downward flow. More advanced tower design options include aeroponic misting towers for home growing, stacked NFT-style channels, or modular vertical towers with internal manifolds. For a first tower, a drip or trickle method is usually more forgiving than high-pressure aeroponics.
Water flow determines plant health. If the pump is too weak, upper plants dry out and lower plants may receive inconsistent nutrient rich water. If the pump is too strong, the system may splash, leak, heat the reservoir, or drown roots. Submersible pumps used in hydroponic systems should have enough power, typically 160 to 400 GPH, to reach the top of the tower; for many 4-6 foot DIY builds, 200-400 GPH is the safer target.
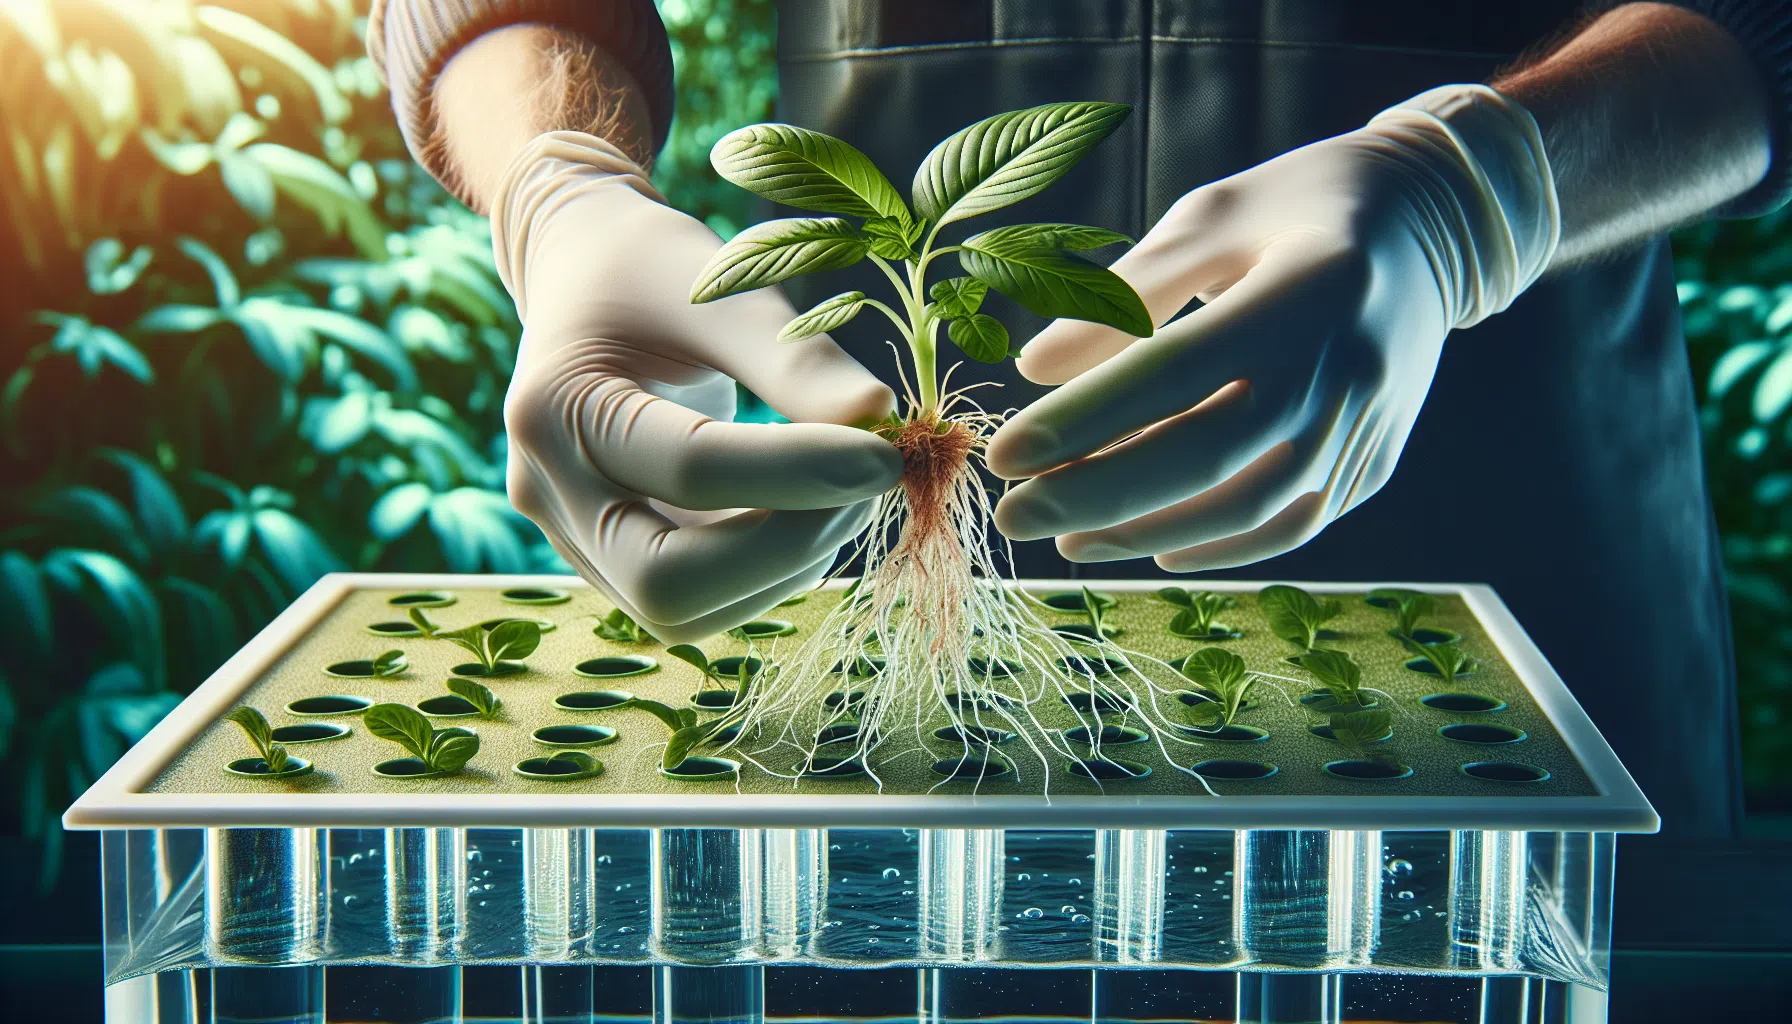
A hydroponic tower does not use soil. Plants sit in net pots or net cups, and their roots grow into a moist, oxygenated zone where they receive nutrient solution. The pot holds the plant upright; the media supports the seedling and helps balance moisture, aeration, and root contact.
Rockwool cubes are commonly used as growth media for germinating seeds in hydroponics. Many growers start seeds in rockwool, then move the rooted cube into net pots filled with clay pebbles, perlite, lava rock, or another loose hydroponic medium. The media should not compact around the roots, because compacted media restricts oxygen and slows growth.
The media choice connects directly to water flow. A fast-draining medium reduces root rot risk but may require more frequent pump cycles. A moisture-heavy medium can protect seedlings during short pump interruptions but may stay too wet in lower tower sections. For beginners, rockwool cubes for germination plus clay pebbles in the cups is a reliable method.
Once you understand circulation, support, and root-zone behavior, material selection becomes much easier.
A successful hydroponic system is not just a pipe with holes. It is a balanced loop: structure, water movement, plant support, oxygen, light, nutrients, and access for cleaning. Building a hydroponic tower typically requires materials such as PVC pipes, buckets, a water pump, and a reservoir for nutrient solution, or you can source a complete setup from a premium hydroponic tower system store if you prefer not to assemble components individually.
The best DIY builds are simple, serviceable, and easy to inspect. We see many beginner failures caused by using the wrong plastic, undersizing the pump, drilling uneven holes, or leaving too many places for light to enter the reservoir and cause algae growth.
For most leafy greens and herbs, 4-inch Schedule 40 pvc pipe is the standard DIY choice. It is rigid, widely available at a hardware store, compatible with 2-inch net pots, and light enough to mount safely. A 6-inch pipe gives roots more sufficient space and allows larger net cups, which helps with strawberries and dwarf cultivars of tomatoes, peppers, and cucumbers, but it increases cost, weight, and support requirements.
A 4-6 foot tower is the practical range for a first tower. Over 6 feet, the pipe becomes harder to stabilize, the pump needs more head height, and maintenance becomes less convenient. A hydroponic tower can also be designed to hold multiple tiers, with a common configuration being 4-5 layers for efficient use of vertical space.
The placement of planting holes in hydroponic towers is typically staggered and spaced 6 to 8 inches apart vertically. Staggering holes around the pipe improves access to light and reduces shading. For 2-inch net cups in a 4-inch pipe, 6-inch spacing is common for lettuce and herbs. For larger plants or 3-inch cups, use 8-10 inches where possible.
Use food safe materials wherever the nutrient solution contacts plastic. White rigid plumbing pvc is commonly used in DIY builds, while flexible or unknown plastics are less predictable. Some growers use a vinyl fence post because it has flat sides and is easier to drill cleanly, but post preparation care matters: clean the post thoroughly, block light, smooth cut edges, and verify the material is suitable for a wet growing environment.
Outdoor towers need protection from sun and rain. UV exposure can degrade plastic over time, and rain can dilute nutrient solution in an open reservoir. Paint or wrap the tower to block light and reduce algae, but keep coatings on the outside only and allow full curing before plants are added.
The water system includes the reservoir, submersible pump, tubing, top distribution point, drain path, and any fittings attached to the pipe or lid. A simple tower usually places the pump inside a bucket or tote reservoir at the base, routes tubing up the center or outside of the pipe, and releases solution at the top.
Pump sizing is one of the most important decisions. Submersible pumps used in hydroponic systems should have enough power, typically 160 to 400 GPH, to reach the top of the tower. For a 5-foot vertical hydroponic tower, we usually recommend 200-400 GPH with adequate head height, because flow rating drops as water is lifted upward and pushed through tubing and fittings.
Use 1/2-inch tubing for many small builds, and avoid unnecessary elbows that reduce flow. If the tower has many plant sites, add a simple manifold at the top so water spreads around the inner wall instead of running down one side. Even water flow helps all plants grow at a similar rate.
The reservoir should be opaque, stable, and easy to access. A 5-gallon bucket can work for a small tower, but a larger tote gives more water volume, more stable nutrient levels, and less frequent top-offs. The lid should hold the tower securely and reduce light entry. Any hole in the lid should fit tightly around the pipe or tubing to limit algae growth and water leakage.
Specific hydroponic nutrients, such as A & B formulas, are necessary for plant growth in hydroponics. Do not use garden soil fertilizer in the reservoir. Hydroponic A & B nutrients are designed to dissolve cleanly and supply the minerals roots need in a recirculating solution, which is the foundation of how hydroponic tower systems work to deliver water and minerals directly to plant roots.
You will need a drill, hole saw, drill bits, measuring tape, marker, level, utility knife, sandpaper, pvc cutter or saw, and basic assembly hardware. Depending on your design, you may also need glue, rubber grommets, bulkhead fittings, zip ties, stainless screws, washers, nuts, and a stand or wall bracket.
Tool quality affects the final system more than beginners expect. A dull hole saw can crack plastic, leave rough edges, and make net pots sit loose. Loose cups create light gaps, and light gaps invite algae. Clean edges also protect roots from abrasion as they grow through the net cups, supporting the long-term reliability that well-designed hydroponic tower systems aim to achieve.
If you use glue, choose an appropriate product for the material and location. Avoid contaminating internal wet surfaces with adhesives unless the product is suitable for the application and fully cured. Mechanical fittings are often easier to service than glued parts, especially on a first tower where you may decide to revise the method after testing.
Before construction, dry-fit every major part. Make sure the pipe can sit vertically, the reservoir will not tip, the pump can be removed for cleaning, and the tubing can be accessed without dismantling the entire system. This preparation is less exciting than drilling holes, but it prevents most long-term durability problems.
Build the tower in sequence: structure first, water path second, plant support third, then testing before planting. Do not fill the system with seedlings until you have run plain water through it and checked flow, leaks, stability, and drainage.
This step guide assumes a basic pvc pipe tower with a base reservoir and submersible pump. The same process can be adapted to a square fence post, but the hole layout, sealing method, and cup fit may differ.
Use a staggered layout when the tower will sit in open light or under grow lights from multiple angles. Use aligned holes only when you need the back of the tower flat against a wall or rack, but expect more shading unless you add side lighting or rotate the tower.
Mark the pipe circumference. Draw vertical reference lines around the pipe, usually three lines spaced evenly around the column. This helps create a spiral pattern instead of stacking holes directly above each other.
Calculate plant spacing. The placement of planting holes in hydroponic towers is typically staggered and spaced 6 to 8 inches apart vertically. Use 6 inches for compact lettuce and herbs, and wider spacing for larger crops.
Drill pilot holes. Use small drill bits first to keep the hole saw centered. This improves accuracy and reduces cracking.
Cut planting holes. Use a hole saw matched to the same size as your net pots or net cups. A snug fit reduces light leaks, algae, and loose plant sites.
Smooth all edges. Sand every cut edge so roots and cups are not damaged. Rinse plastic shavings out of the pipe before assembly.
Some DIY builders use a different process that involves cutting PVC pipes at a 45-degree angle to create basket inserts for planting. That method can create angled pockets attached to the main tower, but it requires more cutting, more sealing, and more attention to water leakage. For beginners, direct net pot holes are usually simpler.
The goal is controlled flow from reservoir to top, then even drainage back down to the reservoir. In our manufacturing work, we test flow before planting every system, because a tower can look correct and still distribute water unevenly.
Prepare the reservoir. Use an opaque bucket or tote with a lid. Cut only the openings needed for the tower, tubing, and access. The reservoir should sit level and support the tower without wobbling.
Install the pump. Place the submersible pump at the bottom of the reservoir. Confirm the pump rating is strong enough, usually 160-400 GPH and often 200-400 GPH for a 4-6 foot tower.
Route the tubing. Run tubing from the pump to the top of the tower. Keep the route short and secure it so it cannot kink or pull loose.
Create top distribution. Add a cap, spray ring, drip outlet, or simple manifold at the top so nutrient solution reaches more than one side of the pipe.
Flow test with plain water. Add water, turn on the pump, and watch how the solution drains. Check for dry zones, splash-out, water leakage, and pooling.
If water only runs down one side, adjust the top outlet before plants are installed. If lower cups flood, reduce flow, improve drainage, or cycle the pump with a timer. Continuous flow can work for many tower gardens, but timed cycles often improve oxygen availability when the media holds moisture.
Net pot sizing should match the tower material. A 4-inch pvc pipe usually pairs with 2-inch net pots. A 6-inch pipe can handle 3-inch cups and larger roots. The cups should sit firmly and should not fall into the tower when the plant becomes heavy.
Attach or insert cup holders. Press net cups into drilled holes and check the angle. The cup should sit securely, with enough tilt to keep media in place.
Reduce light gaps. Use collars, properly sized holes, or careful sanding so the cup edges sit close to the pipe. This limits algae inside the tower.
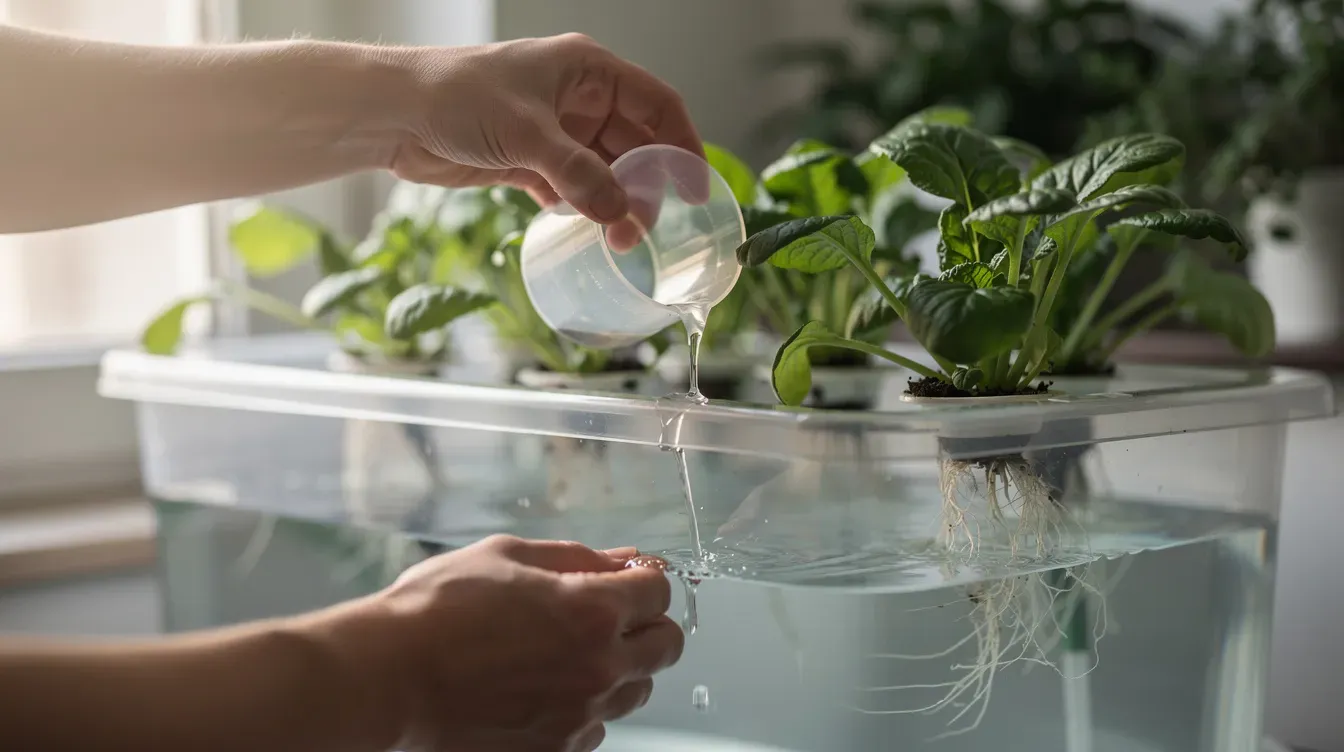
Prepare growing media. Start seeds in rockwool cubes, then place each rooted cube into a net pot and fill around it with clay pebbles or another loose medium.
Place plants carefully. Keep the crown above the wettest zone. Roots should eventually reach the flow path, but the stem should not sit submerged.
Add nutrient solution. Fill the reservoir with water and mix hydroponic A & B nutrients according to the label. Check pH before running the system with plants.
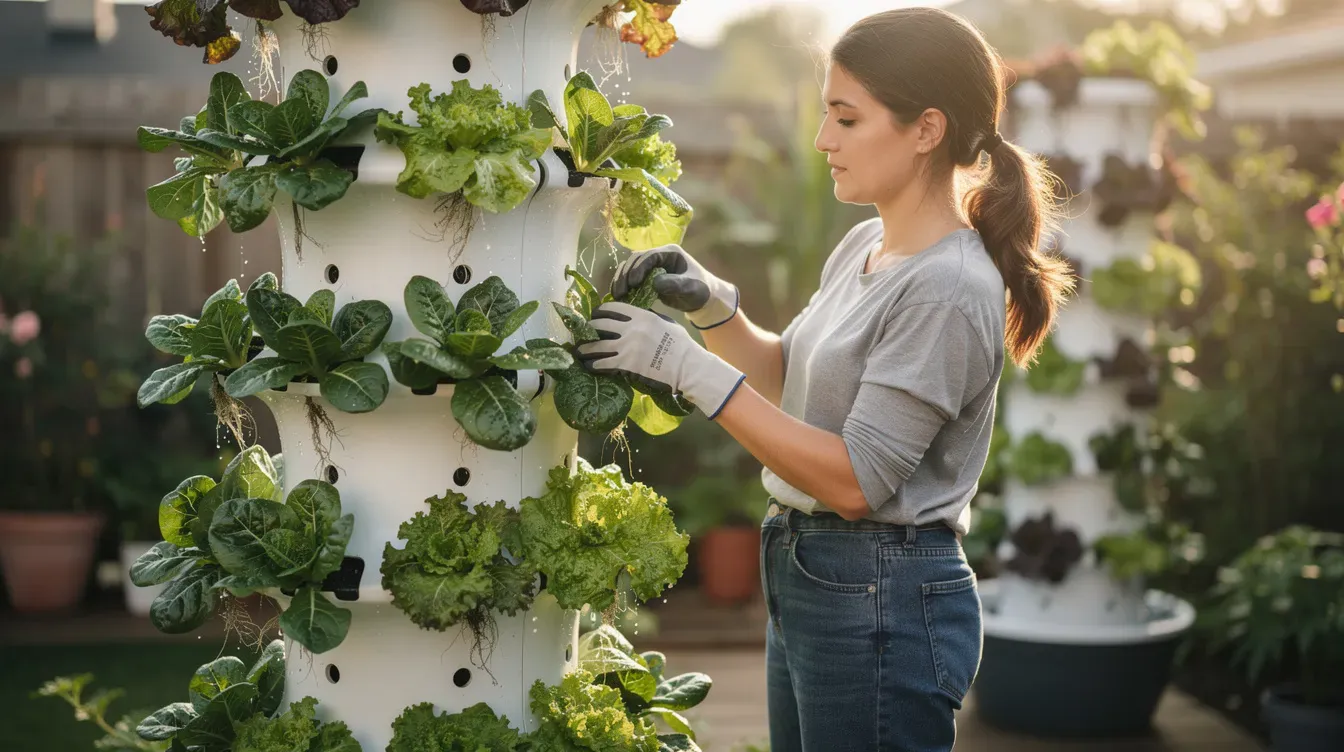
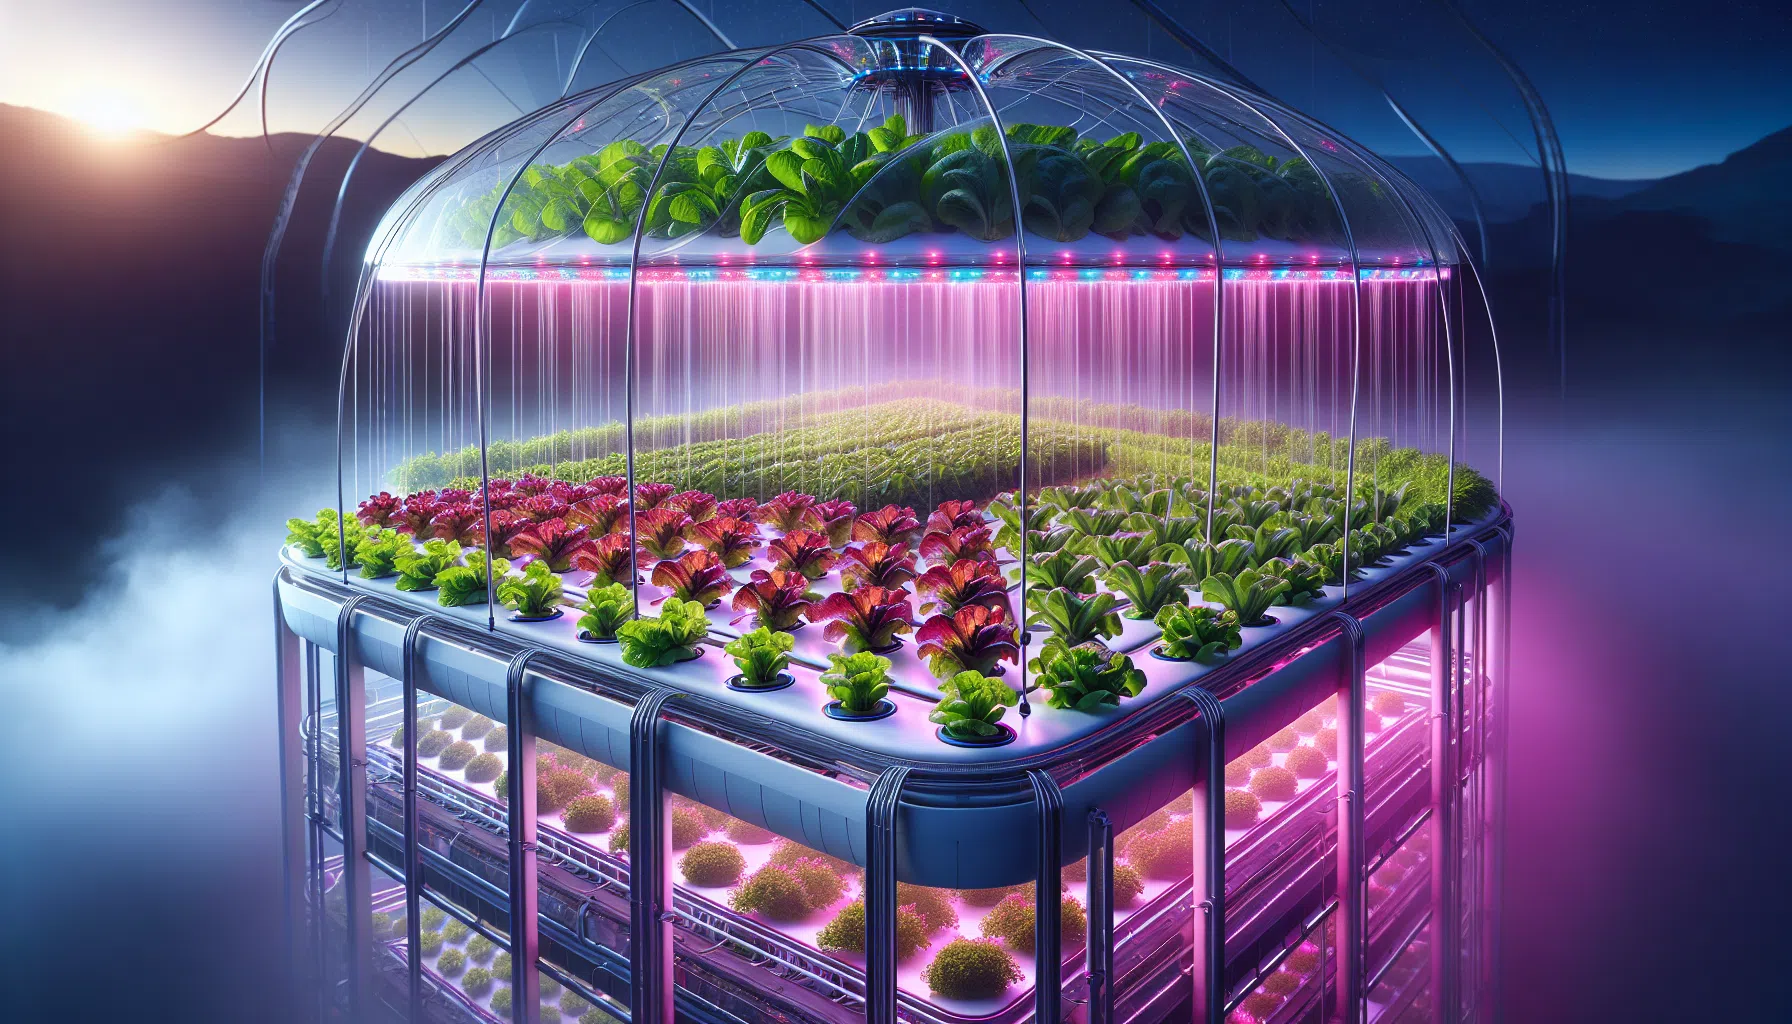
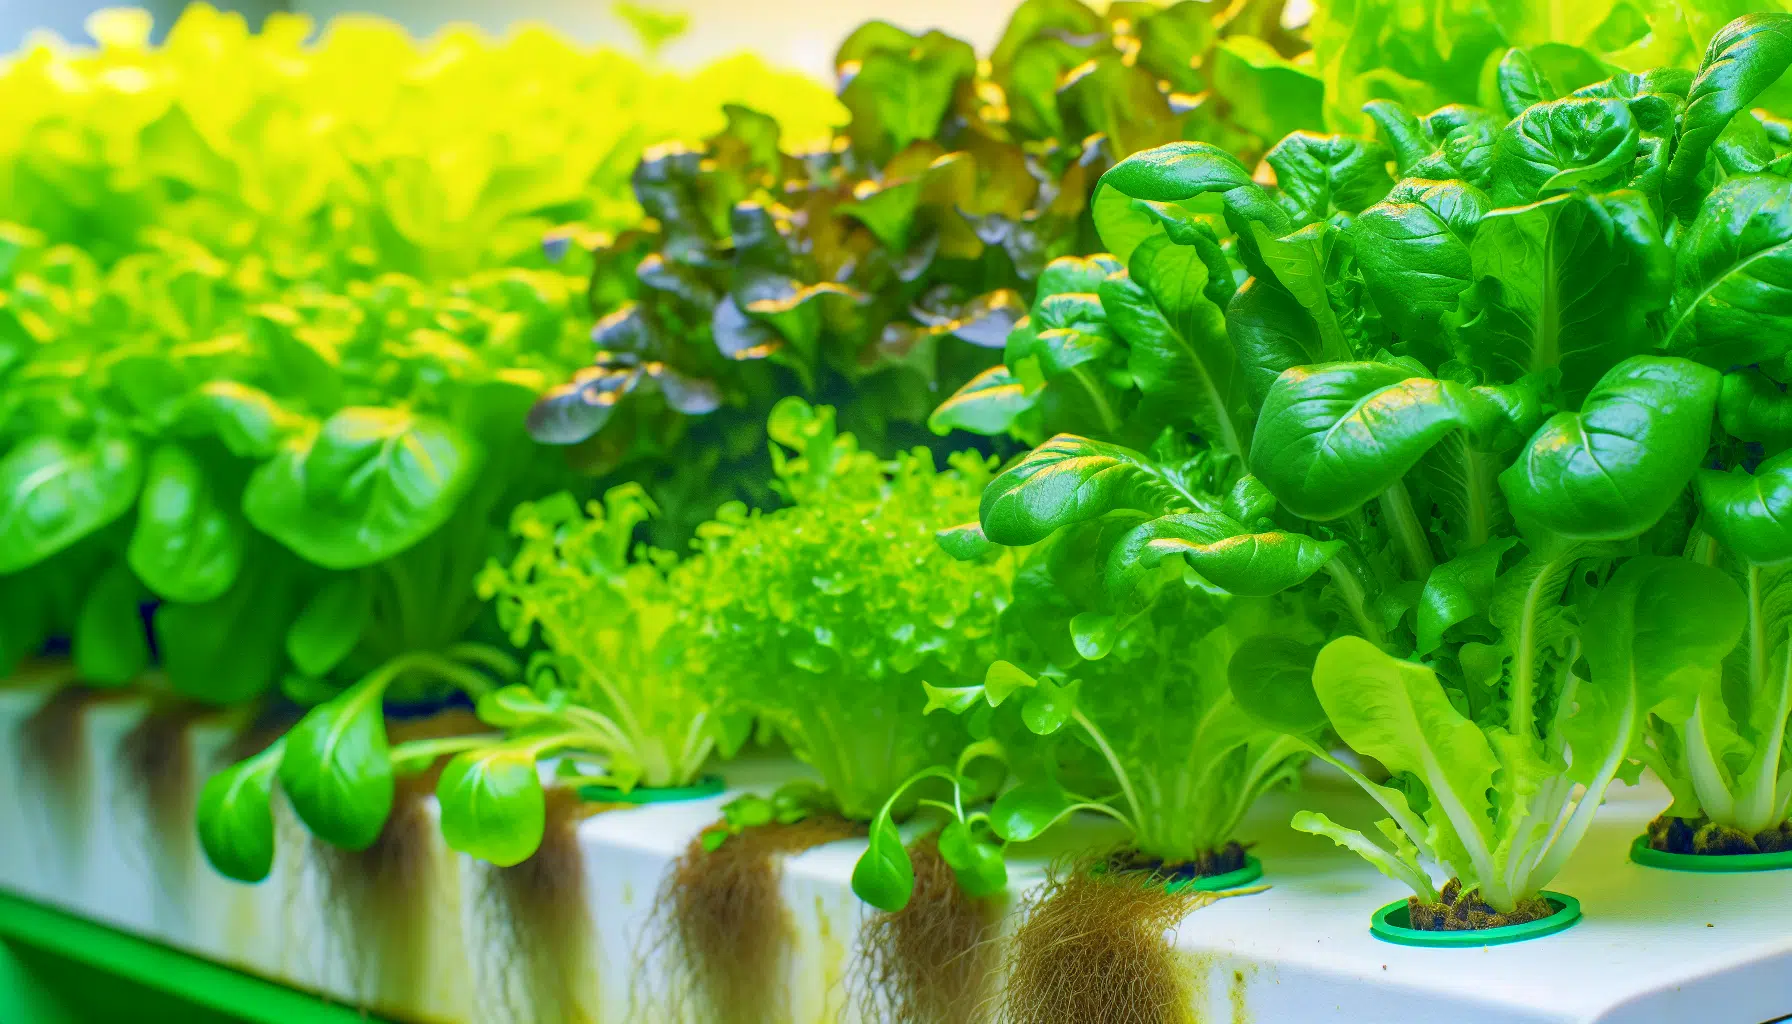
Leafy greens are among the easiest and most successful plants to grow in hydroponic systems, particularly in vertical towers. Indoor hydroponic tower gardens make it possible to harvest lettuce, herbs, and compact fruiting crops year-round in small spaces. Lettuce, including butterhead, romaine, and loose-leaf, is popular because it grows quickly and is often ready for harvest in 4 to 6 weeks. Spinach and rocket also perform well; rocket can be ready to harvest in as little as 3 to 4 weeks.
A DIY tower is a good project when you want low cost, hands-on learning, and fresh greens. A ready-made system is better when you want predictable setup, stronger lighting, less troubleshooting, and support. Automated Nutraponics hydroponic grow towers are positioned for growers who want premium ready-to-grow capacity, built-in lighting, and less design risk.
Criterion | DIY PVC Hydroponic Tower | Ready-Made Tower Gardens | Nutraponics Premium Systems |
|---|---|---|---|
Initial cost | Often $150-$300 all-in for a first tower; materials-only builds may be lower | Higher initial setup cost, especially if purchasing a pre-made system | Premium investment, commonly chosen for larger plant counts, integrated LEDs, and ready-to-grow convenience |
Setup time | Usually 1-3 hours after materials are gathered, longer for beginners | Faster than DIY but still requires assembly and filling | Designed for quick setup with calibrated components and support |
Plant capacity | A single tower can hold up to 28 plants in many compact DIY layouts; larger towers may hold 25-40 small plants with careful spacing | Varies by model and tier count | Larger options can support family-scale greens and herbs with more consistent performance |
Maintenance requirements | Regular monitoring of water level, nutrient strength, pH, pump, and leaks | Regular monitoring still required, but fewer fabrication issues | Still needs crop care, but automation and design reduce beginner error |
Best user | Hands-on growers, budget-focused gardeners, experimenters | Home growers who want convenience | Serious home growers, busy families, and small-scale producers seeking dependable yield |
Tower gardens can produce significant yield because a single tower can hold up to 28 plants, allowing efficient use of vertical space in small areas. One of the main advantages of tower gardens is that they can be used indoors with proper lighting, making them suitable for urban gardening where space is limited. Despite their benefits, tower gardens require regular monitoring of water and nutrient levels to ensure optimal plant growth, which can be a disadvantage for some users. |
The main decision is whether you want to buy certainty or build flexibility. DIY is cost-effective but demands attention. Nutraponics hydroponic tower systems are the better fit when you want premium capacity, grow lights, a cleaner setup, and fewer failure points.
Most DIY failures are not caused by hydroponics being difficult. They are caused by small design errors that compound over time: weak flow, too much light in the reservoir, crowded plants, unstable nutrients, or no backup plan. These issues are preventable.
Uneven water flow is the most common tower problem. Top plants dry out when the pump cannot overcome head height, while lower plants may become oversaturated if solution channels down one side of the pipe.
Use a submersible pump rated 160-400 GPH, and for a typical 4-6 foot tower, choose closer to 200-400 GPH with enough head height to reach the top. Add a top manifold, spray ring, or multiple outlets so nutrient rich water is distributed around the tower instead of dripping from one point. Test with plain water before planting, and do not assume flow is correct just because the pump turns on.
Algae growth happens when light reaches water and nutrients. It commonly appears in clear reservoirs, loose net cups, open lids, and unpainted or translucent plastic parts.
Use an opaque reservoir, block gaps around the lid, keep net pots snug, and paint or wrap the outside of the tower if light enters the pipe. Clean the reservoir every 3-4 weeks, inspect tubing weekly, and remove roots or debris that could clog the pump. Add water as needed, but also replace and rebalance the nutrient solution instead of only topping off forever.
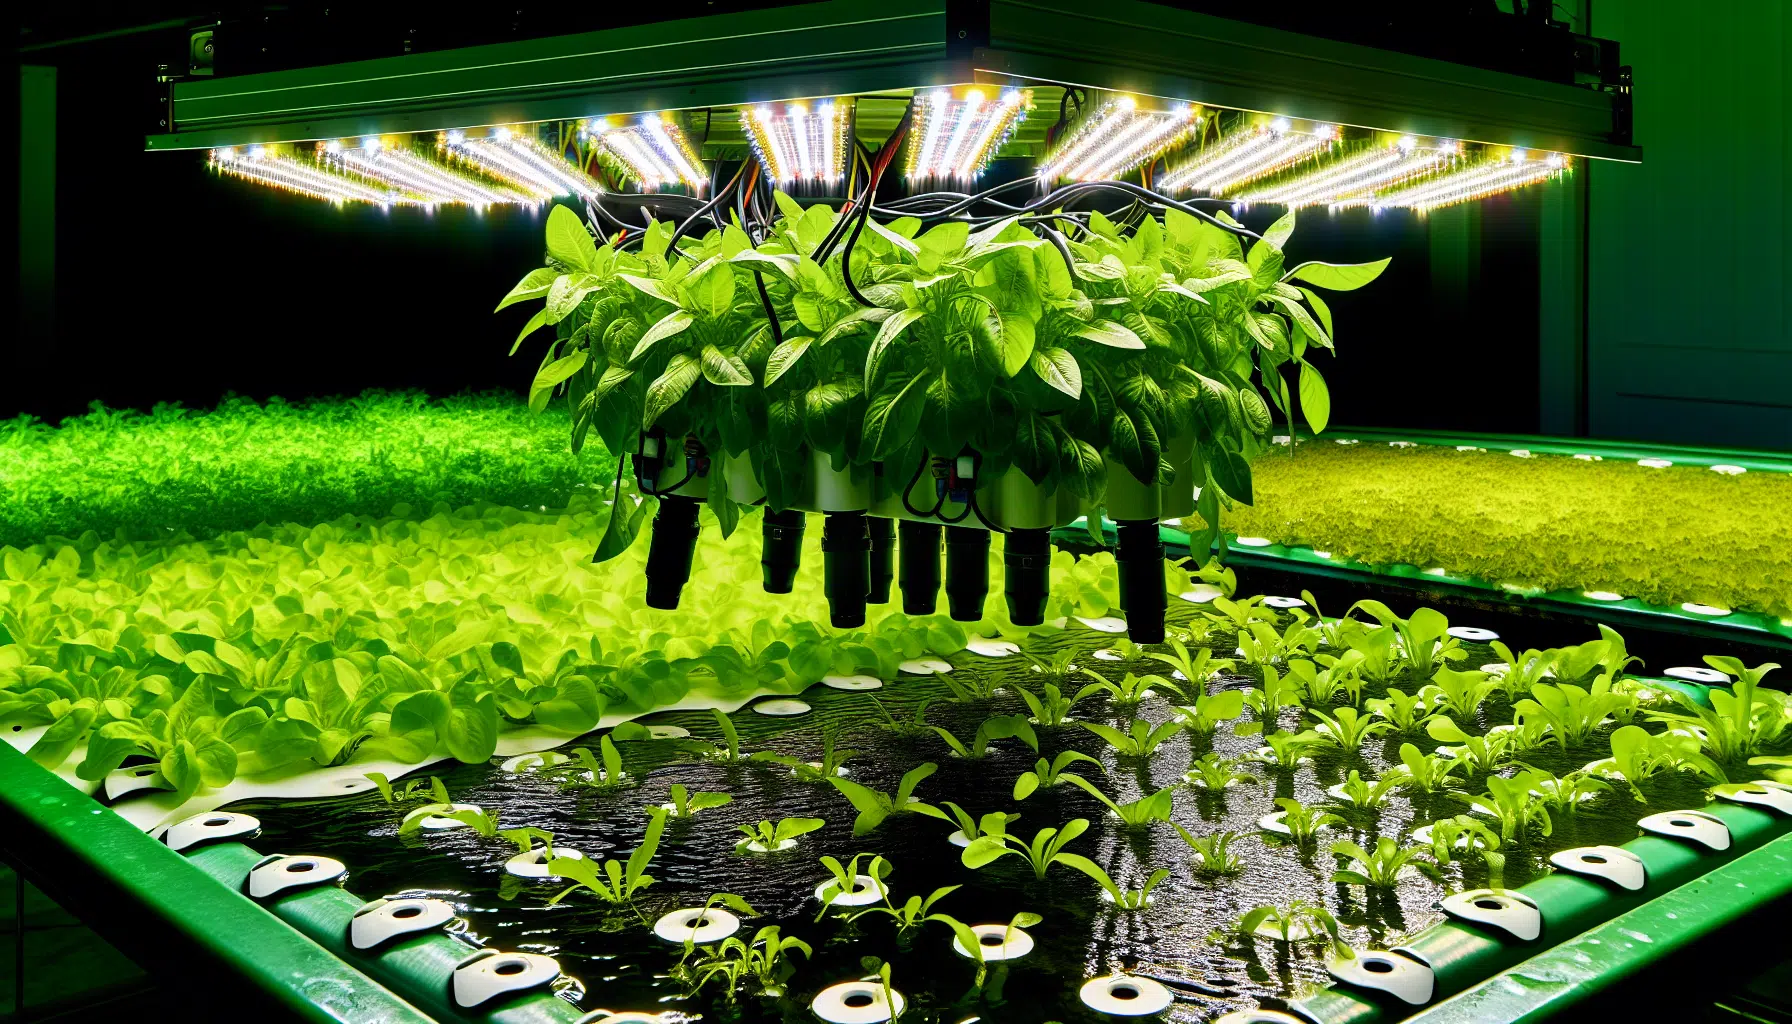
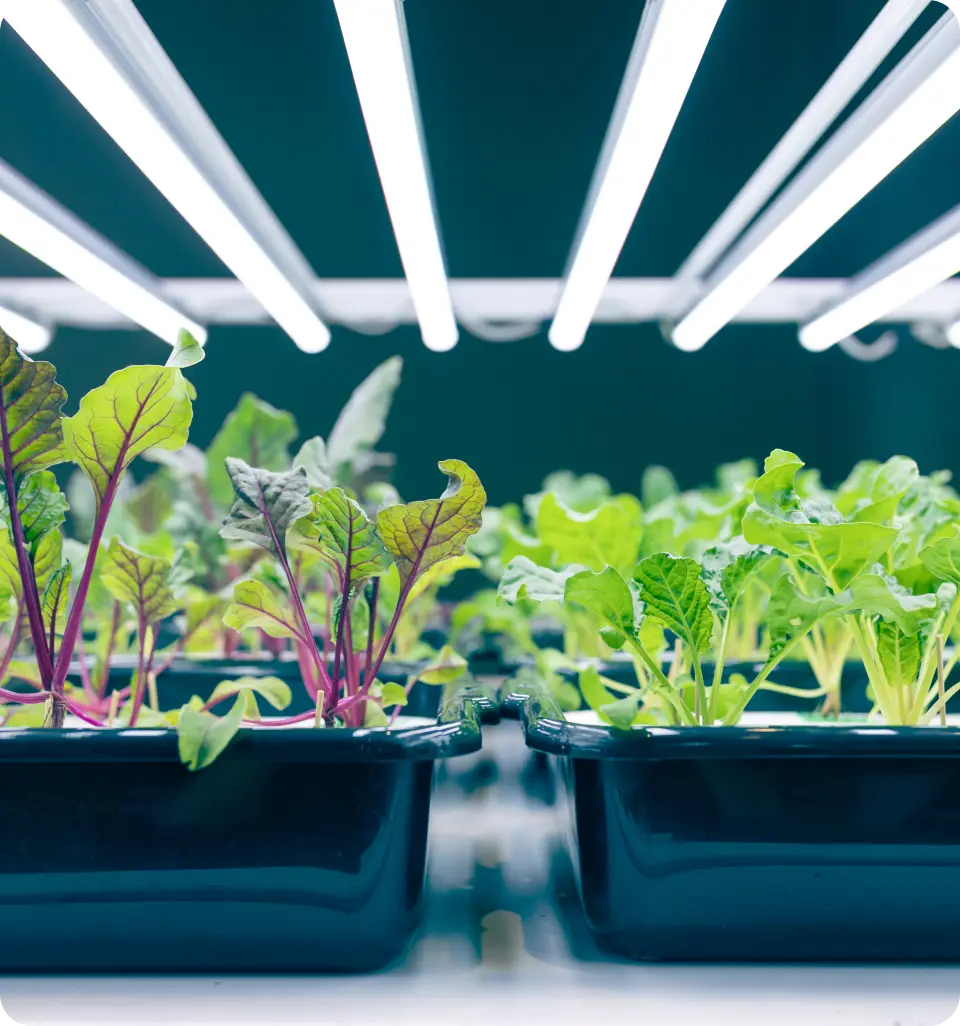
Indoors, grow lights should be positioned for crop growth without shining directly into the reservoir. For leafy greens and herbs, many growers use 12-16 hours of light per day, often relying on vertical hydroponic garden towers with dedicated LED systems to keep light output efficient and targeted. Insufficient light leads to weak, stretched plants; excessive heat from poor lighting placement can warm the reservoir and reduce oxygen.
Overplanting is tempting because empty holes feel wasted. In practice, crowded plants shade each other, restrict airflow, and create disease pressure even though hydroponics reduces many soil borne diseases.
Start with leafy greens and herbs. Lettuce, including butterhead, romaine, and loose-leaf, is often ready for harvest in 4 to 6 weeks. Spinach and rocket are quick-growing leafy greens that thrive in hydroponic towers, and rocket can be ready in as little as 3 to 4 weeks. Herbs such as basil and parsley are well-suited for hydroponic towers because they have small root systems and grow well in a controlled environment.
Strawberries and dwarf cultivars of tomatoes, peppers, and cucumbers can also be grown in hydroponic towers, although they require more care than leafy greens or herbs. Fruiting crops need more light, more nutrients, more pruning, stronger support, and more root space, which is why many growers favor vertical hydroponic garden towers with integrated LED grow lights when focusing on these crops. If you want these crops regularly, use a larger pipe, fewer plant sites, and stronger side lighting.
Realistic yield matters. A compact DIY tower with 20-28 lettuce plants can often provide a full harvest cycle every 4-6 weeks under good conditions. If you harvest outer leaves instead of whole heads, plants can produce longer, but total output depends on light, temperature, nutrition, and spacing.
A hydroponic tower depends on the pump. If the pump stops, roots can dry quickly, especially in warm weather or with small media volume, which is why some growers choose professional-grade Pro tower garden systems with automated watering to reduce the risk of outages and missed cycles.
Keep a spare pump if the tower supplies food you rely on. Clean the pump intake weekly, keep roots away from the impeller, and use a timer or controller rated for the pump load. If the pump fails, manually pour nutrient solution through the top of the tower until repairs are made.
Watch for dry burn, clogged tubing, loose fittings, and water leakage around the reservoir lid. A small leak can drain a system overnight. Place indoor towers on a waterproof tray, especially if the project will sit near flooring, shelving, or electrical outlets.
Long-term success comes from treating the tower like a living system, not a one-time build.
A DIY hydroponics tower is one of the most space-efficient ways to grow fresh food at home, especially if your goal is lettuce, herbs, spinach, rocket, or compact strawberries. It can save money compared with pre-made systems, but the savings come with responsibility: you must size the pump correctly, manage nutrients, control algae, provide enough light, and maintain consistent water flow.
For a reliable first tower:
Choose the structure. Use 4-inch food safe pvc pipe for leafy greens and herbs, or 6-inch pipe if you need more root space.
Plan spacing before drilling. Stagger holes 6 to 8 inches apart vertically so plants have better access to light and airflow.
Buy the right pump. Use a submersible pump with enough power, usually 160-400 GPH and commonly 200-400 GPH for a 4-6 foot tower.
Start with easy crops. Grow lettuce, basil, parsley, spinach, and rocket before moving into strawberries or dwarf tomatoes, peppers, and cucumbers.
Test before planting. Run the system with plain water, check flow, inspect for leaks, and confirm the tower sits stable.
Maintain the system. Monitor pH, nutrient levels, water level, pump function, and algae weekly.
If you enjoy hands-on projects, a DIY vertical hydroponic tower is a practical and rewarding build. If you want larger capacity, integrated grow lights, cleaner assembly, fewer design risks, and a more predictable path to harvest, a premium ready-to-grow Nutraponics system is the better next step. Many growers start with DIY years ago or as a first tower, then decide to scale into modular systems once they know how much food they want to produce.
Use these quick references while planning and tuning your tower.
Nutrient and pH guidelines
Use hydroponic A & B nutrients rather than soil fertilizer.
Keep most leafy greens and herbs near pH 5.5-6.5.
Check pH daily or every other day in small reservoirs.
Replace the nutrient solution every few weeks instead of only topping off.
Add water when the reservoir level drops, then rebalance nutrients as needed.
Recommended crops for tower growing
Crop | Difficulty | Typical harvest expectation |
|---|---|---|
Loose-leaf lettuce | Easy | Often harvestable in 4-6 weeks |
Butterhead lettuce | Easy | Full heads commonly ready in 4-6 weeks |
Romaine lettuce | Easy to moderate | Needs good light and spacing |
Rocket | Easy | Can be ready in as little as 3-4 weeks |
Spinach | Easy to moderate | Prefers cooler conditions |
Basil | Easy | Repeated harvests with pruning |
Parsley | Easy to moderate | Slower start, long harvest window |
Strawberries | Moderate | Needs strong light and stable nutrition |
Dwarf tomatoes, peppers, cucumbers | Advanced | Requires more care, support, light, and root space |
Troubleshooting checklist |
Top plants wilting: pump too weak, tubing kinked, manifold blocked, or cycle too short
Lower plants yellowing: poor oxygen, oversaturation, nutrient imbalance, or shading
Green slime in reservoir: too much light, uncovered openings, or infrequent cleaning
Loose cups: holes too large, rough edges, or wrong net pot size
Slow growth indoors: insufficient grow lights, weak nutrients, low temperature, or poor airflow
Water leakage: loose fittings, unsealed lid openings, cracked pipe, or unstable tower base
Build the simplest system you can maintain well. Then improve one variable at a time: light, spacing, nutrient strength, pump cycle, and crop selection.